About Transport Layer Security
TLS, which replaced SSL, is enabled and configured with a self-signed certificate when GitHub Enterprise Server is started for the first time. As self-signed certificates are not trusted by web browsers and Git clients, these clients will report certificate warnings until you disable TLS or upload a certificate signed by a trusted authority, such as Let's Encrypt.
The GitHub Enterprise Server appliance will send HTTP Strict Transport Security headers when SSL is enabled. Disabling TLS will cause users to lose access to the appliance, because their browsers will not allow a protocol downgrade to HTTP. For more information, see "HTTP Strict Transport Security (HSTS)" on Wikipedia.
警告: ロード バランサーの HTTPS 接続を終了する� �合、ロード バランサーから GitHub Enterprise Server への要求も HTTPS を使用する必要があります。 接続の HTTP へのダウングレードはサポートされません。
To allow users to use FIDO U2F for two-factor authentication, you must enable TLS for your instance. For more information, see "Configuring two-factor authentication."
Prerequisites
To use TLS in production, you must have a certificate in an unencrypted PEM format signed by a trusted certificate authority.
Your certificate will also need Subject Alternative Names configured for the subdomains listed in "Enabling subdomain isolation" and will need to include the full certificate chain if it has been signed by an intermediate certificate authority. For more information, see "Subject Alternative Name" on Wikipedia.
You can generate a certificate signing request (CSR) for your instance using the ghe-ssl-generate-csr command. For more information, see "Command-line utilities."
Your key must be an RSA key and must not have a passphrase. For more information, see "Removing the passphrase from your key file".
Uploading a custom TLS certificate
Warning: Configuring TLS causes a small amount of downtime for your GitHub Enterprise Server instance.
-
GitHub Enterprise Server の管理アカウントから、任意のページの右上隅の をクリックします。
-
[サイト管理者] ページにま� 表示されていない� �合は、左上隅の [サイト管理者] をクリックします。
![[サイト管理者] リンクのスクリーンショット](https://githubdocs.azureedge.net/enterprise/3.2/assets/cb-13409/images/enterprise/site-admin-settings/site-admin-link.png)
-
左側のサイドバーで、 [Management Console] をクリックします。
![左側のサイドバーの [[Management Console]] タブ](https://githubdocs.azureedge.net/enterprise/3.2/assets/cb-16932/images/enterprise/management-console/management-console-tab.png)
-
左側のサイドバーで、 [プライバシー] をクリックします。
![設定サイドバーの [プライバシー] タブ](https://githubdocs.azureedge.net/enterprise/3.2/assets/cb-12043/images/enterprise/management-console/sidebar-privacy.png)
-
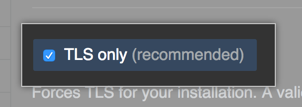
[TLS のみ]� (推奨) を選択します。
-
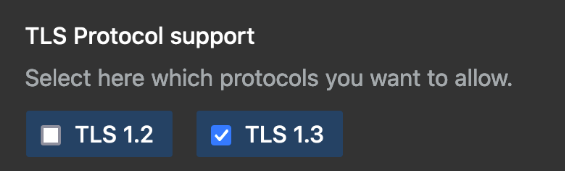
Under "TLS Protocol support", select the protocols you want to allow.
-
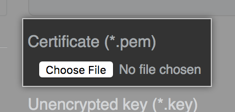
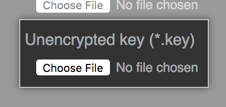
Under "Certificate", click Choose File to choose a TLS certificate or certificate chain (in PEM format) to install. This file will usually have a .pem, .crt, or .cer extension.
-
Under "Unencrypted key", click Choose File to choose an RSA key (in PEM format) to install. This file will usually have a .key extension.
-
左側のサイドバーで、 [設定の保存] をクリックします。
![[Management Console] の [設定の保存] ボタンのスクリーンショット](https://githubdocs.azureedge.net/enterprise/3.2/assets/cb-12076/images/enterprise/management-console/save-settings.png)
注: [Management Console] に設定を保存すると、システ� サービスが再起動され、ユーザーに表示されるダウンタイ� が発生する可能性があります。
-
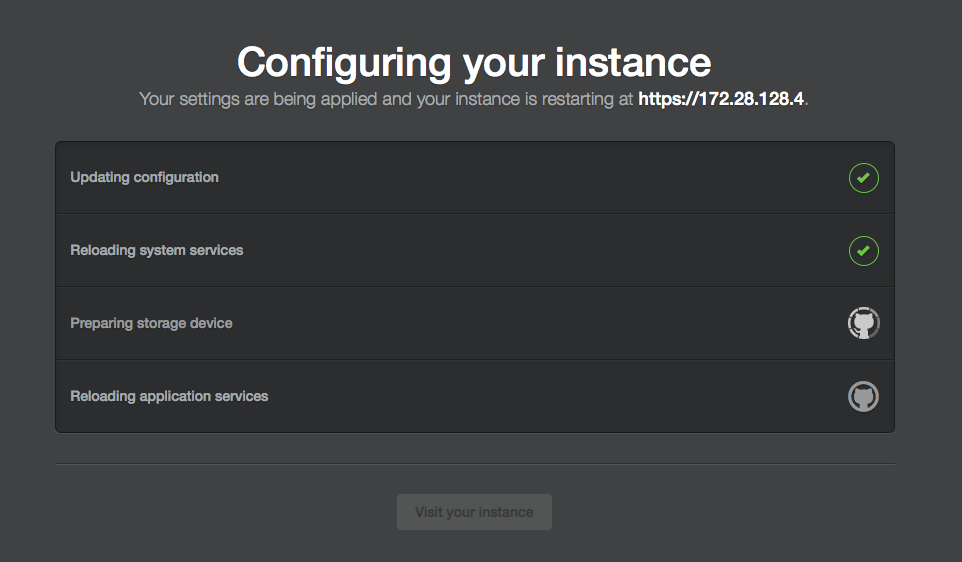
設定の実行が完了するのを待ってく� さい。
About Let's Encrypt support
Let's Encrypt is a public certificate authority that issues free, automated TLS certificates that are trusted by browsers using the ACME protocol. You can automatically obtain and renew Let's Encrypt certificates on your appliance without any required manual maintenance.
Let's Encryptの自動化を利用するには、アプライアンスをHTTP経由で公にアクセスできるようなホスト名で設定していなければなりません。 アプライアンスは、アウトバウンドのHTTPS接続ができるようになっていなければなりません。
When you enable automation of TLS certificate management using Let's Encrypt, your GitHub Enterprise Server instance will contact the Let's Encrypt servers to obtain a certificate. To renew a certificate, Let's Encrypt servers must validate control of the configured domain name with inbound HTTP requests.
You can also use the ghe-ssl-acme command line utility on your GitHub Enterprise Server instance to automatically generate a Let's Encrypt certificate. For more information, see "Command-line utilities."
Configuring TLS using Let's Encrypt
Let's Encryptの自動化を利用するには、アプライアンスをHTTP経由で公にアクセスできるようなホスト名で設定していなければなりません。 アプライアンスは、アウトバウンドのHTTPS接続ができるようになっていなければなりません。
Warning: Configuring TLS causes a small amount of downtime for your GitHub Enterprise Server instance.
-
GitHub Enterprise Server の管理アカウントから、任意のページの右上隅の をクリックします。
-
[サイト管理者] ページにま� 表示されていない� �合は、左上隅の [サイト管理者] をクリックします。
-
左側のサイドバーで、 [Management Console] をクリックします。
-
左側のサイドバーで、 [プライバシー] をクリックします。
-
[TLS のみ]� (推奨) を選択します。
-
Select Enable automation of TLS certificate management using Let's Encrypt.

-
左側のサイドバーで、 [設定の保存] をクリックします。
注: [Management Console] に設定を保存すると、システ� サービスが再起動され、ユーザーに表示されるダウンタイ� が発生する可能性があります。
-
設定の実行が完了するのを待ってく� さい。
-
左側のサイドバーで、 [プライバシー] をクリックします。
-
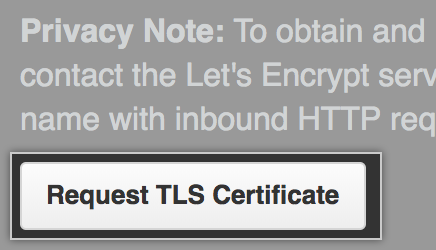
Click Request TLS certificate.
-
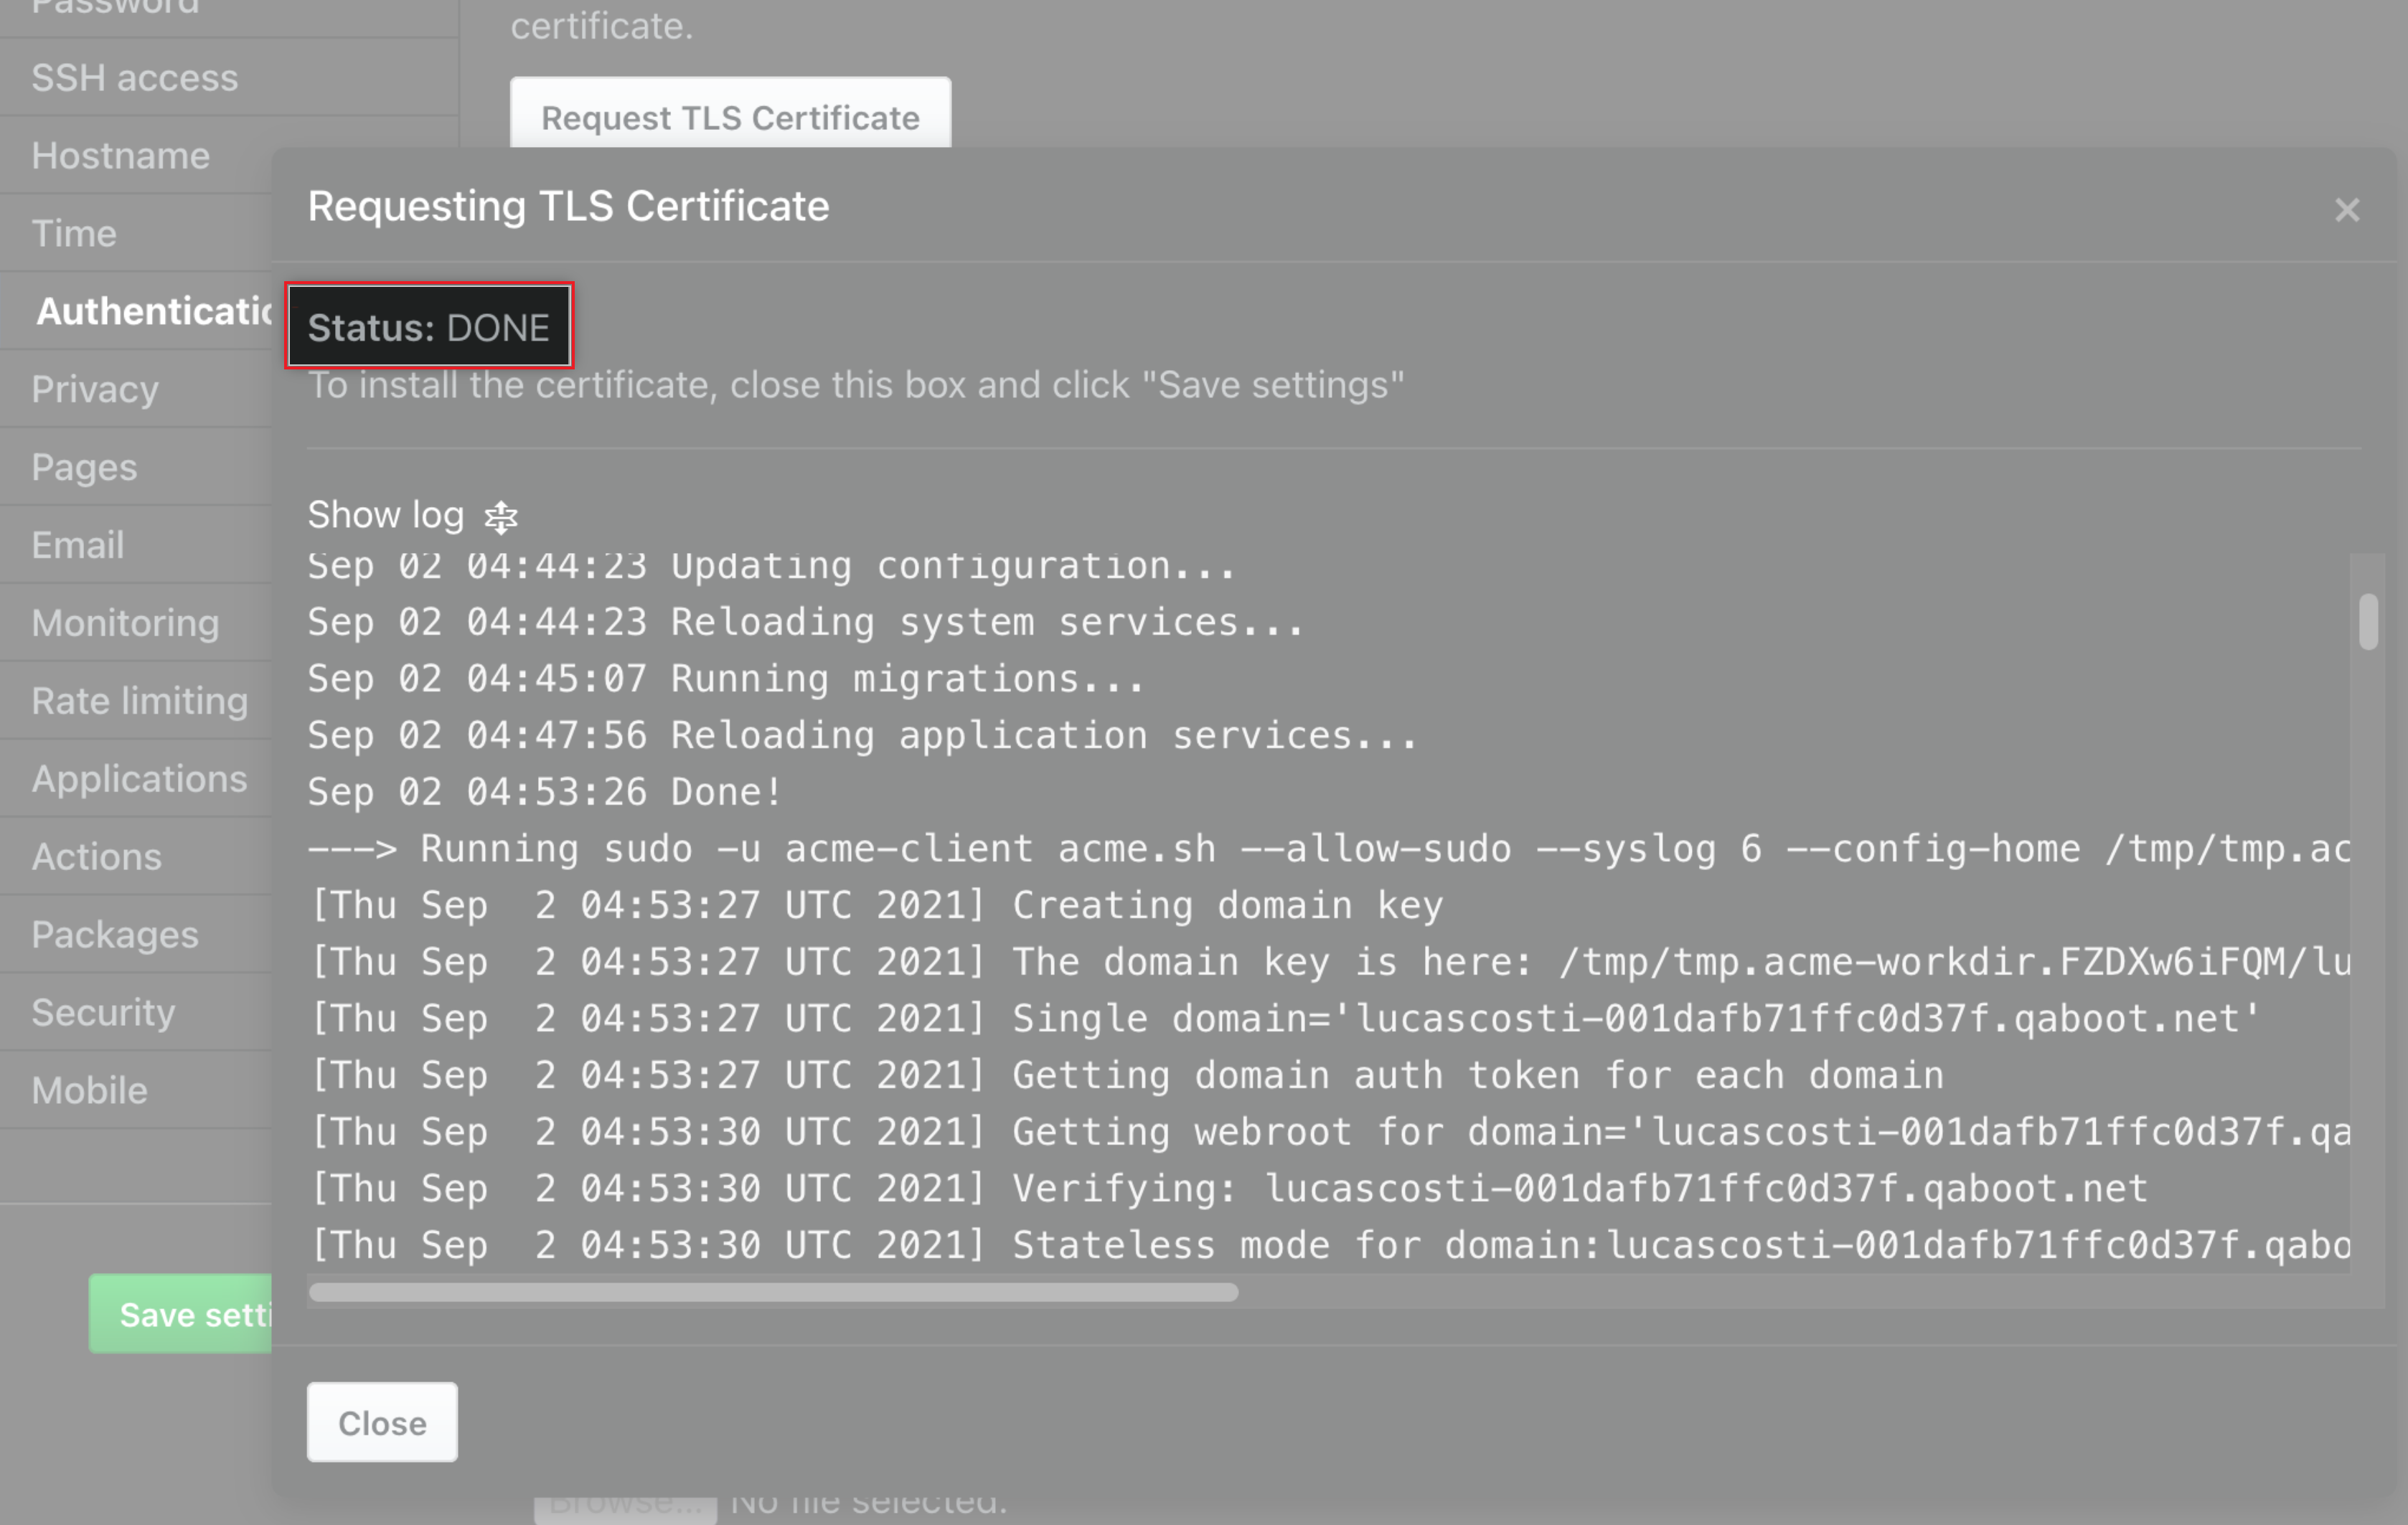
Wait for the "Status" to change from "STARTED" to "DONE".
-
Click Save configuration.