About the table layout
The table layout is a powerful and adaptable spreadsheet comprised of your issues, pull requests, and draft issues with metadata from GitHub and the custom fields you've added to your project. You can group, sort, and filter items, and show or hide fields in your table layouts to suit the needs of everyone on your team.
For more information about changing a view to use the table layout, see "Changing the layout of a view."
Showing and hiding fields
You can show or hide a specific field.
-
Click next to the name of the currently open view.

-
Under "Configuration", click Fields.
-
Select or deselect the fields you want to show or hide.
Alternatively, open the project command palette by pressing Command+K (Mac) or Ctrl+K (Windows/Linux) and start typing "show", "hide", or the name of the field.
You can also hide individual fields using the field headers.
- Next to the field you want to hide, click .

- Click Hide field.

Grouping by field values
You can group items by a custom field value. When items are grouped, if you drag an item to a new group, the value of that group is applied. For example, if you group by "Status" and then drag an item with a status of In progress to the Done group, the status of the item will switch to Done. Similarly, when you add a new item to a group, the new item is populated with the value of the group.
Note: You cannot group by title, labels, reviewers, or linked pull requests.
-
Click next to the name of the currently open view.
-
Click Group by.
-
Click the field you want to group by.
-
Optionally, to disable grouping, click No grouping at the bottom of the list.
Alternatively, open the project command palette by pressing Command+K (Mac) or Ctrl+K (Windows/Linux) and start typing "Group by."
Reordering fields
You can change the order of fields.
-
Click the field header.

-
While continuing to click, drag the field to the required location.

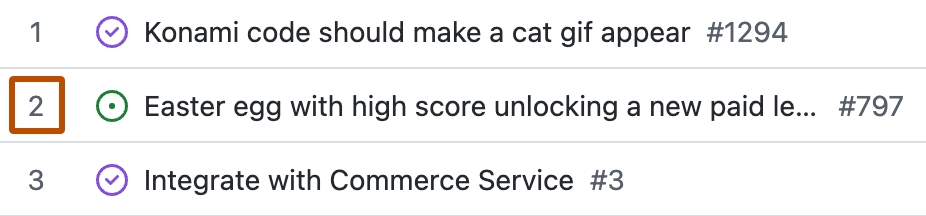
Reordering rows
You can change the order of rows.
-
Click the number at the start of the row.
-
While continuing to click, drag the row to the required location.

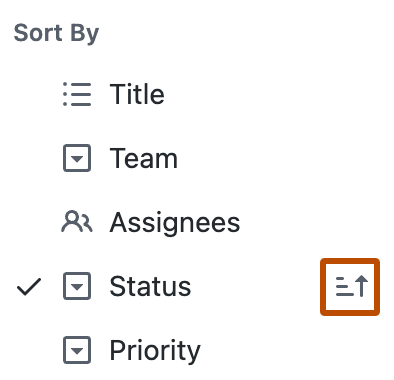
Sorting by field values
You can sort items by a field value.
Note: When a table is sorted, you cannot manually reorder rows.
-
Click next to the name of the currently open view.
-
Click Sort.
-
Click the field you want to sort by.
-
Optionally, to change the direction of the sort, click the field again.
-
Optionally, to remove a sort, click No sorting at the bottom of the list.

Alternatively, open the project command palette by pressing Command+K (Mac) or Ctrl+K (Windows/Linux) and start typing "Sort by."