Projects (beta) are an adaptable collection of items that stay up-to-date with GitHub data. Your projects can track issues, pull requests, and ideas that you note down. You can add custom fields and create views for specific purposes.
Creating a project
Creating an organization project
Organization projects can track issues and pull requests from the organization's repositories.
-
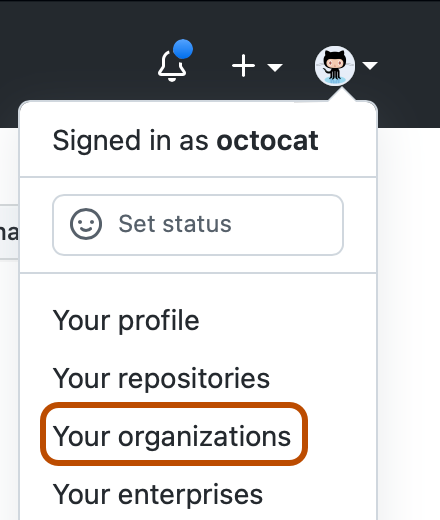
In the upper-right corner of GitHub Enterprise Server, select your profile photo, then click Your organizations.
-
Click the name of your organization.
-
Under your organization name, click Projects.

-
Click New project.
-
Optionally, in the text box under "Project name", type a name for your new project.

-
Click a template or, to start with an empty project, click Table or Board.
-
Click Create.


Creating a user project
User projects can track issues and pull requests from the repositories owned by your personal account.
-
In the top right corner of GitHub Enterprise Server, click your profile photo, then click Your profile.

-
On your profile, click Projects.
-
Click New project.
-
Optionally, in the text box under "Project name", type a name for your new project.
-
Click a template or, to start with an empty project, click Table or Board.
-
Click Create.
Updating your project description and README
You can set your project's description and README to share the purpose of your project, provide instructions on how to use the project, and include any relevant links.
-
Navigate to your project.
-
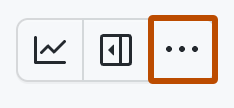
In the top-right, click to open the menu.
-
In the menu, click Settings to access the project settings.
-
To add a short description to your project, under "Add a description", type your description in the text box and click Save.
-
To update your project's README, under "README", type your content in the text box.
- You can format your README using Markdown. For more information, see "Basic writing and formatting syntax."
- To toggle between the text box and a preview of your changes, click or .
-
To save changes to your README, click Save.

You can view and make quick changes to your project description and README by navigating to your project and clicking in the top right.