Nota:
GitHub Codespaces no está disponible en subdominios de GHE.com, como octocorp.ghe.com.
Introducción
En esta guía, creará un codespace a partir de un repositorio de plantillas y explorará algunas de las características esenciales disponibles en el codespace. Trabajarás en la versión web de Visual Studio Code, que es inicialmente el editor predeterminado para GitHub Codespaces. Después de probar esta guía de inicio rápido, puedes usar Codespaces en otros editores y cambiar el editor predeterminado. Los vínculos se proporcionan al final de esta guía.
Desde esta guía de inicio rápido, aprenderás cómo crear un codespace, cómo conectarte a un puerto reenviado para ver tu aplicación ejecutándose, cómo publicar tu codespace en un nuevo repositorio y cómo personalizar tu configuración con extensiones.
Para obtener más información sobre cómo funcionan exactamente GitHub Codespaces, consulta la guía complementaria Análisis en profundidad de GitHub Codespaces.
Crea tu codespace
-
Ve al repositorio de plantillas github/haikus-for-codespaces.
-
Haz clic en Usar esta plantilla y luego en Abrir en un codespace.


Ejecución de la aplicación
Una vez que se cree tu codespace, el repositorio de plantillas se clonará automáticamente en él. Ahora puedes ejecutar la aplicación y lanzarla en un buscador.
-
Cuando el terminal esté disponible, escribe el comando
npm run dev. En este ejemplo se usa un proyecto de Node.js y este comando ejecuta el script con la etiqueta "dev" en el archivopackage.json, que inicia la aplicación web definida en el repositorio de muestra.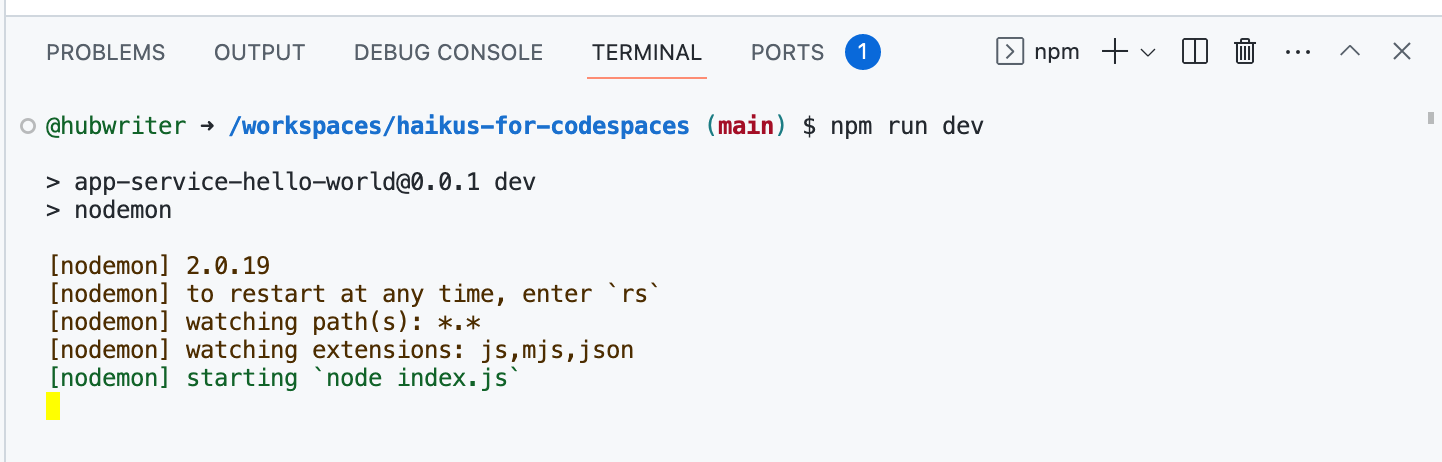
Si estás siguiendo la guía con un tipo de aplicación diferente, ingresa el comando de incio correspondiente para este.
-
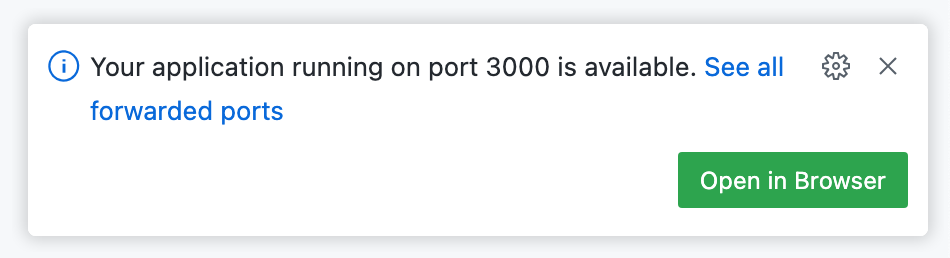
Cuando se inicia la aplicación, el codespace reconoce el puerto en el que se ejecuta la aplicación y muestra un mensaje emergente para informarle de que el puerto ha sido redirigido.
-
Haga clic en Abrir en el explorador para ver la aplicación en ejecución en una pestaña nueva.


Editar la aplicación y ver los cambios
-
Vuelve al codespace y haz clic en el archivo
haikus.jsonpara abrirlo en el Explorador. -
Edite el campo
textdel primer haiku para personalizar la aplicación con un haiku propio. -
Regresa a la pestaña de la aplicación en ejecución dentro de tu buscador y actualiza para ver los cambios.
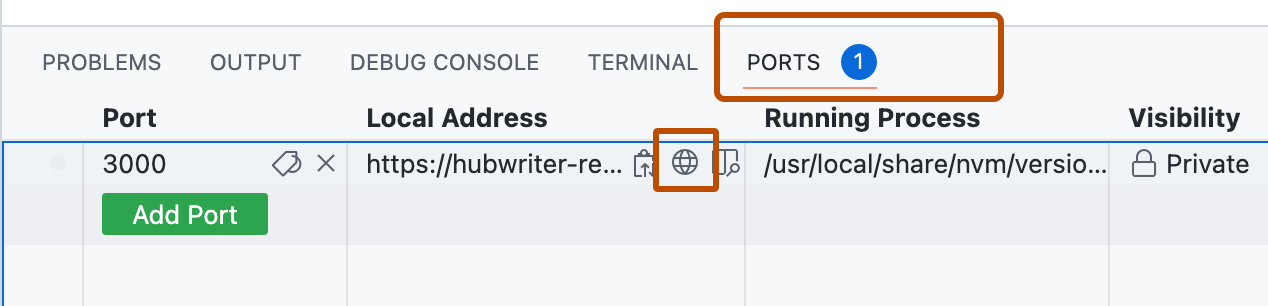
Si has cerrado la pestaña del explorador, haz clic en la pestaña Puertos de VS Code, mantén el puntero sobre el valor Dirección local del puerto en ejecución y haz clic en el icono Abrir en el explorador.

Confirmar y subir tus cambios
Ahora que has hecho algunos cambios, puedes usar el terminal integrado o la vista de código fuente para publicar tu trabajo en un nuevo repositorio.
-
En la barra de actividad, haga clic en la vista Control de código fuente.

-
Para agregar los cambios al "stage", haz clic en junto al archivo
haikus.jsono junto a Cambios si has cambiado varios archivos y quieres agregarlos todos.
-
Para confirmar los cambios agregados al "stage", escribe un mensaje de confirmación en el que se describa el cambio realizado y, a continuación, haz clic en Confirmar.

-
Haz clic en Publicar rama.

-
En la lista desplegable "Nombre del repositorio", escribe un nombre para el nuevo repositorio y selecciona Publicar en el repositorio privado GitHub o Publicar en el repositorio público GitHub .

El propietario del nuevo repositorio será la cuenta GitHub con la que creaste el codespace.
-
En el elemento emergente que aparece en la esquina inferior derecha del editor, haga clic en Abrir en GitHub para ver el nuevo repositorio en GitHub. En el nuevo repositorio, consulta el archivo
haikus.jsony comprueba que el cambio realizado en el codespace se haya enviado correctamente al repositorio.


Personalizar con una extensión
Cuando te conectas a un codespace mediante el explorador o la aplicación de escritorio de Visual Studio Code, puedes acceder a la Visual Studio Code Marketplace directamente desde el editor. En este ejemplo, instalarás una extensión VS Code que alterará el tema, pero puedes instalar cualquier extensión que sea útil para tu flujo de trabajo.
-
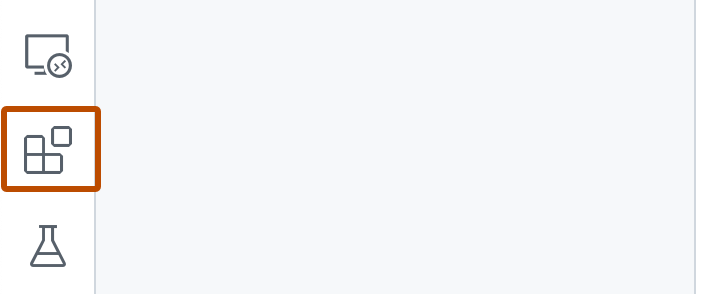
Selecciona el icono de extensiones en la barra de actividades.
-
En la barra de búsqueda, escribe
fairyflossy haz clic en Instalar.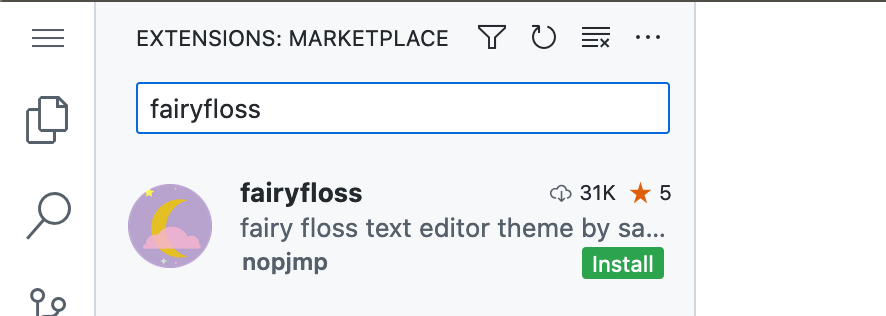
-
Seleccione el tema
fairyflossen la lista.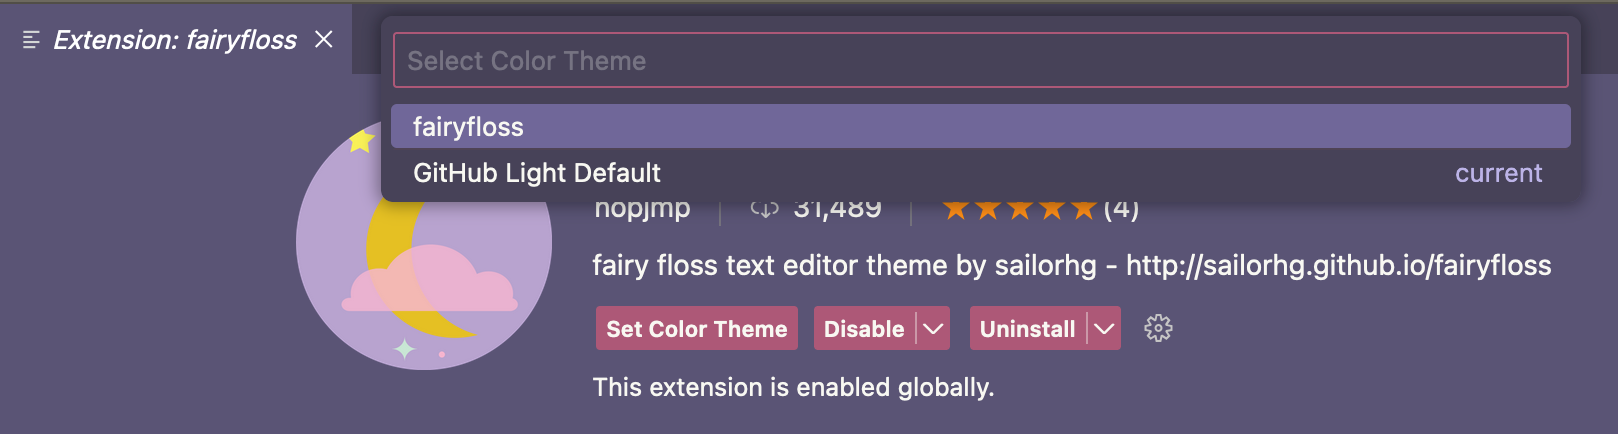


Acerca de la Sincronización de la configuración
Puedes habilitar la Sincronización de la configuración para sincronizar extensiones y otras configuraciones en dispositivos e instancias de VS Code. La configuración sincronizada se almacena en caché en la nube. Si la sincronización de la configuración está activada en un codespace, las actualizaciones que realices en la configuración del codespace se insertan en la nube, mientras que las actualizaciones que insertes en la nube desde otro lugar se extraen en el codespace. Para obtener más información, consulta Personalización de GitHub Codespaces para la cuenta.
Pasos siguientes
Creaste, personalizaste y ejecutaste exitosamente tu primer aplicación dentro de un codespace, pero ¡hay mucho más que explorar! Estos son algunos recursos útiles para que completes los siguientes pasos con GitHub Codespaces.
- Análisis en profundidad de GitHub Codespaces: en este inicio rápido se presentan algunas de las características de GitHub Codespaces. La guía a fondo ve estas áreas desde un punto de vista técnico.
- Incorporación de una configuración de contenedor de desarrollo al repositorio: estas guías proporcionan información sobre cómo configurar tu repositorio para usar GitHub Codespaces con idiomas específicos.
- Introducción a los contenedores dev: en esta guía se proporcionan detalles sobre cómo crear una configuración personalizada de Codespaces para el proyecto.