You can search, sort, and filter your starred repositories and topics on your stars page.
About stars
Starring makes it easy to find a repository or topic again later. You can see all the repositories and topics you have starred by going to your stars page.
You can star repositories and topics to discover similar projects on GitHub. For example, after you star GitHub's Green Software Directory, you will see other content related to green software on your personal dashboard.
Starring a repository also shows appreciation to the repository maintainer for their work. Many of GitHub's repository rankings depend on the number of stars a repository has. In addition, Explore GitHub shows popular repositories based on the number of stars they have.
Starring a repository
Starring a repository is a simple two-step process.
- On GitHub, navigate to the main page of the repository.
- In the top-right corner of the page, click Star.

- Optionally, to unstar a previously starred repository, click Starred. This will remove the repository from your starred list.

Viewing who has starred a repository
You can view everyone who has starred a public repository or a private repository you have access to.
To view everyone who has starred a repository, add /stargazers to the end of the URL of a repository. For example, to view stargazers for the github/docs repository, visit https://github.com/github/docs/stargazers.
Organizing starred repositories with lists
Note
Lists are currently in public preview and subject to change.
Curate repositories that you've starred with public lists. You can create public lists that appear on your stars page at https://github.com/USERNAME?tab=stars.

If you add a private repository to a list, then the private repository will only appear in your list for people with read access to the repository.
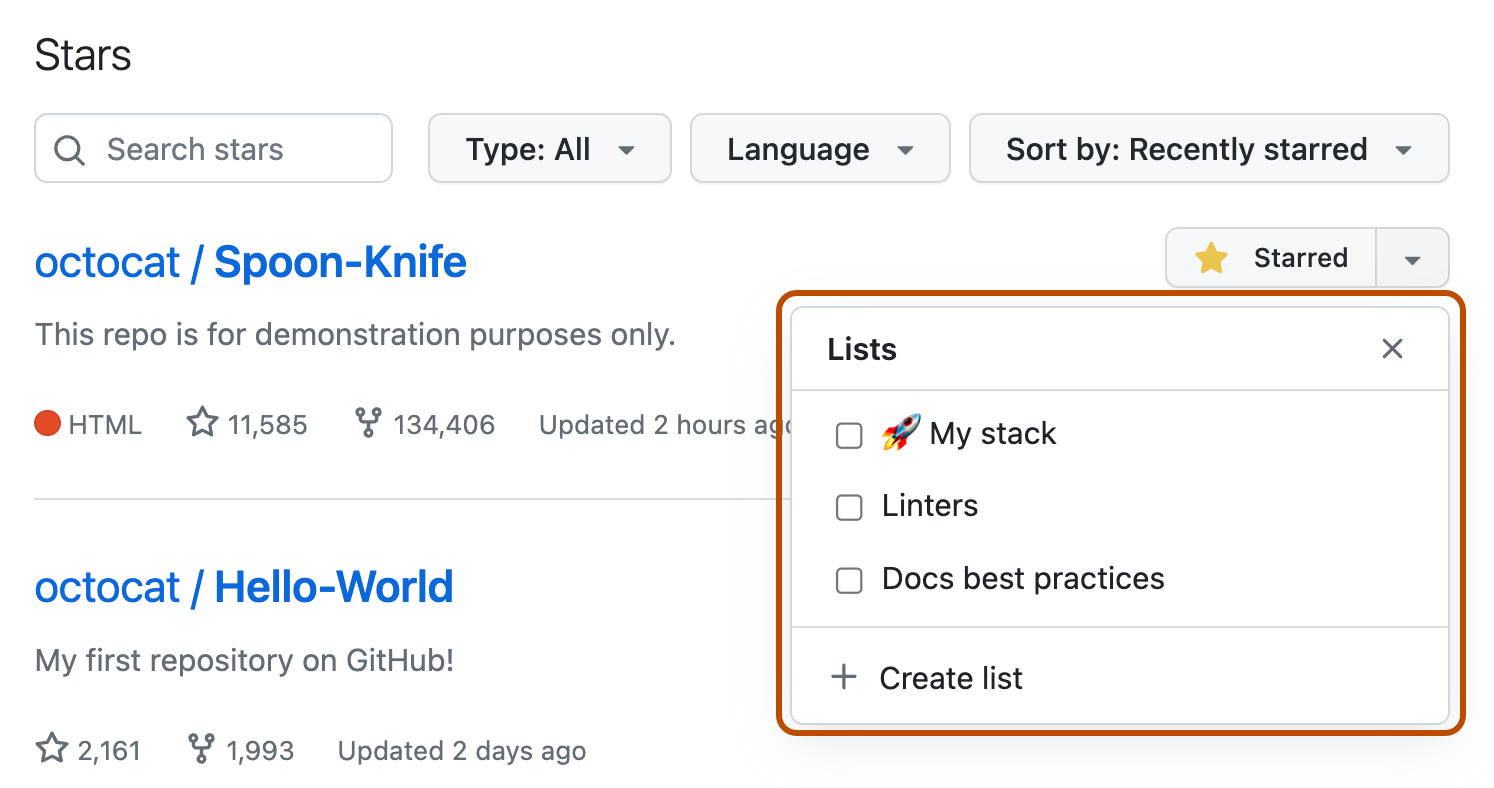
You can add a repository to an existing or new list wherever you see a repository's Star or Starred dropdown menu, whether on a repository page or in a list of starred repositories.

Creating a list
-
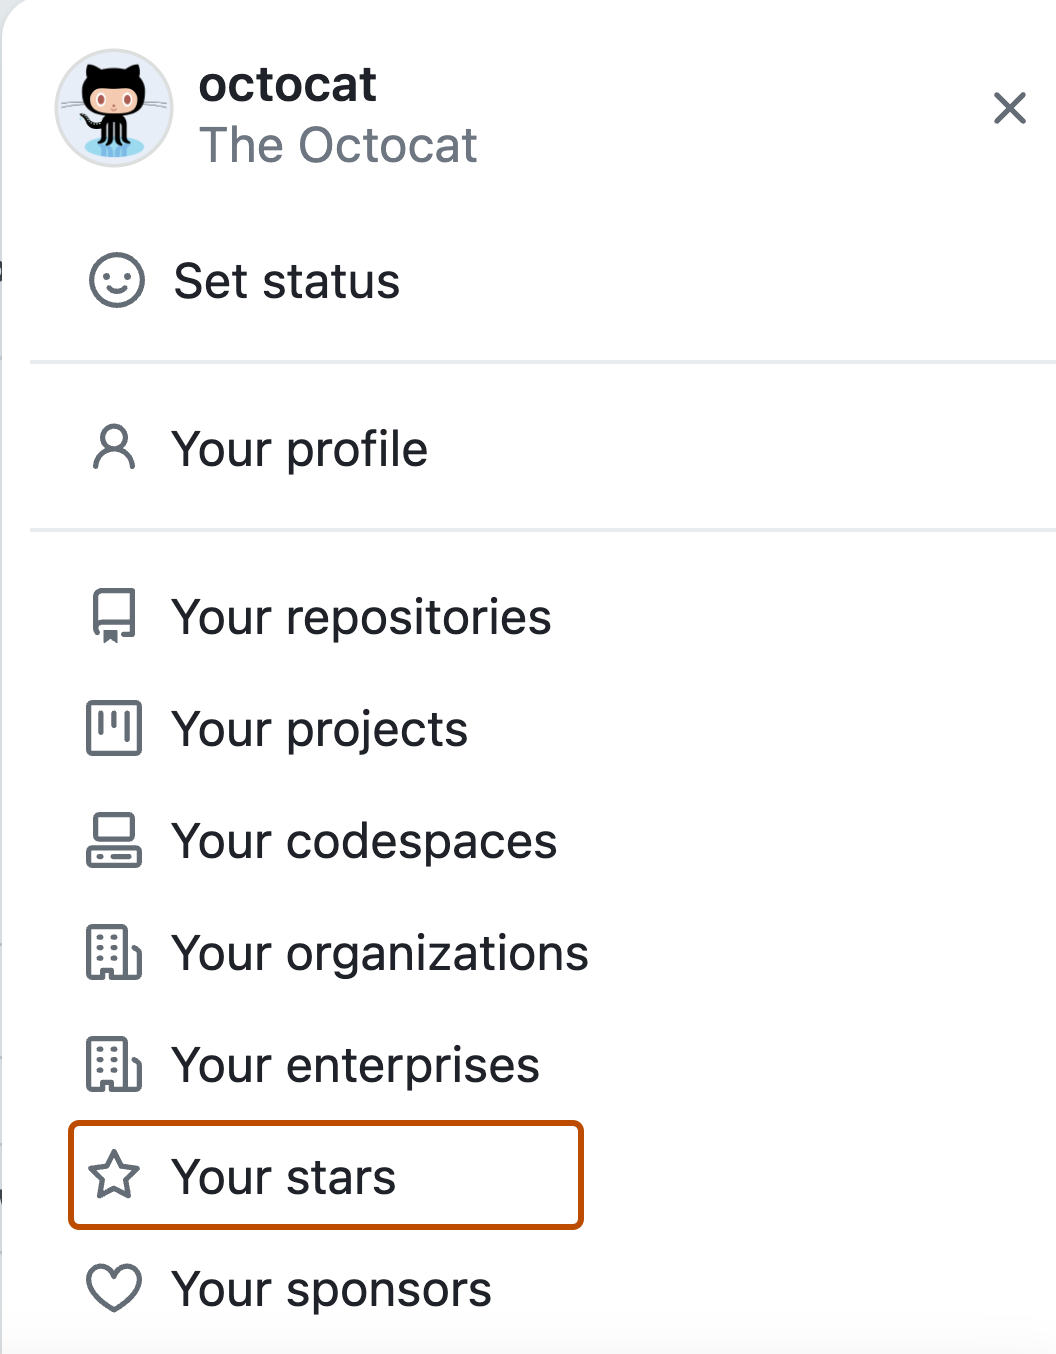
In the upper-right corner of any page, click your profile photo, then click Your stars.

-
Next to "Lists", click Create list.
-
Enter a name and description for your list and click Create.
Adding a repository to a list
-
In the upper-right corner of any page, click your profile photo, then click Your stars.

-
Find the repository you want to add to your list by typing it into the search bar.
-
Next to the repository you want to add, use the Starred dropdown menu and select your list.

Removing a repository from your list
-
In the upper-right corner of any page, click your profile photo, then click Your stars.

-
Select your list.
-
Next to the repository you want to remove, use the Starred drop-down menu and deselect your list.

Editing a list name or description
-
In the upper-right corner of any page, click your profile photo, then click Your stars.

-
Select the list you want to edit.
-
Click Edit list.
-
Update the name or description and click Save list.
Deleting a list
-
In the upper-right corner of any page, click your profile photo, then click Your stars.

-
Select the list you want to delete.
-
Click Delete list.
-
To confirm, click Delete.
Searching starred repositories and topics
You can use the search bar on your stars page to quickly find repositories and topics you've starred.
-
In the upper-right corner of any page, click your profile photo, then click Your stars.

-
Use the search bar to find your starred repositories or topics by their name.
The search bar only searches based on the name of a repository or topic, and not on any other qualifiers (such as the size of the repository or when it was last updated).
Sorting and filtering stars on your stars page
You can use sorting or filtering to customize how you see starred repositories and topics on your stars page.
-
In the upper-right corner of any page, click your profile photo, then click Your stars.

-
To sort stars, select the Sort by: dropdown menu, then select Recently starred, Recently active, or Most stars.
-
To filter your list of stars based on their language, click on the desired language under the Language dropdown menu.
-
To filter your list of stars based on repository type, click on the desired option under the Type: dropdown menu.