Note: Tag protection rules are currently in beta and subject to change.
About tag protection rules
When you add a tag protection rule, all tags that match the pattern provided will be protected. Only users with admin or maintain permissions in the repository will be able to create protected tags, and only users with admin permissions in the repository will be able to delete protected tags. For more information, see "Repository roles for an organization." GitHub Apps require the Repository administration: write permission to modify a protected tag.
Additionally, you can create custom repository roles to allow other groups of users to create or delete tags that match tag protection rules. For more information, see "Managing custom repository roles for an organization."
Adding tag protection rules
-
On your GitHub Enterprise Server instance, navigate to the main page of the repository.
-
Under your repository name, click Settings. If you cannot see the "Settings" tab, select the dropdown menu, then click Settings.

-
In the "Code and automation" section of the sidebar, click Tags.
-
Click New rule.
-
Under "Tag name pattern", type the pattern of the tags you want to protect. Tag protection rules use
fnmatchsyntax. For information about syntax options, see the fnmatch documentation. In this example, typing "*" protects all tags.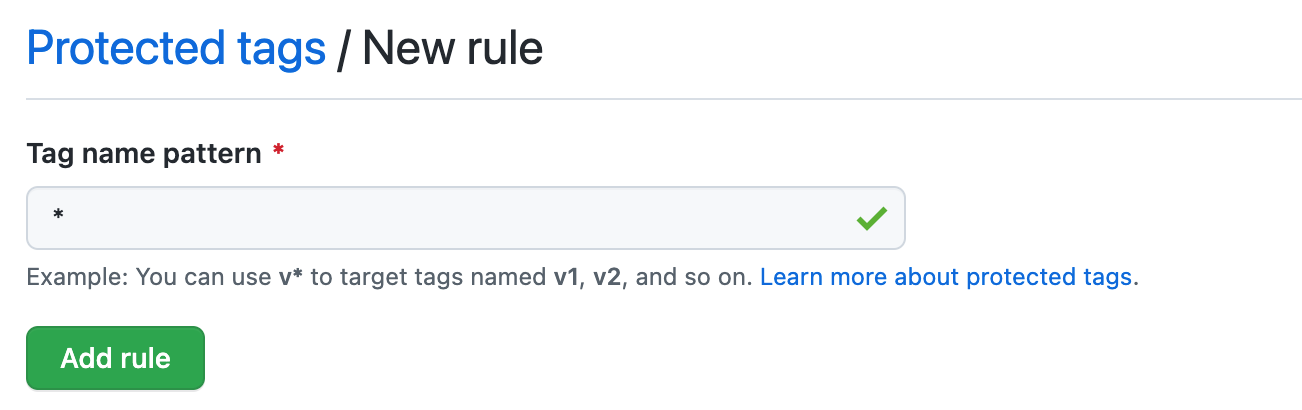
-
Click Add rule.

