Note: GitHub-hosted runners are not currently supported on GitHub Enterprise Server. You can see more information about planned future support on the GitHub public roadmap.
For information on how to use labels to route jobs to specific types of self-hosted runners, see "Using self-hosted runners in a workflow."
A self-hosted runner can be located in either your repository, organization, or enterprise settings on your GitHub Enterprise Server instance. To manage a self-hosted runner, you must have the following permissions, depending on where the self-hosted runner was added:
-
User repository: You must be the repository owner.
-
Organization: You must be an organization owner.
-
Organization repository: You must be an organization owner, or have admin access to the repository.
-
Enterprise: You must be a GitHub Enterprise site administrator.
Creating a custom label
You can create custom labels for runners at the repository, organization, and enterprise levels.
- Creating a custom label for a repository runner
- Creating a custom label for an organization runner
- Creating a custom label for an enterprise runner
Note: Labels are case-insensitive.
Creating a custom label for a repository runner
- Navigate to the main page of the repository where your self-hosted runner group is registered.
- Click Settings.
- In the left sidebar, click Actions, then click Runners.
- In the list of runners, click on the name of the runner you'd like to configure.
- In the "Labels" section, click .
- In the "Find or create a label" field, type the name of your new label and click Create new label. The custom label is created and assigned to the self-hosted runner. Custom labels can be removed from self-hosted runners, but they currently can't be manually deleted. Any unused labels that are not assigned to a runner will be automatically deleted within 24 hours.
Creating a custom label for an organization runner
- Navigate to the main page of the organization where your self-hosted runner group is registered.
- Click Settings.
- In the left sidebar, click Actions, then click Runners.
- In the list of runners, click on the name of the runner you'd like to configure.
- In the "Labels" section, click .
- In the "Find or create a label" field, type the name of your new label and click Create new label. The custom label is created and assigned to the self-hosted runner. Custom labels can be removed from self-hosted runners, but they currently can't be manually deleted. Any unused labels that are not assigned to a runner will be automatically deleted within 24 hours.
Creating a custom label for an enterprise runner
-
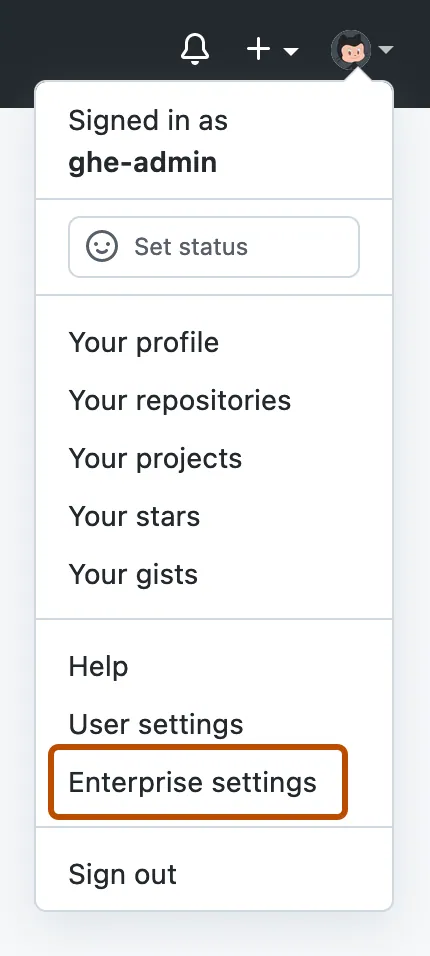
In the top-right corner of GitHub Enterprise Server, click your profile photo, then click Enterprise settings.

-
In the enterprise account sidebar, click Policies.
-
Under " Policies", click Actions.
-
Click the Runners tab.
-
In the list of runners, click on the name of the runner you'd like to configure.
-
In the "Labels" section, click .
-
In the "Find or create a label" field, type the name of your new label and click Create new label. The custom label is created and assigned to the self-hosted runner. Custom labels can be removed from self-hosted runners, but they currently can't be manually deleted. Any unused labels that are not assigned to a runner will be automatically deleted within 24 hours.
Assigning a label to a self-hosted runner
You can assign labels to self-hosted runners at the repository, organization, and enterprise levels.
- Assigning a label to a repository runner
- Assigning a label to an organization runner
- Assigning a label to an enterprise runner
Assigning a label to a repository runner
- Navigate to the main page of the repository where your self-hosted runner group is registered.
- Click Settings.
- In the left sidebar, click Actions, then click Runners.
- In the "Labels" section, click .
- To assign a label to your self-hosted runner, in the "Find or create a label" field, click the label.
Assigning a label to an organization runner
- Navigate to the main page of the organization where your self-hosted runner group is registered.
- Click Settings.
- In the left sidebar, click Actions, then click Runners.
- In the "Labels" section, click .
- To assign a label to your self-hosted runner, in the "Find or create a label" field, click the label.
Assigning a label to an enterprise runner
-
In the top-right corner of GitHub Enterprise Server, click your profile photo, then click Enterprise settings.
-
In the enterprise account sidebar, click Policies.
-
Under " Policies", click Actions.
-
Click the Runners tab.
-
In the list of runners, click on the name of the runner you'd like to configure.
-
In the "Labels" section, click .
-
To assign a label to your self-hosted runner, in the "Find or create a label" field, click the label.
Removing a custom label from a self-hosted runner
You can remove custom labels from self-hosted runners at the repository, organization, and enterprise levels.
- Removing a custom label from a repository runner
- Removing a custom label from an organization runner
- Removing a custom label from an enterprise runner
Removing a custom label from a repository runner
- Navigate to the main page of the repository where your self-hosted runner group is registered.
- Click Settings.
- In the left sidebar, click Actions, then click Runners.
- In the "Labels" section, click .
- In the "Find or create a label" field, assigned labels are marked with the icon. Click on a marked label to unassign it from your self-hosted runner.
Removing a custom label from an organization runner
- Navigate to the main page of the organization where your self-hosted runner group is registered.
- Click Settings.
- In the left sidebar, click Actions, then click Runners.
- In the "Labels" section, click .
- In the "Find or create a label" field, assigned labels are marked with the icon. Click on a marked label to unassign it from your self-hosted runner.
Removing a custom label from an enterprise runner
-
In the top-right corner of GitHub Enterprise Server, click your profile photo, then click Enterprise settings.
-
In the enterprise account sidebar, click Policies.
-
Under " Policies", click Actions.
-
Click the Runners tab.
-
In the list of runners, click on the name of the runner you'd like to configure.
-
In the "Labels" section, click .
-
In the "Find or create a label" field, assigned labels are marked with the icon. Click on a marked label to unassign it from your self-hosted runner.
Programmatically assign labels
You can programmatically assign labels to a self-hosted runner after the runner is created, or during its initial configuration.
-
To programmatically assign labels to an existing self-hosted runner, you must use the REST API. For more information, see the "Self-hosted runners" REST API.
-
To programmatically assign labels to a self-hosted runner during the initial runner configuration, you can pass label names to the
configscript using thelabelsparameter.Note: You cannot use the
configscript to assign labels to an existing self-hosted runner.For example, this command assigns a label named
gpuwhen configuring a new self-hosted runner:./config.sh --url <REPOSITORY_URL> --token <REGISTRATION_TOKEN> --labels gpuThe label is created if it does not already exist. You can also use this approach to assign the default labels to runners, such as
x64orlinux. When default labels are assigned using the configuration script, GitHub Actions accepts them as given and does not validate that the runner is actually using that operating system or architecture.You can use comma separation to assign multiple labels. For example:
./config.sh --url <REPOSITORY_URL> --token <REGISTRATION_TOKEN> --labels gpu,x64,linuxNote: If you replace an existing runner, then you must reassign any custom labels.