Acerca de los asignatarios de las propuestas y solicitudes de cambios
Puedes asignar varias personas a cada incidencia o solicitud de incorporación de cambios, incluyéndote a ti mismo, a cualquiera que haya comentado en la incidencia o solicitud de incorporación de cambios, a cualquiera con permisos de escritura en el repositorio y a los miembros de la organización con permisos de lectura en el repositorio. Para más información, consulta Permisos de acceso en GitHub.
Las incidencias y las solicitudes de incorporación de cambios en repositorios públicos y en repositorios privados para una cuenta de pago pueden tener hasta 10 personas asignadas. Los repositorios privados del plan gratuito se limitan a una persona por incidencia o solicitud de incorporación de cambios.
Asignar una propuesta o solicitud de cambios individual
-
En GitHub, navegue hasta la página principal del repositorio.
-
En el nombre del repositorio, haga clic en Incidencias o Solicitudes de incorporación de cambios.

-
Abre la propuesta o solicitud de cambios que quieras asignarle a alguien.
-
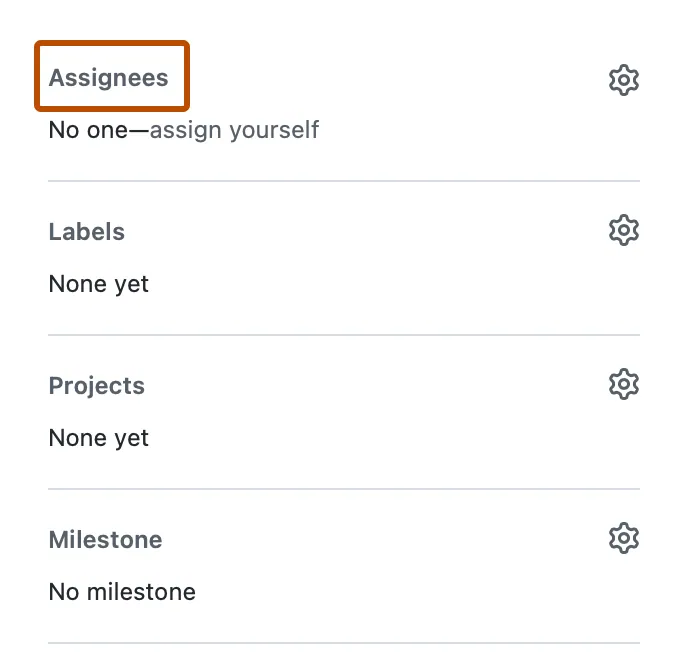
En el menú de la derecha, haga clic en Assignees.

-
Para asignar la solicitud de cambios o propuesta a un usurio, comienza a teclear su nombre de usuario y luego haz clic en su nombre cuando aparezca. Puedes seleccionar y asignar hasta 10 asignatarios a una propuesta o solicitud de extracción.

Asignar solicitudes de extracción o propuestas múltiples
-
En GitHub, navegue hasta la página principal del repositorio.
-
En el nombre del repositorio, haga clic en Incidencias o Solicitudes de incorporación de cambios.
-
Seleccione los elementos que desee asignar a alguien.

-
En la esquina superior derecha, haga clic en Assign.
-
Para asignar los elementos a un usuario, comienza escribiendo su nombre de usuario, luego haz clic en su nombre cuando aparezca. Puedes seleccionar y asignar hasta 10 asignatarios a una propuesta o solicitud de extracción.
