Ein Repository erstellen
You can store a variety of projects in GitHub Enterprise Server repositories, including innersource projects. With innersource, you can share code to make better, more reliable software. For more information on innersource, see GitHub's white paper "An introduction to innersource."
- Benutze in der oberen rechten Ecke einer beliebigen Seite das -Dropdownmenü und wähle New Repository (Neues Repository).

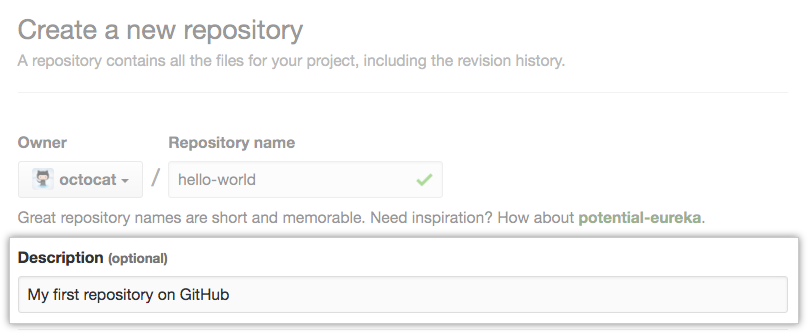
- Gib einen kurzen, leicht merkbaren Namen für Dein Repository ein. Beispiel: „hello world“.

- Optional kannst Du auch eine Beschreibung des Repositorys hinzufügen. Beispiel: „Mein erstes Repository auf GitHub Enterprise Server“.
- Choose a repository visibility. For more information, see "About repositories."

- Wähle Initialize this repository with a README (Dieses Repository mit einer README-Datei initialisieren).

- Klicke auf Create repository (Repository erstellen).

Glückwünsch! Du hast erfolgreich Dein erstes Repository erstellt und mit einer README-Datei initialisiert.
To learn more about GitHub CLI, see "About GitHub CLI."
-
In the command line, navigate to the directory where you would like to create a local clone of your new project.
-
To create a repository for your project, use the
gh repo createsubcommand. Replaceproject-namewith the desired name for your repository. If you want your project to belong to an organization instead of to your user account, specify the organization name and project name withorganization-name/project-name.gh repo create project-name -
Follow the interactive prompts. To clone the repository locally, confirm yes when asked if you would like to clone the remote project directory. Alternatively, you can specify arguments to skip these prompts. For more information about possible arguments, see the GitHub CLI manual.
Die erste Änderung freigeben
Ein Commit ist mit einem Snapshot aller Dateien in Deinem Projekt zu einem bestimmten Zeitpunkt vergleichbar.
Wenn Du Dein neues Repository erstellt hast, initialisiere es mit einer README-Datei. README-Dateien bieten Platz, um das Projekt detaillierter zu beschreiben oder weitere Dokumentationen hinzuzufügen, z. B. Informationen zum Installieren oder Verwenden Deines Projekts. Der Inhalt der README-Datei wird automatisch auf der Startseite Deines Repositorys angezeigt.
Nun geben wir eine Änderung der README-Datei frei.
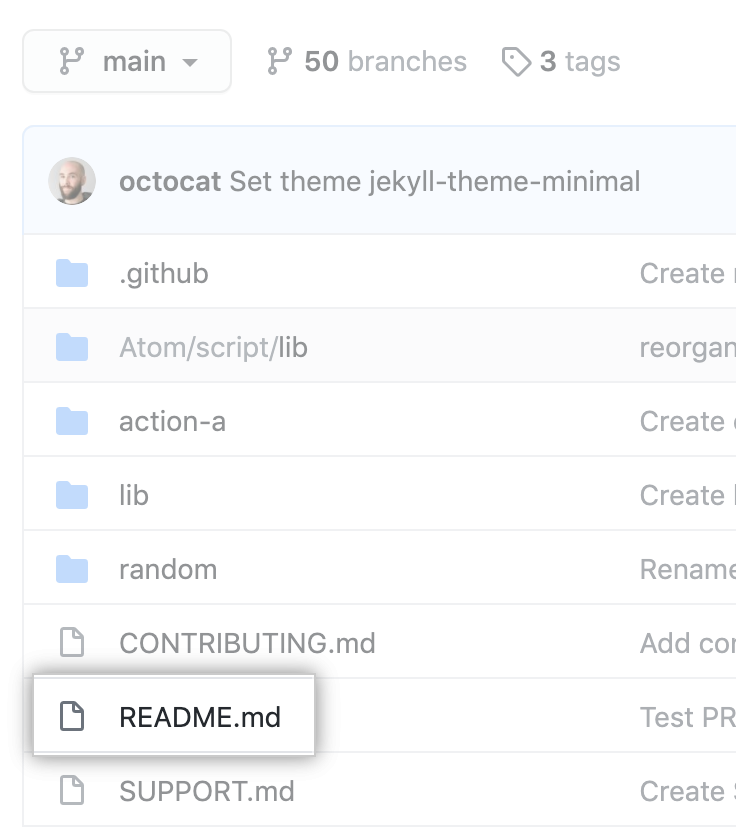
- Klicke in der Dateiliste Deines Repositorys auf die Datei README.md.
- Klicken Sie über dem Inhalt der Datei auf .
- Gib auf der Registerkarte Edit file (Datei ändern) einige Informationen zu Deiner Person ein.

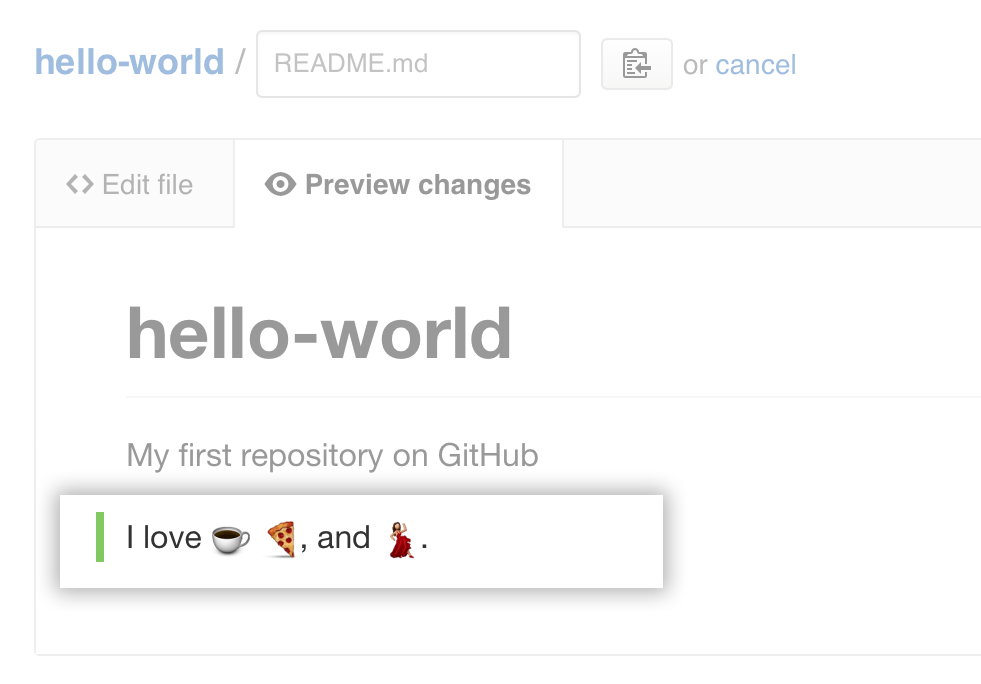
- Oberhalb des neuen Inhaltes klicke auf Preview changes (Änderungsvorschau).

- Überprüfe die Änderungen, die Du an der Datei vorgenommen hast. Der neue Inhalt wird in grüner Farbe angezeigt.
- Am Ende der Seite schreibe eine kurze, aussagekräftige Commit-Mitteilung, welche die Änderung beschreibt, welche Du an der Datei vornimmst. Du kannst den Commit in der Commit-Mitteilung mehr als einem Autor zuordnen. Weitere Informationen findest Du unter "Erstellen eines Commit mit mehreren Co-Autoren"

- Lege unter den Commit-Mitteilungsfeldern fest, ob Du Deinen Commit zum aktuellen Branch oder zu einem neuen Branch hinzufügen möchtest. If your current branch is the default branch, you should choose to create a new branch for your commit and then create a pull request. Weitere Informationen findest Du unter „Erstellen eines neuen Pull Requests."

- Klicke auf Propose file change (Dateiänderung vorschlagen).

Now that you have created a project, you can start committing changes.
README-Dateien bieten Platz, um das Projekt detaillierter zu beschreiben oder weitere Dokumentationen hinzuzufügen, z. B. Informationen zum Installieren oder Verwenden Deines Projekts. Der Inhalt der README-Datei wird automatisch auf der Startseite Deines Repositorys angezeigt. Follow these steps to add a README file.
-
In the command line, navigate to the root directory of your new project. (This directory was created when you ran the
gh repo createcommand.) -
Create a README file with some information about the project.
echo "info about this project" >> README.md -
Enter
git status. You will see that you have an untrackedREADME.mdfile.$ git status Untracked files: (use "git add..." to include in what will be committed) README.md nothing added to commit but untracked files present (use "git add" to track) -
Stage and commit the file.
git add README.md && git commit -m "Add README" -
Push the changes to your branch.
git push --set-upstream origin HEAD
Geschafft!
Glückwünsch! Du hast jetzt ein Repository samt einer README-Datei und Deinem ersten Commit auf your GitHub Enterprise Server instance erstellt.
You can now clone a GitHub Enterprise Server repository to create a local copy on your computer. From your local repository you can commit, and create a pull request to update the changes in the upstream repository. For more information, see "Cloning a repository" and "Set up Git."
You can find interesting projects and repositories on GitHub Enterprise Server and make changes to them by creating a fork of the repository. For more information see, "Fork a repository."
Each repository in GitHub Enterprise Server is owned by a person or an organization. You can interact with the people, repositories, and organizations by connecting and following them on GitHub Enterprise Server. For more information see "Be social."
GitHub Enterprise Server has a great support community where you can ask for help and talk to people from around the world. Join the conversation on Github Support Community.