Note: GitHub Actions was available for GitHub Enterprise Server 2.22 as a limited beta. The beta has ended. GitHub Actions is now generally available in GitHub Enterprise Server 3.0 or later. For more information, see the GitHub Enterprise Server 3.0 release notes.
- For more information about upgrading to GitHub Enterprise Server 3.0 or later, see "Upgrading GitHub Enterprise Server."
- For more information about configuring GitHub Actions after you upgrade, see the documentation for GitHub Enterprise Server 3.0.
Note: GitHub-hosted runners are not currently supported on GitHub Enterprise Server. You can see more information about planned future support on the GitHub public roadmap.
Übersicht
This article describes some of the advanced features of GitHub Actions that help you create more complex workflows.
Storing secrets
If your workflows use sensitive data, such as passwords or certificates, you can save these in GitHub as secrets and then use them in your workflows as environment variables. This means that you will be able to create and share workflows without having to embed sensitive values directly in the YAML workflow.
This example action demonstrates how to reference an existing secret as an environment variable, and send it as a parameter to an example command.
jobs:
  example-job:
    runs-on: ubuntu-latest
    steps:
      - name: Retrieve secret
        env:
          super_secret: ${{ secrets.SUPERSECRET }}
        run: |
          example-command "$super_secret"
Weitere Informationen findest Du unter „Verschlüsselte Geheimnisse erstellen und speichern“.
Creating dependent jobs
By default, the jobs in your workflow all run in parallel at the same time. So if you have a job that must only run after another job has completed, you can use the needs keyword to create this dependency. If one of the jobs fails, all dependent jobs are skipped; however, if you need the jobs to continue, you can define this using the if conditional statement.
In this example, the setup, build, and test jobs run in series, with build and test being dependent on the successful completion of the job that precedes them:
jobs:
  setup:
    runs-on: ubuntu-latest
    steps:
      - run: ./setup_server.sh
  build:
    needs: setup
    runs-on: ubuntu-latest
    steps:
      - run: ./build_server.sh
  test:
    needs: build
    runs-on: ubuntu-latest
    steps:
      - run: ./test_server.sh
For more information, see jobs.<job_id>.needs.
Using a build matrix
You can use a build matrix if you want your workflow to run tests across multiple combinations of operating systems, platforms, and languages. The build matrix is created using the strategy keyword, which receives the build options as an array. For example, this build matrix will run the job multiple times, using different versions of Node.js:
jobs:
  build:
    runs-on: ubuntu-latest
    strategy:
      matrix:
        node: [6, 8, 10]
    steps:
      - uses: actions/setup-node@v2
        with:
          node-version: ${{ matrix.node }}
For more information, see jobs.<job_id>.strategy.matrix.
Datenbanken und Service-Container verwenden
If your job requires a database or cache service, you can use the services keyword to create an ephemeral container to host the service; the resulting container is then available to all steps in that job and is removed when the job has completed. This example demonstrates how a job can use services to create a postgres container, and then use node to connect to the service.
jobs:
  container-job:
    runs-on: ubuntu-latest
    container: node:10.18-jessie
    services:
      postgres:
        image: postgres
    steps:
      - name: Check out repository code
        uses: actions/checkout@v2
      - name: Install dependencies
        run: npm ci
      - name: Connect to PostgreSQL
        run: node client.js
        env:
          POSTGRES_HOST: postgres
          POSTGRES_PORT: 5432
For more information, see "Using databases and service containers."
Using labels to route workflows
This feature helps you assign jobs to a specific hosted runner. If you want to be sure that a particular type of runner will process your job, you can use labels to control where jobs are executed. You can assign labels to a self-hosted runner in addition to their default label of self-hosted. Then, you can refer to these labels in your YAML workflow, ensuring that the job is routed in a predictable way. GitHub-hosted runners have predefined labels assigned.
This example shows how a workflow can use labels to specify the required runner:
jobs:
  example-job:
    runs-on: [self-hosted, linux, x64, gpu]
A workflow will only run on a runner that has all the labels in the runs-on array. The job will preferentially go to an idle self-hosted runner with the specified labels. If none are available and a GitHub-hosted runner with the specified labels exists, the job will go to a GitHub-hosted runner.
To learn more about self-hosted runner labels, see "Using labels with self-hosted runners." To learn more about GitHub-hosted runner labels, see "Supported runners and hardware resources".
Verwenden einer Workflowvorlage
GitHub provides preconfigured workflow templates that you can customize to create your own continuous integration workflow. GitHub Enterprise Server analyzes your code and shows you CI templates that might be useful for your repository. Wenn Dein Repository beispielsweise Node.js-Code enthält, werden Vorschläge für Node.js-Projekte angezeigt. Du kannst Workflow-Vorlagen als Ausgangspunkt verwenden, um Deinen benutzerdefinierten Workflow zu erstellen, oder Du kannst sie unverändert zu verwenden.
You can browse the full list of workflow templates in the actions/starter-workflows repository on your GitHub Enterprise Server instance.
- Navigiere in GitHub Enterprise Server zur Hauptseite des Repository.
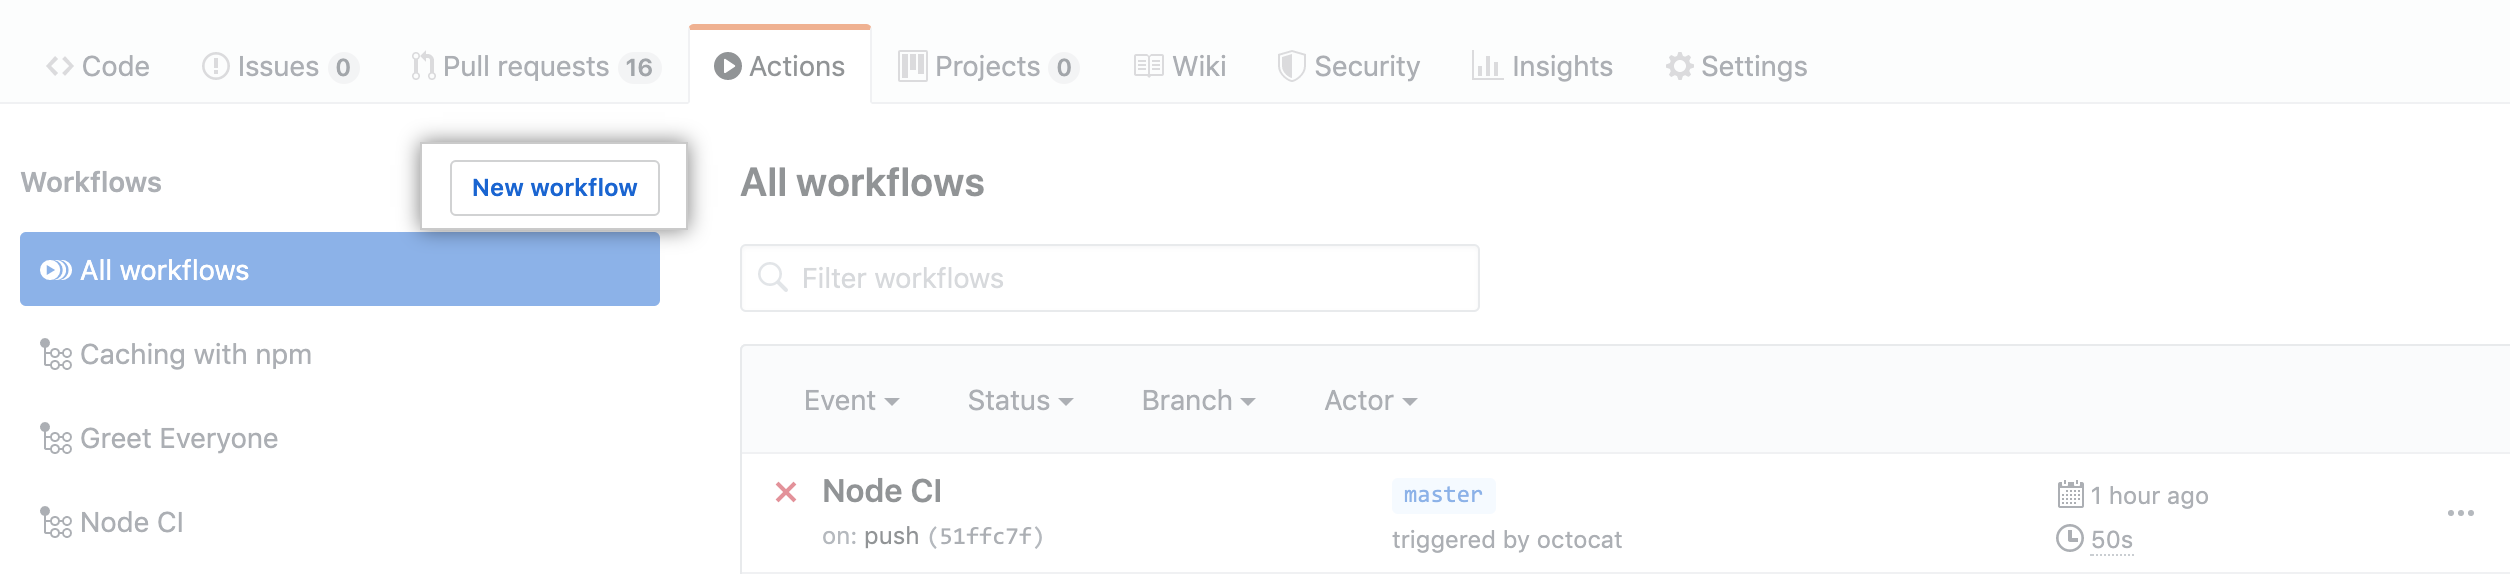
- Klicke unter Deinem Repository-Namen auf Actions (Aktionen).

- Wenn Ihr Repository bereits über vorhandene Workflows verfügt: Klicken Sie in der linken oberen Ecke auf Neuer Workflow.
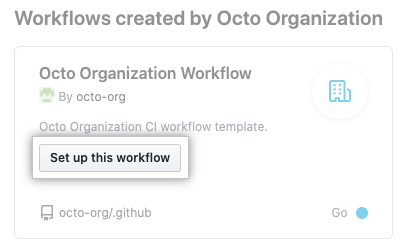
- Klicke unter dem Namen der zu verwendenden Vorlage auf Set up this workflow (Workflow einrichten).
Nächste Schritte:
To continue learning about GitHub Actions, see "Sharing workflows, secrets, and runners with your organization."