About upgrades
Each account on GitHub Enterprise Cloud is billed separately. Upgrading an organization account enables paid features for the organization's repositories only and does not affect the features available in repositories owned by any associated personal accounts. Similarly, upgrading a personal account enables paid features for the personal account's repositories only and does not affect the repositories of any organization accounts. For more information about account types, see "Types of GitHub accounts."
Upgrading your plan does not affect other subscriptions or usage-based billing for your account. For more information, see "About billing on GitHub."
Upgrading your personal account's plan
You can upgrade your personal account from GitHub Free to GitHub Pro to get advanced code review tools on private repositories owned by your personal account.
Upgrading your personal account does not affect any organizations you may manage or repositories owned by those organizations. For more information, see "GitHub’s plans."
-
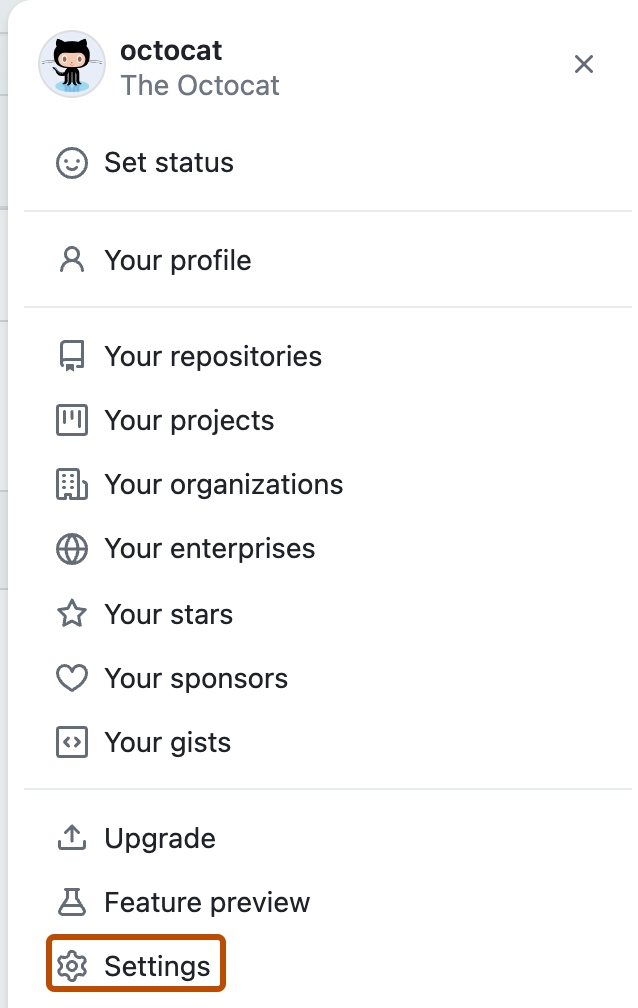
In the upper-right corner of any page, click your profile photo, then click Settings.
-
In the "Access" section of the sidebar, click Billing and plans, then click Plans and usage.
-
Next to "Current plan", click Upgrade.
-
Under "Pro" on the "Compare plans" page, click Upgrade to Pro.
-
Under "Upgrade summary", choose whether you want to pay monthly or yearly.
-
Optionally, to see your plan's details, click Show details.
-
Under "Billing information", complete the form, then click Save.
-
Under "Payment method", choose to pay with a credit card or PayPal.
-
Complete the payment information form, then click Submit.
-
Review the information about the charge and your billing date, then click Upgrade my account or Upgrade my organization's account.
Managing your organization's plan
You can upgrade your organization's plan, add seats to your existing plan, or switch from per-repository to per-user pricing.
Upgrading your organization's plan
You can upgrade your organization from GitHub Free for an organization to GitHub Team to access advanced collaboration and management tools for teams, or upgrade your organization to GitHub Enterprise Cloud for additional security, compliance, and deployment controls.
Upgrading an organization does not affect your personal account or repositories owned by your personal account. For more information, see "GitHub’s plans."
Organization owners and billing managers can access or change billing settings for an organization.
Note: If the organization has write permissions for GitHub Actions, you must manually set write permissions for the enterprise. For more information, see "Managing GitHub Actions settings for a repository." For more information about managing organization-level permissions for GitHub Actions, see "Disabling or limiting GitHub Actions for your organization."
-
In the upper-right corner of any page, click your profile photo, then click Settings.
-
In the "Access" section of the sidebar, click Organizations.
-
Next to the organization, click Settings.
-
If you are an organization owner, in the "Access" section of the sidebar, click Billing and plans.
-
Click Upgrade next to "Current plan".
-
Review the features of each plan, then, click either Upgrade to Team or Upgrade to Enterprise.
-
Under "Upgrade summary", choose whether you want to pay monthly or yearly.
-
Optionally, to see your plan's details, click Show details.
-
Under "Payment method", choose to pay with a credit card or PayPal.
-
Complete the payment information form, then click Submit.
-
Optionally, if your organization is owned by a business or institution, select This organization is owned by a business.
-
If your organization is owned by a business or institution, under "Name of business or institution this organization belongs to", type the name of the business or institution.
-
Review the information about the charge and your billing date, then click Upgrade my account or Upgrade my organization's account.
Next steps for organizations using GitHub Enterprise Cloud
As part of your upgrade to GitHub Enterprise Cloud, you set up an enterprise account on GitHub.com. An enterprise account allows you to manage multiple organizations. Optionally, you can set up identity and access management for an individual organization or enterprise account. For more information, see "About enterprise accounts" and "About identity and access management."
If you currently use GitHub Enterprise Cloud with a single organization, we encourage you to create an enterprise account. For more information, see "Creating an enterprise account."
Adding seats to your organization
If you'd like additional users to have access to your GitHub Team organization's private repositories, you can purchase more seats anytime.
-
In the upper-right corner of any page, click your profile photo, then click Settings.
-
In the "Access" section of the sidebar, click Organizations.
-
Next to the organization, click Settings.
-
If you are an organization owner, in the "Access" section of the sidebar, click Billing and plans.
-
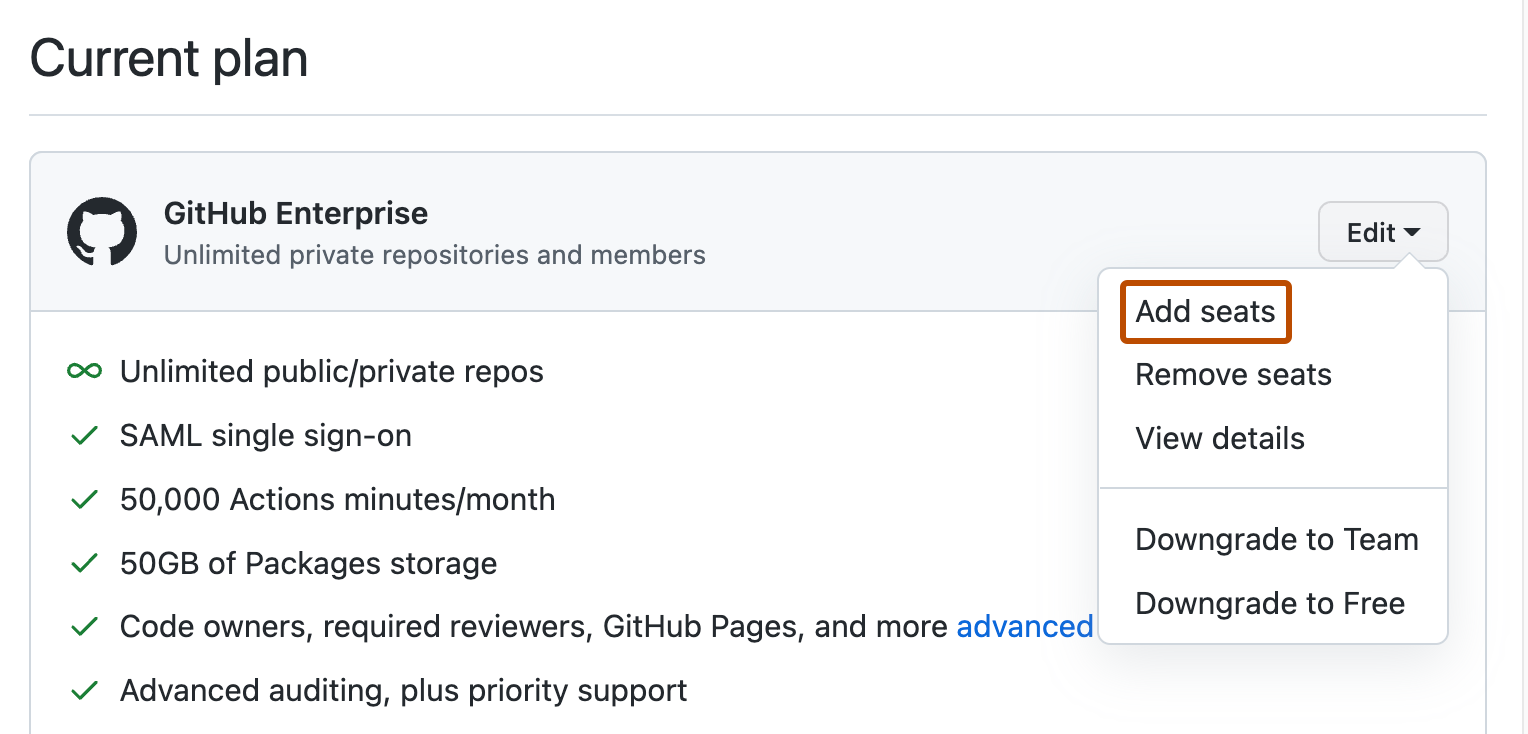
Under "Current plan", next to the name of your plan, select Edit and click Add seats.
-
Under "Add seats", type the number of seats you'd like to add.
-
Click Add seats.

Switching your organization from per-repository to per-user pricing
If your organization is using a legacy per-repository billing plan, you can switch to per-user pricing at any time. You will not be able to switch back to repository pricing once you've upgraded to per-user pricing. For more information, see "About per-user pricing."
-
In the upper-right corner of any page, click your profile photo, then click Settings.
-
In the "Access" section of the sidebar, click Organizations.
-
Next to the organization, click Settings.
-
If you are an organization owner, in the "Access" section of the sidebar, click Billing and plans.
-
To the right of your plan name, select the Edit dropdown menu, then click Edit plan.
-
To the right of "Advanced tools for teams", click Upgrade now.
-
Review the features of each plan, then, click either Upgrade to Team or Upgrade to Enterprise.
-
Under "Upgrade summary", choose whether you want to pay monthly or yearly.
-
Optionally, if your organization is owned by a business or institution, select This organization is owned by a business.
-
If your organization is owned by a business or institution, under "Name of business or institution this organization belongs to", type the name of the business or institution.
-
Review the information about the charge and your billing date, then click Upgrade my account or Upgrade my organization's account.
Adding seats to your enterprise account
Enterprise owners and billing managers can manage billing for an enterprise account.
Note: If your enterprise account is invoiced, you cannot add seats on GitHub. Instead, contact GitHub's Sales team.
-
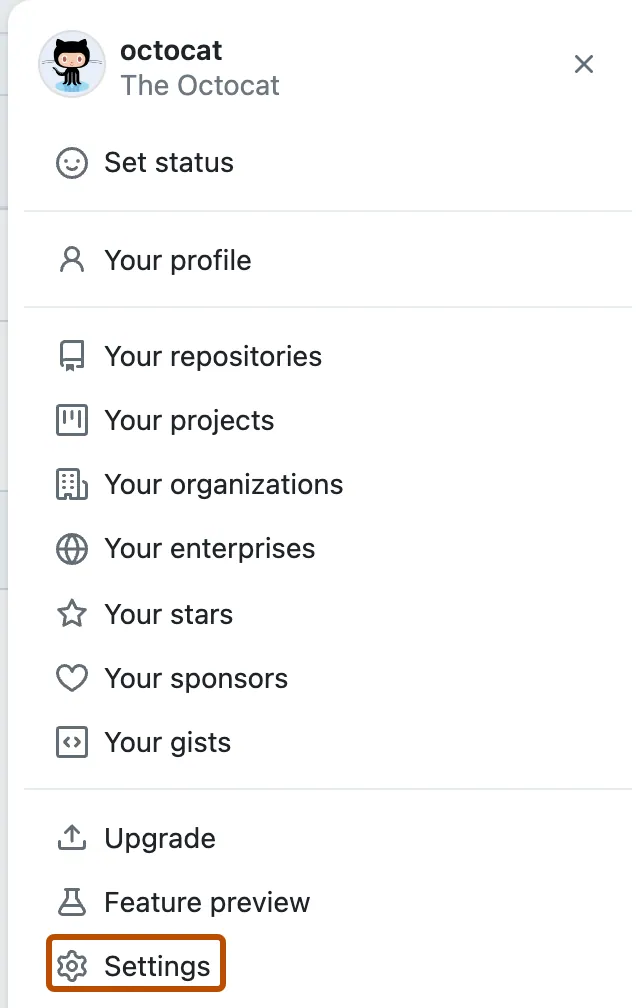
In the top-right corner of GitHub.com, click your profile photo, then click Your enterprises.
-
In the list of enterprises, click the enterprise you want to view.
-
In the enterprise account sidebar, click Settings.
-
Under Settings, click Billing.
-
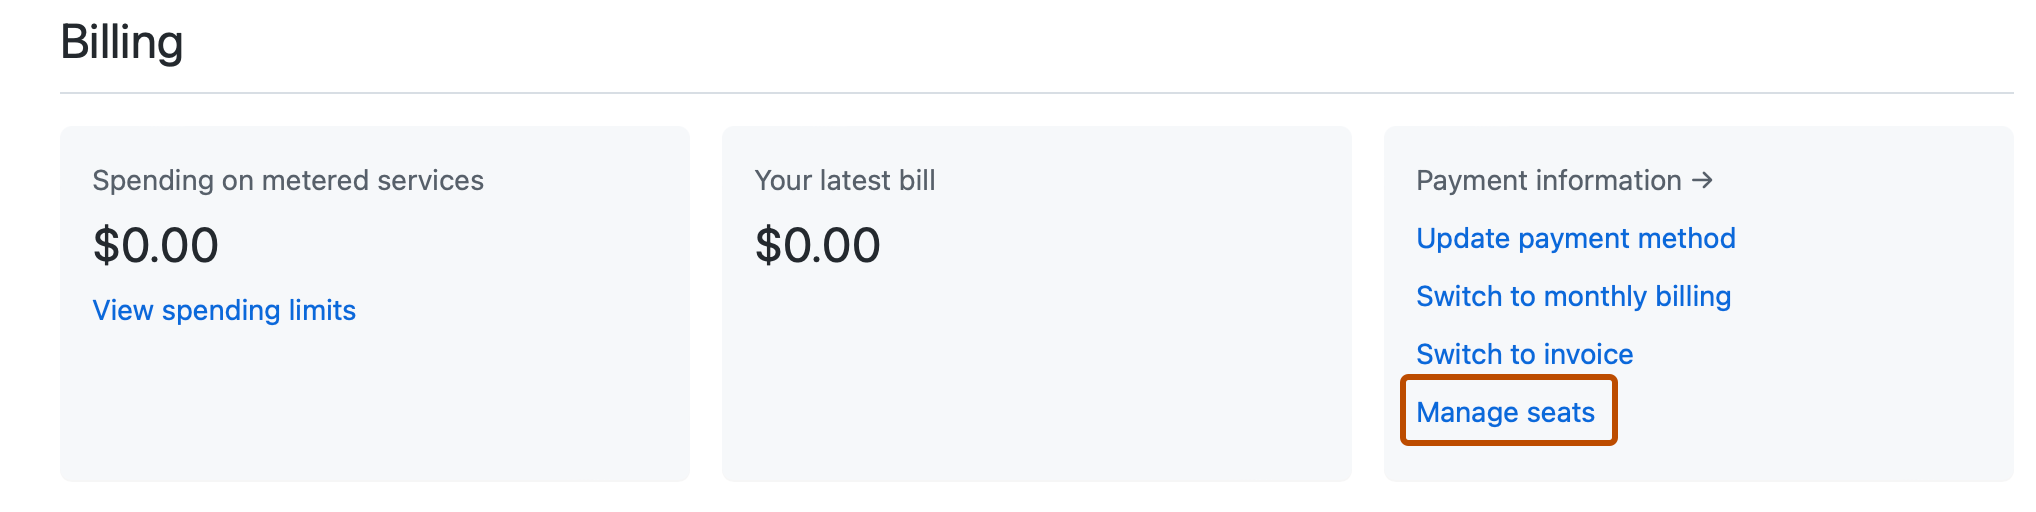
Under "Payment information", click Manage seats.
-
In the "User licenses" section, under "Total Seats", enter a number of seats.

-
Click Update seats.


Troubleshooting a 500 error when upgrading
If you receive a 500 error when trying to upgrade your account:
- Try clearing your browser's cache, then resubmit your information
- Check to make sure you have entered your payment data correctly
If that doesn't resolve the error, please contact us through the GitHub Support portal.