Note
Enterprise accounts, and organizations owned by enterprise accounts, created after June 2, 2024, have access to the enhanced billing platform. Enterprises that participated in the public preview program also have access to the enhanced billing platform.
The enhanced billing platform offers better spending control and detailed visibility to help you understand your usage with more granular controls. See Using the new billing platform.
About spending limits for GitHub Actions
GitHub Actions usage is free for standard GitHub-hosted runners in public repositories, and for self-hosted runners. For private repositories, each GitHub account receives a certain amount of free minutes and storage for use with GitHub-hosted runners, depending on the account's plan. Any usage beyond the included amounts is controlled by spending limits.
If you are a monthly-billed customer, your account will have a default spending limit of 0 US dollars (USD), which prevents additional usage of minutes or storage for private repositories beyond the amounts included with your account. If you pay your account by invoice, your account will have an unlimited default spending limit.
You can set a specific spending limit or, for some accounts, allow unlimited spending. The spending limit applies to your combined overages (any usage beyond the amounts included with your plan) for GitHub Packages and GitHub Actions. For more information about pricing for GitHub Actions usage, see About billing for GitHub Actions.
If you are an organization owner or enterprise owner, you can connect an Azure Subscription ID to your organization or enterprise account to enable and pay for GitHub Actions usage beyond the amounts including with your account. For more information, see Connecting an Azure subscription.
As soon as you set a spending limit other than $0, you will be responsible for any existing overages in the current billing period. For example, if your organization uses GitHub Team, does not allow overages, and creates workflow artifacts that increase your storage usage for the month from 1.9GB to 2.1GB, you will use slightly more storage than the 2GB your product includes.
Because you have not enabled overages, your next attempt to create a workflow artifact will fail. You will not receive a bill for the 0.1GB overage that month. However, if you enable overages, your first bill will include the 0.1GB of existing overage for the current billing cycle, as well as any additional overages you accrue.
Managing the spending limit for GitHub Actions for your personal account
Anyone can manage the spending limit for GitHub Actions for their own personal account.
-
In the upper-right corner of any page on GitHub, click your profile photo, then click Settings.
-
In the "Access" section of the sidebar, click Billing and plans, then click Spending limits.
-
At the top of the page, under "Payment information," click Manage spending limit.

-
Under "Actions & Packages", choose to limit spending or allow unlimited spending.
-
Depending on which option you chose, click either Update limit or Update to unlimited.

Managing the spending limit for GitHub Actions for your organization
Organizations owners and billing managers can manage the spending limit for GitHub Actions for an organization.
-
In the upper-right corner of any page on GitHub, click your profile photo, then click Settings.
-
In the "Access" section of the sidebar, click Organizations.
-
Next to the organization, click Settings.
-
If you are an organization owner, in the "Access" section of the sidebar, click Billing and plans.
-
At the top of the page, under "Payment information," click Manage spending limit.
-
Under "Monthly spending limit", choose to limit spending or allow unlimited spending.
Note
If GitHub Codespaces is enabled for your organization, scroll to "Actions & Packages", then choose to limit spending or allow unlimited spending.
-
Depending on which option you chose, click either Update limit or Update to unlimited.
Managing the spending limit for GitHub Actions for your enterprise account
Enterprise owners and billing managers can manage the spending limit for GitHub Actions for an enterprise account.
-
In the top-right corner of GitHub, click your profile photo.
-
Depending on your environment, click Your enterprise, or click Your enterprises then click the enterprise you want to view.
-
On the left side of the page, in the enterprise account sidebar, click Settings.
-
Under Settings, click Billing.
-
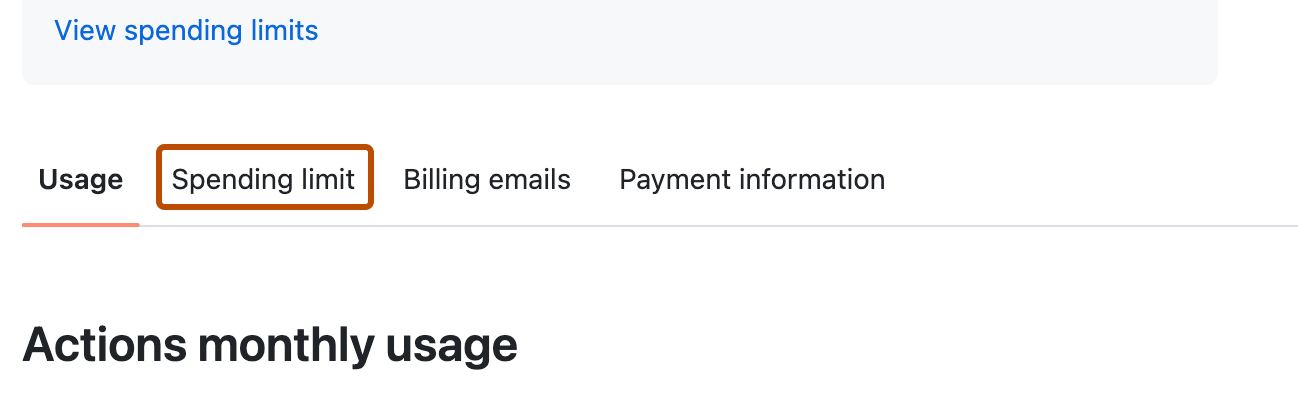
On the "Billing" page, click the Spending limit tab.
-
Under "Actions & Packages", choose to limit spending or allow unlimited spending.
-
Depending on which option you chose, click either Update limit or Update to unlimited.

Managing usage and spending limit email notifications
Email notifications are sent to account owners and billing managers when spending reaches 75%, 90% and 100% of your account's included usage and when spending reaches 75%, 90%, and 100% of your account's spending limit.
You can disable these notifications at any time by navigating to the "Email alerts" section at the bottom of the "Spending limit" page.