Introduction
GitHub Pages are public webpages hosted and published through GitHub Enterprise Server. The quickest way to get up and running is by using the Jekyll Theme Chooser to load a pre-made theme. You can then modify your GitHub Pages' content and style.
This guide will lead you through creating a user site at username.github.io.
Creating your website
-
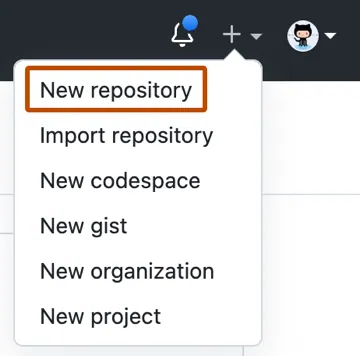
In the upper-right corner of any page, select , then click New repository.

-
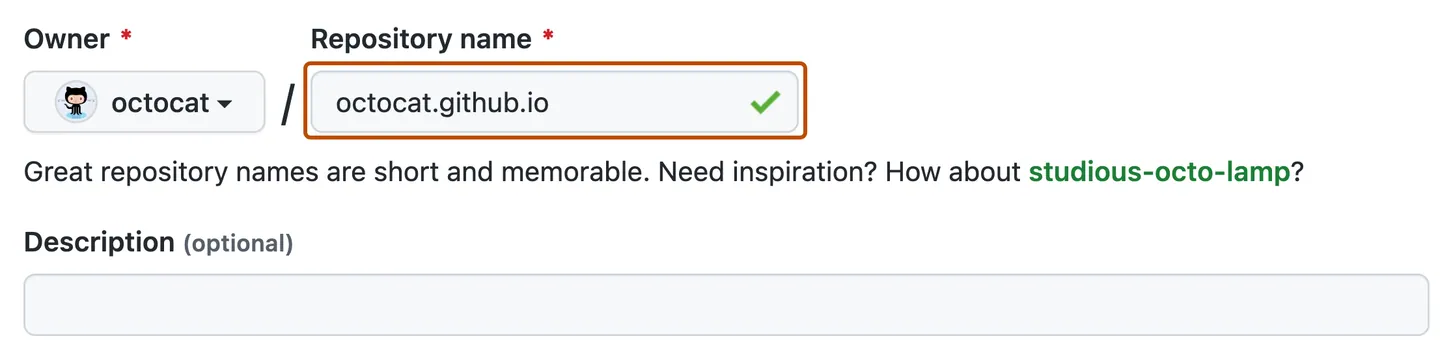
Enter
username.github.ioas the repository name. Replaceusernamewith your GitHub username. For example, if your username isoctocat, the repository name should beoctocat.github.io.
-
Under your repository name, click Settings. If you cannot see the "Settings" tab, select the dropdown menu, then click Settings.

-
In the "Code and automation" section of the sidebar, click Pages.
-
Under "Build and deployment", under "Source", select Deploy from a branch.
-
Under "Build and deployment", under "Branch", use the branch dropdown menu and select a publishing source.

-
Optionally, open the
README.mdfile of your repository. TheREADME.mdfile is where you will write the content for your site. You can edit the file or keep the default content for now. -
Visit
username.github.ioto view your new website. Note that it can take up to 10 minutes for changes to your site to publish after you push the changes to GitHub Enterprise Server.


Changing the title and description
By default, the title of your site is username.github.io. You can change the title by editing the _config.yml file in your repository. You can also add a description for your site.
-
Click the Code tab of your repository.
-
In the file list, click
_config.ymlto open the file. -
Click to edit the file.
-
The
_config.ymlfile already contains a line that specifies the theme for your site. Add a new line withtitle:followed by the title you want. Add a new line withdescription:followed by the description you want. For example:theme: jekyll-theme-minimal title: Octocat's homepage description: Bookmark this to keep an eye on my project updates! -
When you are done editing the file, click Commit changes.
Next Steps
For more information about how to add additional pages to your site, see "Adding content to your GitHub Pages site using Jekyll."
For more information about setting up a GitHub Pages site with Jekyll, see "About GitHub Pages and Jekyll."