When you publish a package that is scoped to a personal account or an organization, the package is not linked to a repository by default. If you connect a package to a repository, the package's landing page will show information and links from the repository, such as the README. You can also choose to have the package inherit its access permissions from the linked repository. For more information, see "Configuring a package's access control and visibility."
Connecting a repository to a user-scoped package on GitHub
-
On GitHub, navigate to the main page of your personal account.
-
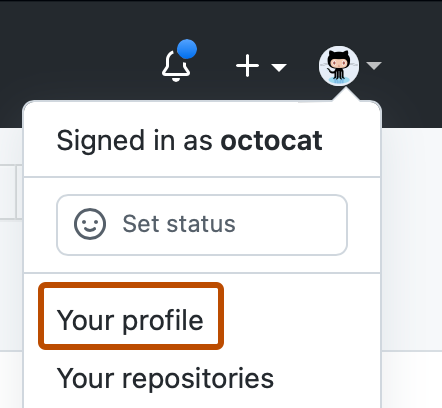
In the top right corner of GitHub Enterprise Server, click your profile photo, then click Your profile.

-
On your profile page, in the header, click the Packages tab.
-
Search for and then click the name of the package that you want to manage.
-
Under your package versions, click Connect repository.
-
Select a repository to link to the package, then click Connect repository.
Connecting a repository to an organization-scoped package on GitHub
-
On GitHub, navigate to the main page of your organization.
-
Under your organization name, click the Packages tab.

-
Search for and then click the name of the package that you want to manage.
-
Under your package versions, click Connect repository.
-
Select a repository to link to the package, then click Connect repository.
Connecting a repository to a container image using the command line
Note: Container registry is currently in beta for GitHub Enterprise Server and subject to change.
Both GitHub Packages and subdomain isolation must be enabled to use Container registry. For more information, see "Working with the Container registry."
-
In your Dockerfile, add this line, replacing
HOSTNAME,OWNERandREPOwith your details:LABEL org.opencontainers.image.source=https://HOSTNAME/OWNER/REPOFor example, if you're the user
octocatand ownmy-repo, and your your GitHub Enterprise Server instance hostname isgithub.companyname.com, you would add this line to your Dockerfile:LABEL org.opencontainers.image.source=https://containers.github.companyname.com/octocat/my-repoFor more information, see "LABEL" in the official Docker documentation and "Pre-defined Annotation Keys" in the
opencontainers/image-specrepository. -
Build your container image. This example builds an image from the Dockerfile in the current directory and assigns the image name
hello_docker.docker build -t hello_docker . -
Optionally, review the details of the Docker image you just created.
$ docker images > REPOSITORY TAG IMAGE ID CREATED SIZE > hello_docker latest 142e665b1faa 5 seconds ago 125MB > redis latest afb5e116cac0 3 months ago 111MB > alpine latest a6215f271958 5 months ago 5.29MB -
Assign a name and hosting destination to your Docker image.
docker tag IMAGE_NAME containers.HOSTNAME/NAMESPACE/NEW_IMAGE_NAME:TAGReplace
NAMESPACEwith the name of the personal account or organization to which you want the package to be scoped.For example:
docker tag 38f737a91f39 containers.github.companyname.com/octocat/hello_docker:latest -
If you haven't already, authenticate to the Container registry. For more information, see "Working with the Container registry."
$ echo $CR_PAT | docker login containers.HOSTNAME -u USERNAME --password-stdin > Login Succeeded -
Push your container image to the Container registry.
docker push containers.HOSTNAME/NAMESPACE/IMAGE-NAME:TAGFor example:
docker push containers.github.companyname.com/octocat/hello_docker:latest