Introduction
You can use GitHub repositories, issues, projects, and other tools to plan and track your work, whether working on an individual project or cross-functional team.
In this guide, you will learn how to create and set up a repository for collaborating with a group of people, create issue templates and forms, open issues and use task lists to break down work, and establish a project (classic) for organizing and tracking issues.
Creating a repository
When starting a new project, initiative, or feature, the first step is to create a repository. Repositories contain all of your project's files and give you a place to collaborate with others and manage your work. For more information, see Creating a new repository.
You can set up repositories for different purposes based on your needs. The following are some common use cases:
- Product repositories: Larger organizations that track their work and goals around specific products may have one or more repositories containing the code and other files. These repositories can also be used for documentation, reporting on product health or future plans for the product.
- Project repositories: You can create a repository for an individual project you are working on, or for a project you are collaborating on with others. For an organization that tracks work for short-lived initiatives or projects, such as a consulting firm, there is a need to report on the health of a project and move people between different projects based on skills and needs. Code for the project is often contained in a single repository.
- Team repositories: For an organization that groups people into teams, and brings projects to them, such as a dev tools team, code may be scattered across many repositories for the different work they need to track. In this case it may be helpful to have a team-specific repository as one place to track all the work the team is involved in.
- Personal repositories: You can create a personal repository to track all your work in one place, plan future tasks, or even add notes or information you want to save. You can also add collaborators if you want to share this information with others.
You can create multiple, separate repositories if you want different access permissions for the source code and for tracking issues and discussions. For more information, see Creating an issues-only repository.
For the following examples in this guide, we will be using an example repository called Project Octocat.
Communicating repository information
You can create a README.md file for your repository to introduce your team or project and communicate important information about it. A README is often the first item a visitor to your repository will see, so you can also provide information on how users or contributors can get started with the project and how to contact the team. For more information, see About READMEs.
You can also create a CONTRIBUTING.md file specifically to contain guidelines on how users or contributors can contribute and interact with the team or project, such as how to open a bug fix issue or request an improvement. For more information, see Setting guidelines for repository contributors.
README example
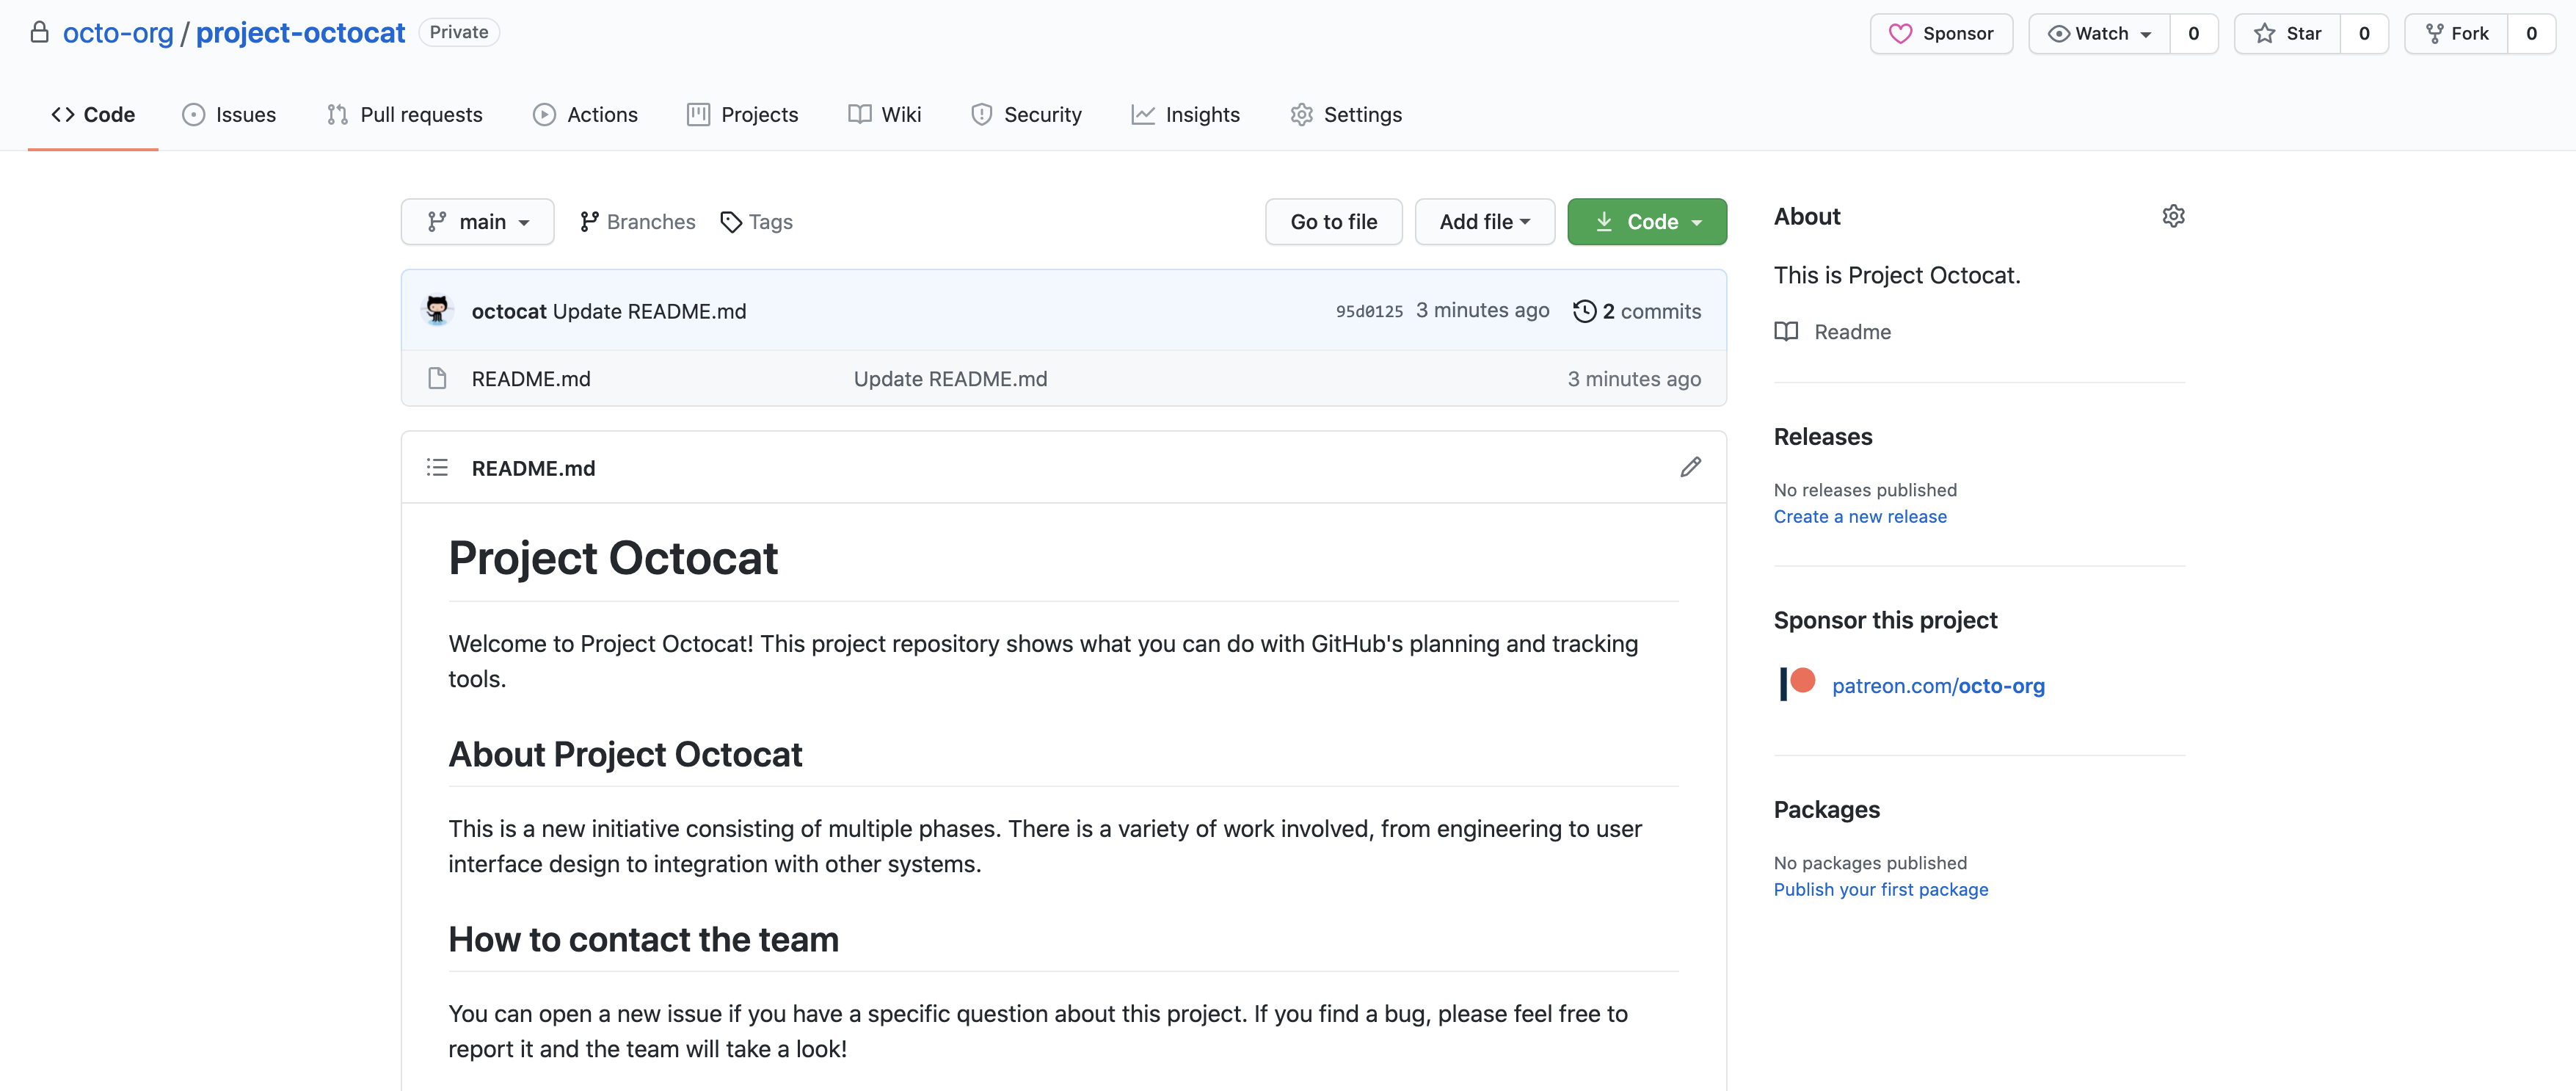
We can create a README.md to introduce our new project, Project Octocat.

Creating issue templates
You can use issues to track the different types of work that your cross-functional team or project covers, as well as gather information from those outside of your project. The following are a few common use cases for issues.
- Release tracking: You can use an issue to track the progress for a release or the steps to complete the day of a launch.
- Large initiatives: You can use an issue to track progress on a large initiative or project, which is then linked to the smaller issues.
- Feature requests: Your team or users can create issues to request an improvement to your product or project.
- Bugs: Your team or users can create issues to report a bug.
Depending on the type of repository and project you are working on, you may prioritize certain types of issues over others. Once you have identified the most common issue types for your team, you can create issue templates and forms for your repository. Issue templates and forms allow you to create a standardized list of templates that a contributor can choose from when they open an issue in your repository. For more information, see Configuring issue templates for your repository.
Issue template example
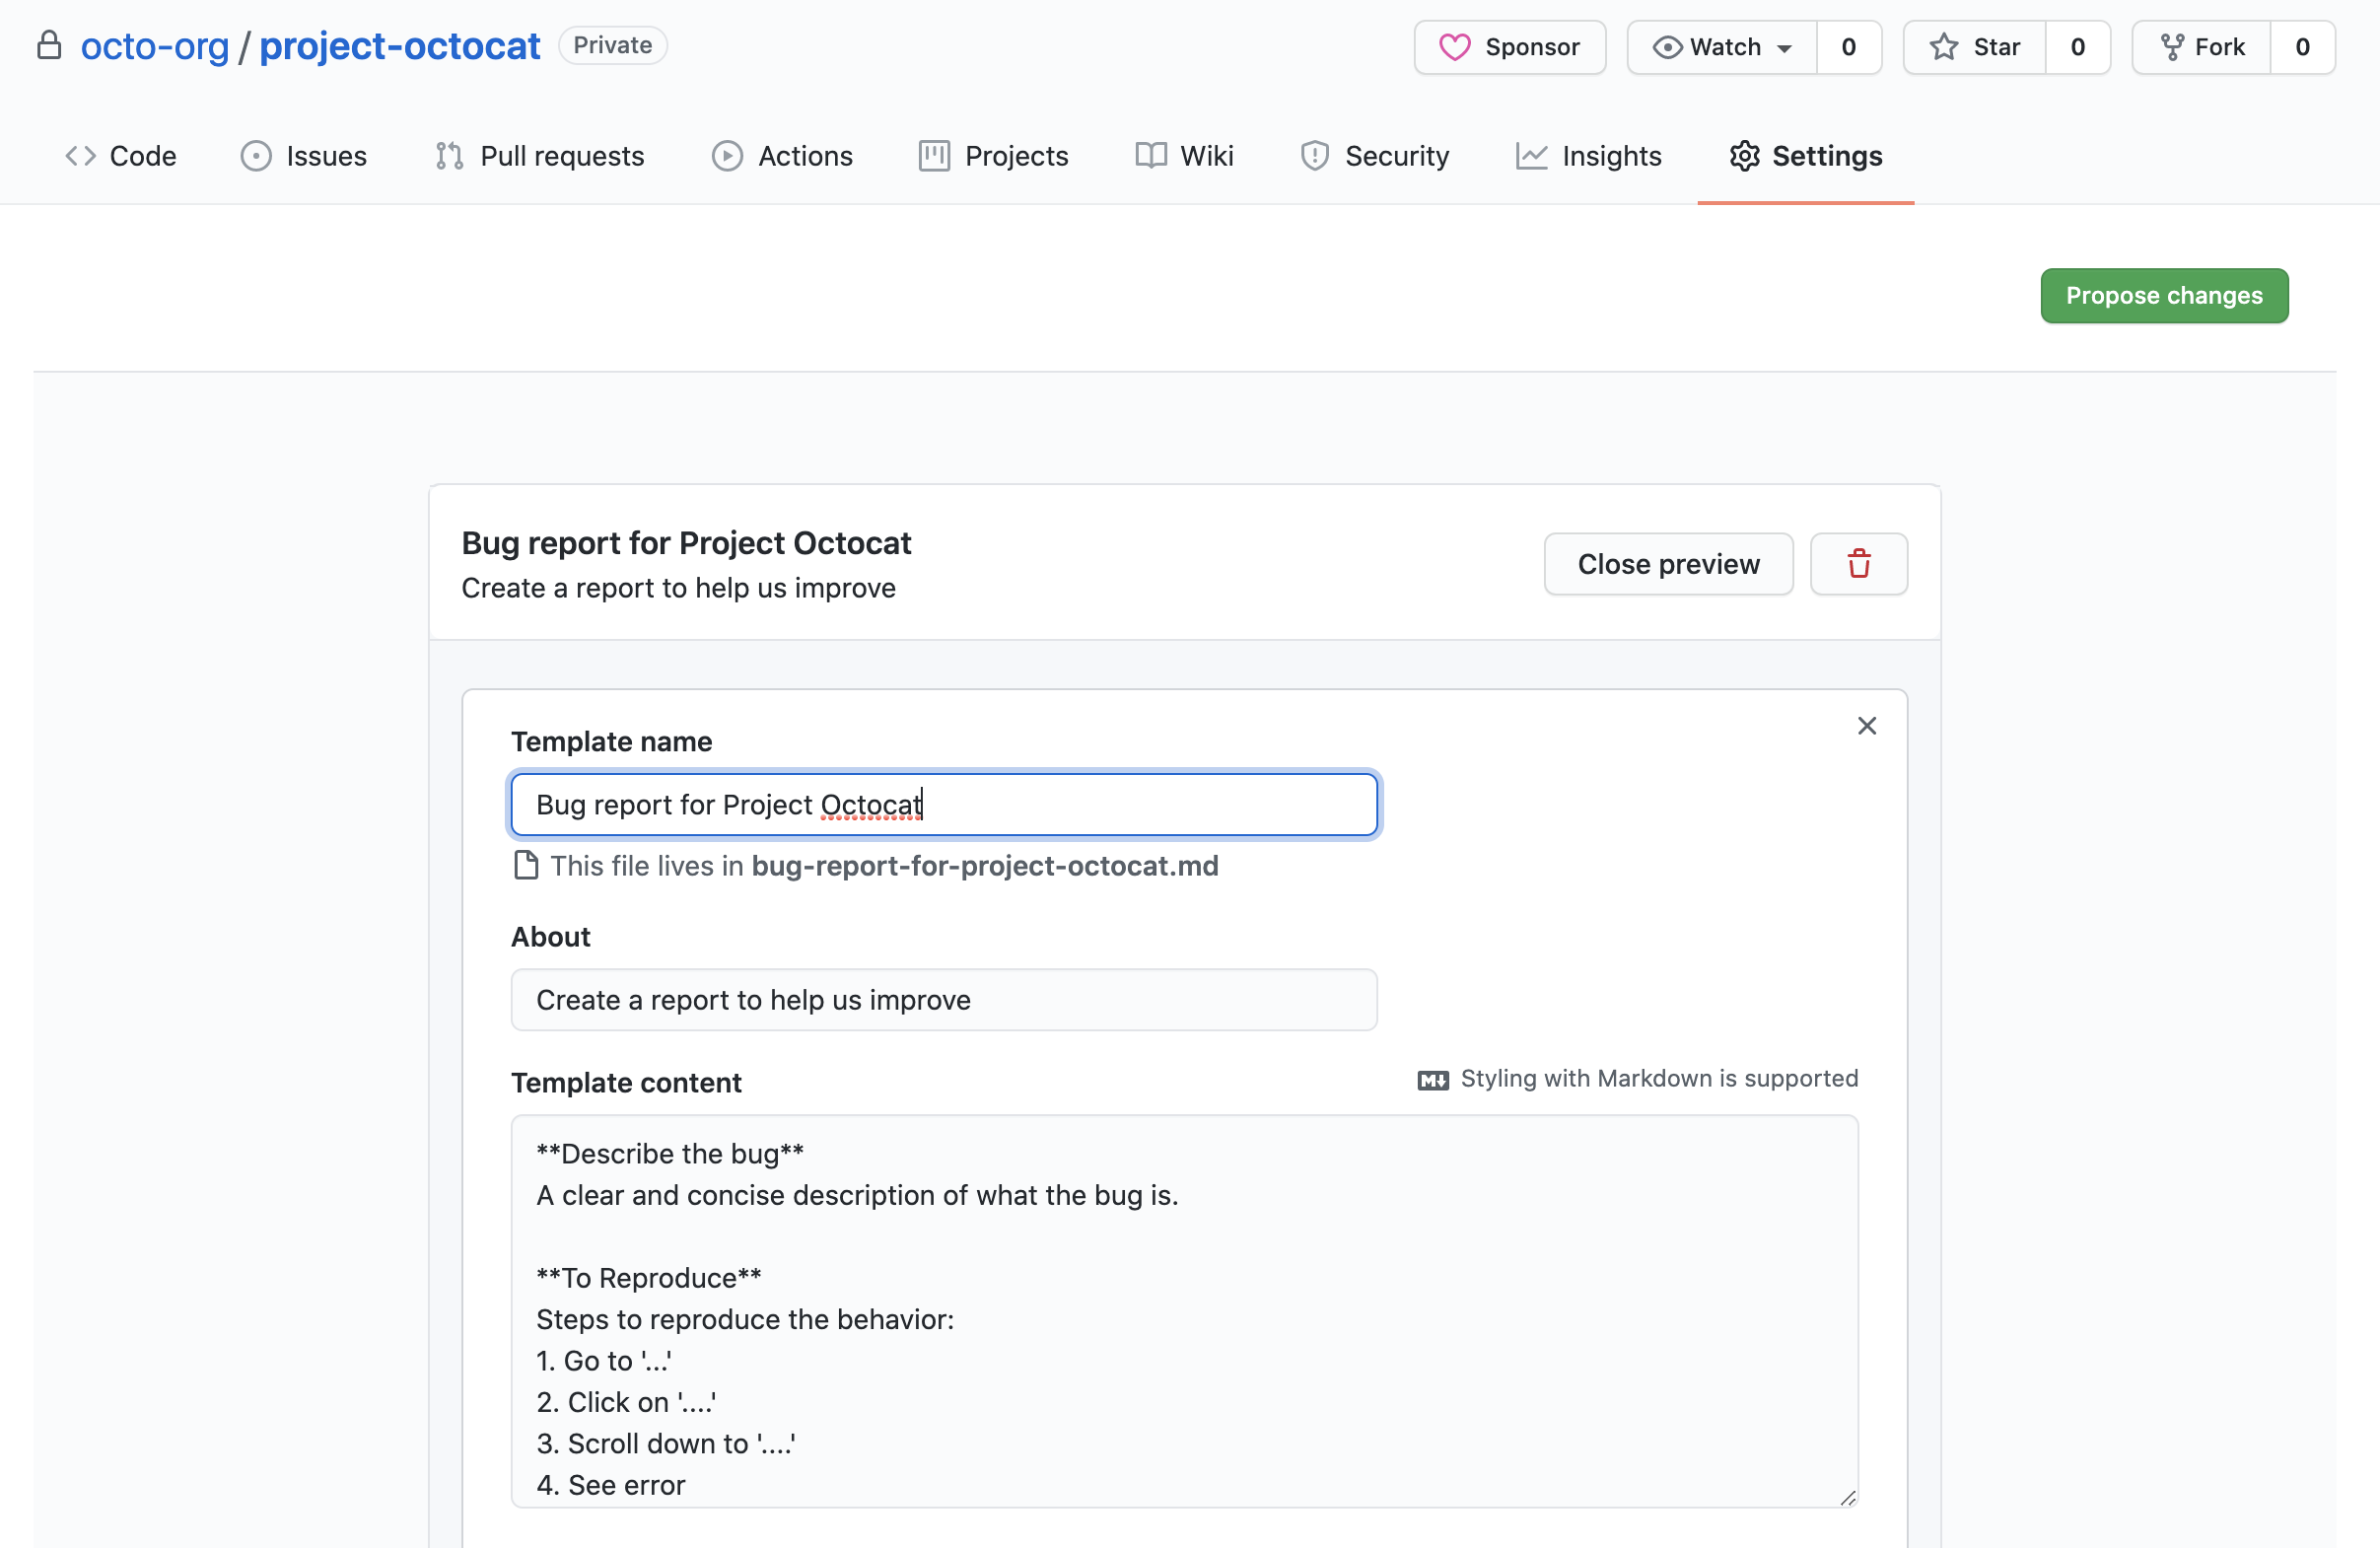
Below we are creating an issue template for reporting a bug in Project Octocat.

Now that we created the bug report issue template, you are able to select it when creating a new issue in Project Octocat.

Opening issues and using task lists to track work
You can organize and track your work by creating issues. For more information, see Creating an issue.
Issue example
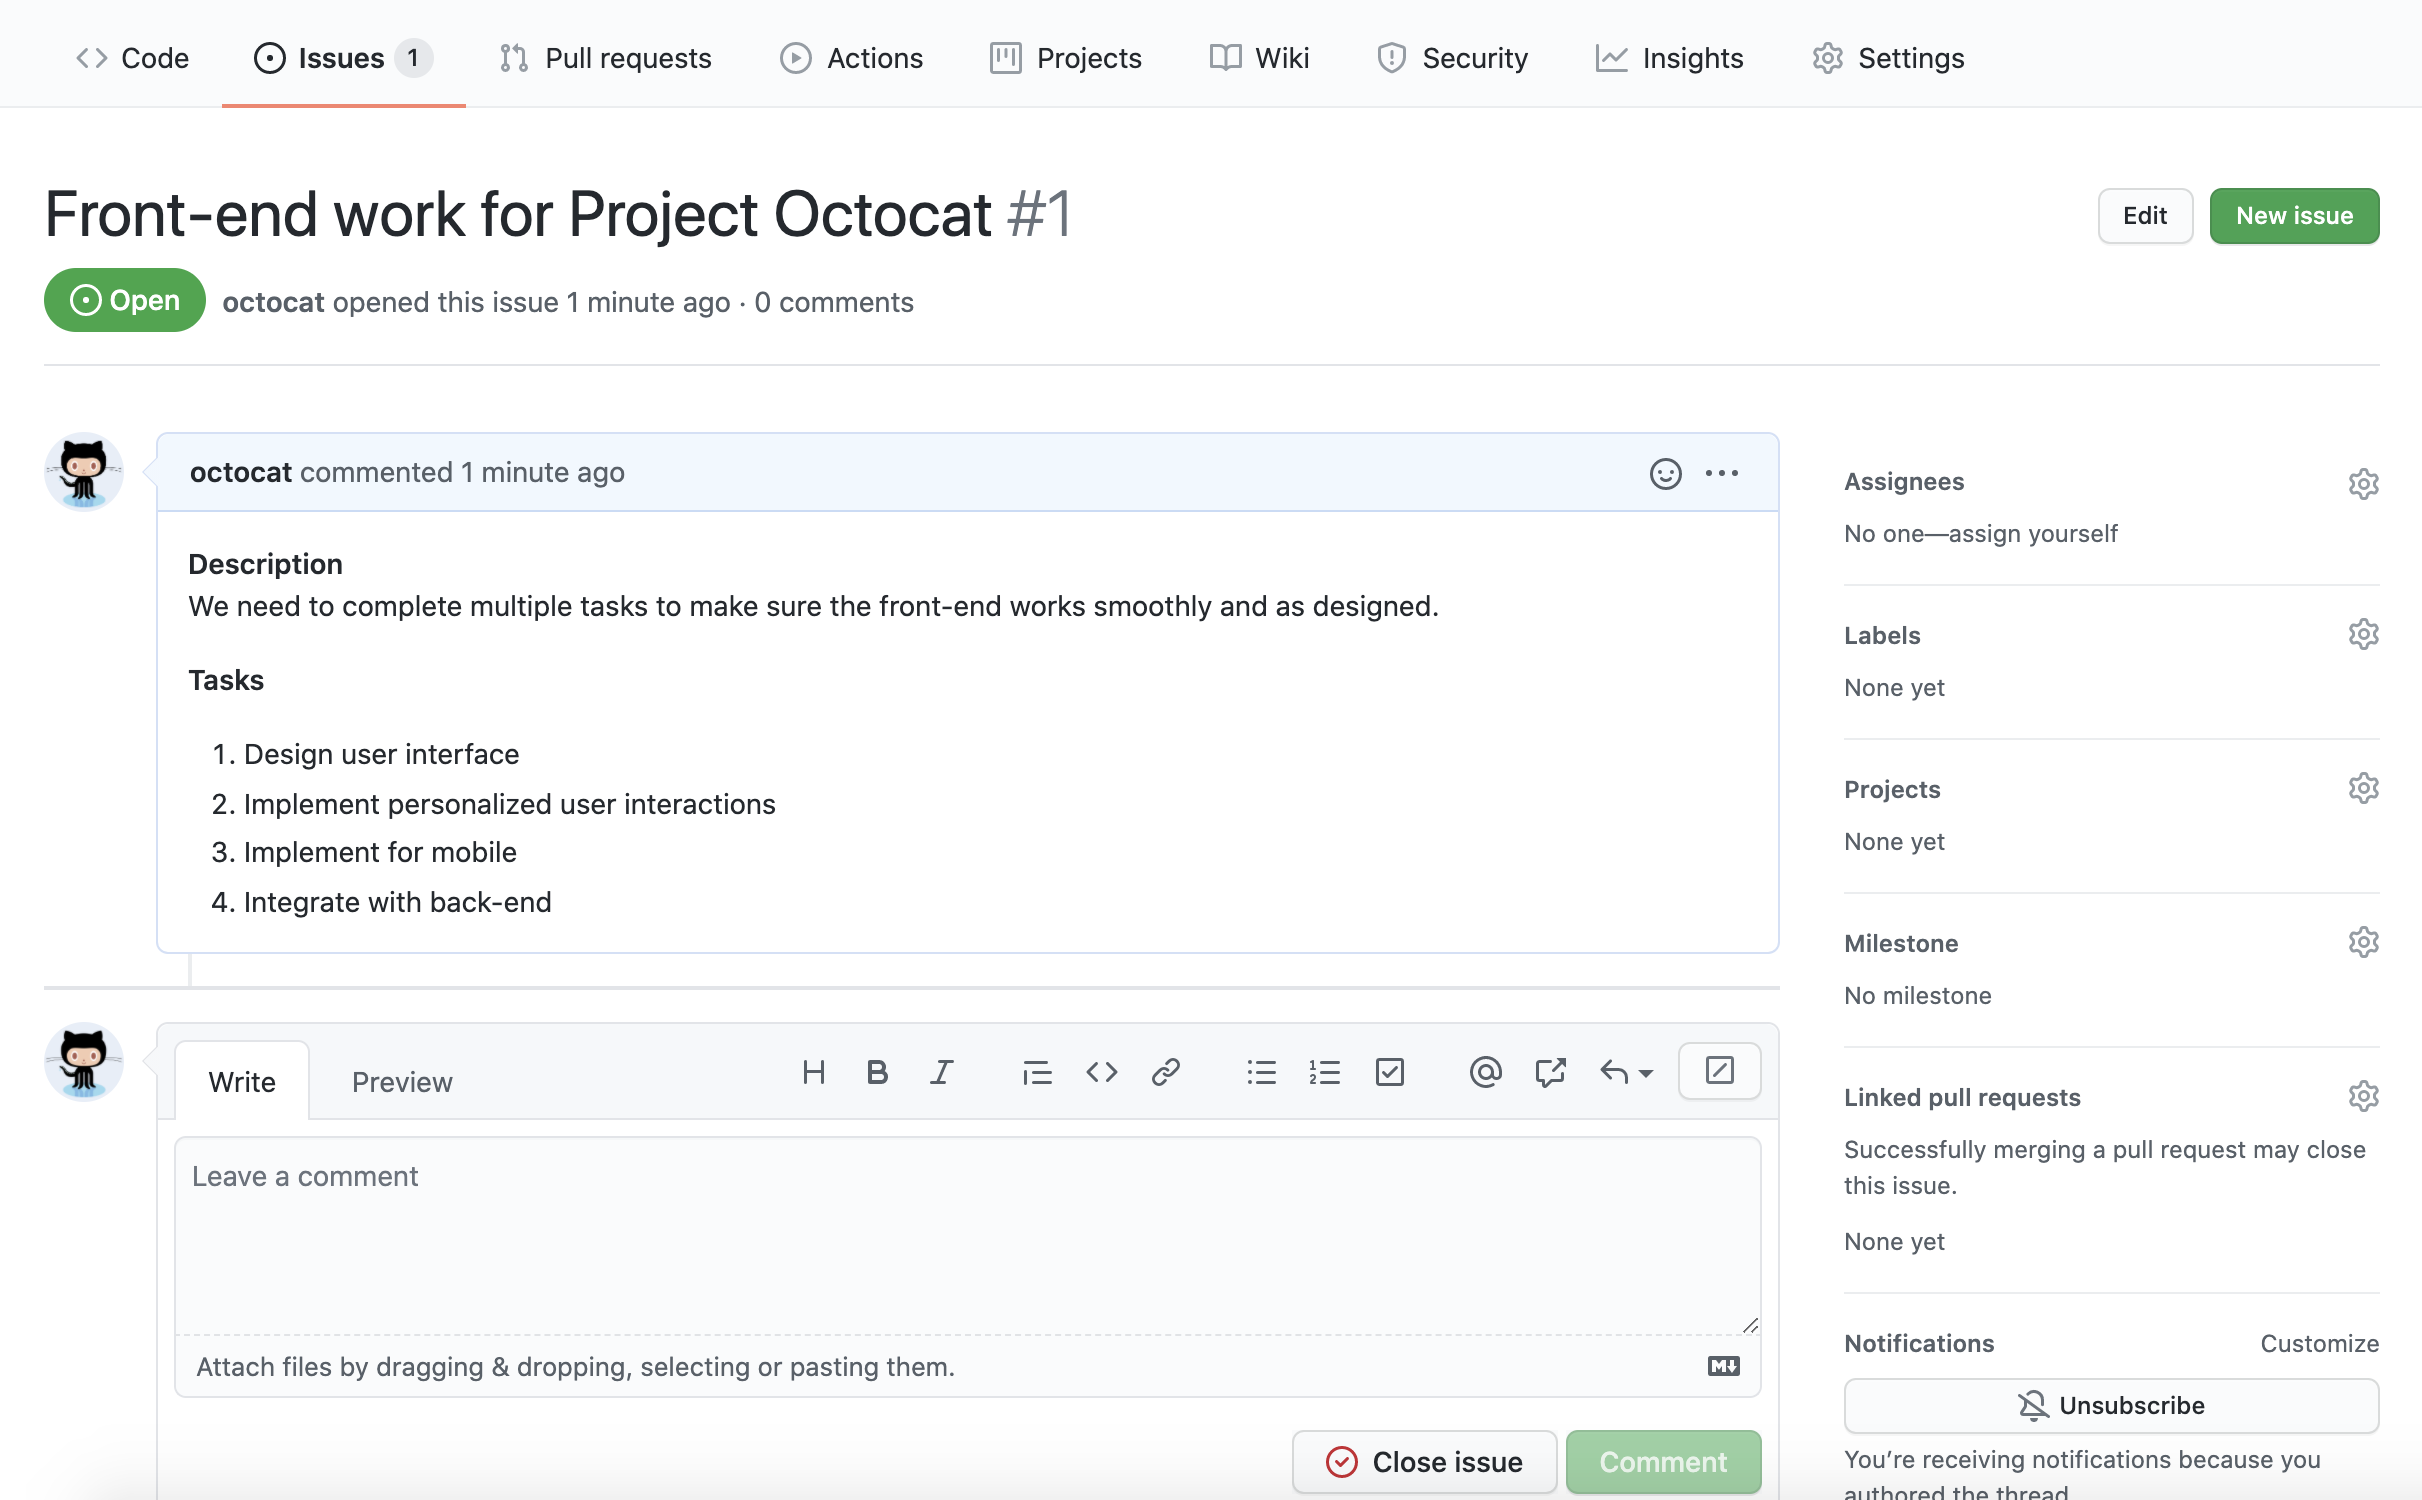
Here is an example of an issue created for a large initiative, front-end work, in Project Octocat.

Task list example
You can use task lists to break larger issues down into smaller tasks and to track issues as part of a larger goal. For more information, see About task lists.
Below we have added a task list to our Project Octocat issue, breaking it down into smaller issues.

Making decisions as a team
You can use issues and discussions to communicate and make decisions as a team on planned improvements or priorities for your project. Issues are useful when you create them for discussion of specific details, such as bug or performance reports, planning for the next quarter, or design for a new initiative. Discussions are useful for open-ended brainstorming or feedback, outside the codebase and across repositories. For more information, see Communicating on GitHub.
As a team, you can also communicate updates on day-to-day tasks within issues so that everyone knows the status of work. For example, you can create an issue for a large feature that multiple people are working on, and each team member can add updates with their status or open questions in that issue.
Issue example with project collaborators
Here is an example of project collaborators giving a status update on their work on the Project Octocat issue.

Using labels to highlight project goals and status
You can create labels for a repository to categorize issues, pull requests, and discussions. GitHub also provides default labels for every new repository that you can edit or delete. Labels are useful for keeping track of project goals, bugs, types of work, and the status of an issue.
For more information, see Managing labels.
Once you have created a label in a repository, you can apply it on any issue, pull request or discussion in the repository. You can then filter issues and pull requests by label to find all associated work. For example, find all the front end bugs in your project by filtering for issues with the front-end and bug labels. For more information, see Filtering and searching issues and pull requests.
Label example
Below is an example of a front-end label that we created and added to the issue.

Adding issues to a projects
You can use projects on GitHub to plan and track the work for your team. A project is a customizable spreadsheet that integrates with your issues and pull requests on GitHub, automatically staying up-to-date with the information on GitHub. You can customize the layout by filtering, sorting, and grouping your issues and PRs. To get started with projects, see Quickstart for Projects.
Project example
Here is the table layout of an example project, populated with the Project Octocat issues we have created.

We can also view the same project as a board.

You can also use the existing projects (classic) on GitHub to plan and track your or your team's work. Projects (classic) are made up of issues, pull requests, and notes that are categorized as cards in columns of your choosing. You can create projects (classic) for feature work, high-level roadmaps, or even release checklists. For more information, see About projects (classic).
Project (classic) example
Below is a project (classic) for our example Project Octocat with the issue we created, and the smaller issues we broke it down into, added to it.

Next steps
You have now learned about the tools GitHub offers for planning and tracking your work, and made a start in setting up your cross-functional team or project repository! Here are some helpful resources for further customizing your repository and organizing your work.
- About repositories for learning more about creating repositories
- Tracking your work with issues for learning more about different ways to create and manage issues
- About issue and pull request templates for learning more about issue templates
- Managing labels for learning how to create, edit and delete labels
- About task lists for learning more about task lists
- About Projects for learning more about projects
- Changing the layout of a view for learning how to customize views for projects
- About projects (classic) for learning how to manage projects (classic)