리포지토리에 대한 쓰기 권한이 있는 사용자는 GitHub Pages 사이트에 대한 Markdown 프로세서를 설정할 수 있습니다.
GitHub Pages는 kramdown 및 GitHub의 자체 Markdown 프로세서를 지원하며, 이는 GitHub를 통해 GFM(GitHub Flavored Markdown) 을 렌더링하는 데 사용됩니다. 자세한 내용은 GitHub에서의 쓰기 및 서식 지정 정보을(를) 참조하세요.
GitHub Flavored Markdown을 두 프로세서에서 모두 사용할 수 있습니다.
-
GitHub에서 사이트의 리포지토리로 이동합니다.
-
리포지토리에서 _config.yml 파일을 검색합니다.
-
파일 보기의 오른쪽 위 모서리에서 을 클릭하여 파일 편집기를 엽니다.

참고 항목
기본 파일 편집기를 사용하여 파일을 편집하고 커밋하는 대신, 드롭다운 메뉴를 선택하고 github.dev를 클릭하여 github.dev 코드 편집기를 사용하도록 선택할 수 있습니다. GitHub Desktop 을(를) 클릭하여 GitHub Desktop을(를) 통해 리포지토리를 복제하고 로컬로 파일을 편집할 수도 있습니다.

-
markdown:로 시작하는 줄을 찾아 값을kramdown또는GFM으로 변경합니다. 전체 줄은markdown: kramdown또는markdown: GFM이어야 합니다. -
변경 내용 커밋... 을 클릭합니다.
-
"커밋 메시지" 필드에, 파일의 변경 내용을 설명하는 커밋 메시지를 간결하고 명확하게 입력합니다. 커밋 메시지에서 둘 이상의 작성자가 커밋의 특성을 지정할 수 있습니다. 자세한 내용은 여러 작성자와 커밋 만들기을(를) 참조하세요.
-
GitHub에서 계정과 연결된 이메일 주소가 두 개 이상 있는 경우 이메일 주소 드롭다운 메뉴를 클릭하고 Git 작성자 이메일 주소로 사용할 이메일 주소를 선택합니다. 이 드롭다운 메뉴에는 확인된 이메일 주소만 표시됩니다. 이메일 주소 개인정보 보호를 사용하도록 설정한 경우 회신 불가 주소가 이 기본 커밋 작성자 이메일 주소가 됩니다. 회신 불가 이메일 주소의 정확한 형식에 대한 자세한 내용은 커밋 메일 주소 설정을(를) 참조하세요.

-
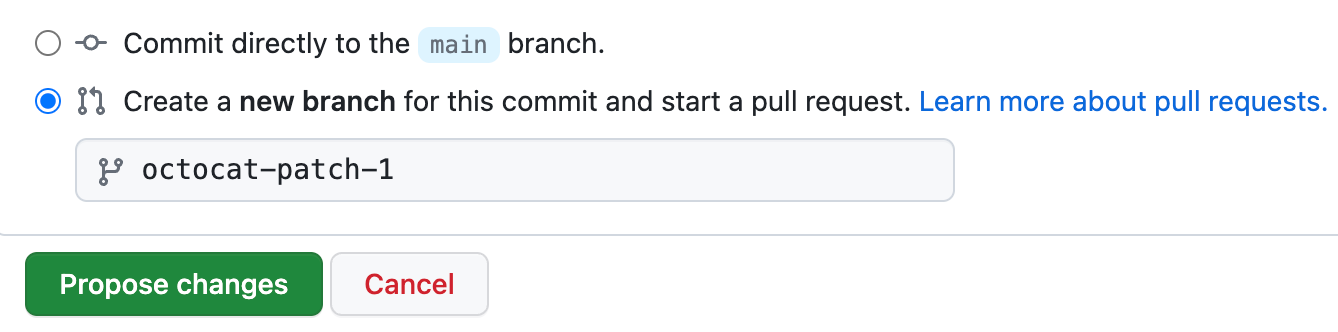
커밋 메시지 필드 아래에서 현재 분기 또는 새 분기에 커밋을 추가할지 여부를 결정합니다. 현재 분기가 기본 분기인 경우 커밋에 대한 새 분기를 만든 다음 끌어오기 요청을 만들도록 선택해야 합니다. 자세한 내용은 끌어오기 요청 만들기을(를) 참조하세요.
-
변경 내용 커밋 또는 변경 내용 제안을 클릭합니다.


