If you want to create a new branch for your pull request and do not have write permissions to the repository, you can fork the repository first. For more information, see Creating a pull request from a fork and About forks.
You can specify which branch you'd like to merge your changes into when you create your pull request. Pull requests can only be opened between two branches that are different.
Note
To open a pull request in a public repository, you must have write access to the head or the source branch or, for organization-owned repositories, you must be a member of the organization that owns the repository to open a pull request.
You can link a pull request to an issue to show that a fix is in progress and to automatically close the issue when someone merges the pull request. For more information, see Linking a pull request to an issue.
Changing the branch range and destination repository
By default, pull requests are based on the parent repository's default branch. For more information, see About branches.
If the default parent repository isn't correct, you can change both the parent repository and the branch with the drop-down lists. You can also swap your head and base branches with the drop-down lists to establish diffs between reference points. References here must be branch names in your GitHub repository.

When thinking about branches, remember that the base branch is where changes should be applied, the head branch contains what you would like to be applied.
When you change the base repository, you also change notifications for the pull request. Everyone that can push to the base repository will receive an email notification and see the new pull request in their dashboard the next time they sign in.
When you change any of the information in the branch range, the Commit and Files changed preview areas will update to show your new range.
Tip
- Using the compare view, you can set up comparisons across any timeframe. For more information, see Comparing commits.
- Project maintainers can add a pull request template for a repository. Templates include prompts for information in the body of a pull request. For more information, see About issue and pull request templates.
Creating the pull request


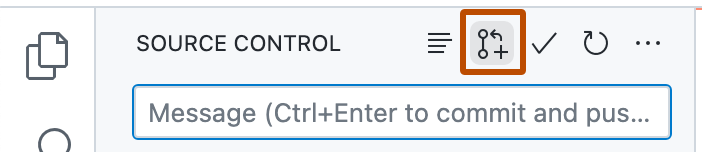
- Once you've committed changes to your local copy of the repository, click the Create Pull Request icon.
- Check that the local branch and repository you're merging from, and the remote branch and repository you're merging into, are correct. Then give the pull request a title and a description.
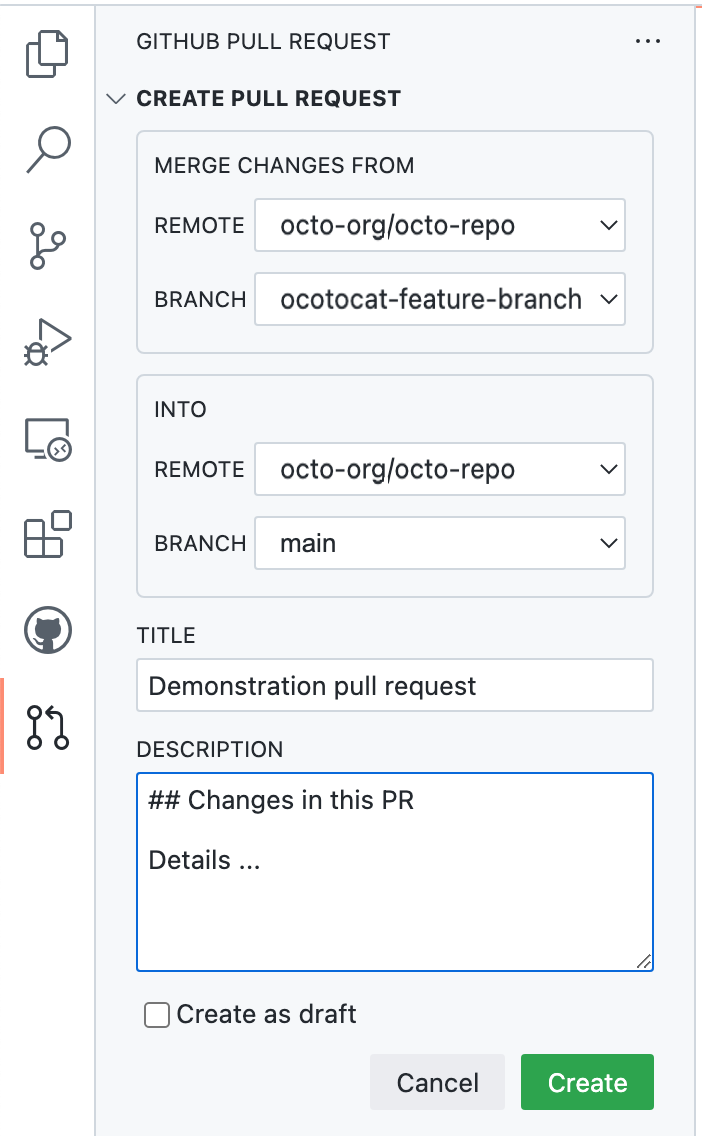
- Click Create.


For more information on creating pull requests in GitHub Codespaces, see Using GitHub Codespaces for pull requests.
Making changes to files in your pull request
After you have opened your pull request, you can continue making changes to the files by adding new commits to your head branch.

