To install GitHub Enterprise on Azure, you must deploy onto a DS-series instance and use Premium-LRS storage.
Requirements
Before installing GitHub Enterprise on Azure, ensure you meet these software and hardware requirements.
Software
- You must have an Azure account capable of provisioning new machines.
- If you're setting up a VM using the command line, you must have the Azure CLI installed on your machine.
- You must have a GitHub Enterprise license file. To download an existing license file or request a trial license, visit enterprise.github.com.
Hardware
Based on your seat count, we recommend this hardware configuration:
| Seats | vCPUs | Memory | Attached Storage | Root Storage |
|---|---|---|---|---|
| 0-500 | 2 | 16 GB | 100 GB | 80 GB |
| 500-3000 | 4 | 32 GB | 250 GB | 80 GB |
| 3000-5000 | 8 | 64 GB | 500 GB | 80 GB |
Note: The root disk cannot be resized.
Warning: We recommend you use webhooks to fetch repository changes for continuous integration (CI) or similar systems. Regular automatic checks, or polling, will significantly reduce the scalability of your instance.
Determining the instance type
Before launching your GitHub Enterprise instance on Azure, you'll need to determine the type of virtual machine that best fits the needs of your organization.
Supported instance types
GitHub Enterprise is supported on these Azure virtual machines:
- Standard_DS3
- Standard_DS4
- Standard_DS12
- Standard_DS13
- Standard_DS14
For more information, see the Azure virtual machines overview page.
Recommended instance types
Based on your seat count, we recommend these instance types:
| Seat Range | Recommended Type |
|---|---|
| 0 - 500 | Standard_DS3 |
| 500 - 3000 | Standard_DS12 |
| 3000 - 5000 | Standard_DS14 |
Note: You can always scale up your CPU or memory by resizing your instance. However, because resizing your CPU or memory requires downtime for your users, we recommend over-provisioning resources to account for scale.
Supported regions
The GitHub Enterprise appliance requires a premium storage data disk, which is currently only available in the following regions:
- Central US
- East US
- East US 2
- South Central US
- West US
- North Europe
- West Europe
- East Asia
- Southeast Asia
- Japan East
- Japan West
- Australia East
- Australia Southeast
Deploying the GitHub Enterprise VM
Navigate to the GitHub Enterprise download page.
To download your license file, click Download license.
Click Get the latest release.
From the Select your platform drop-down menu, click Microsoft Azure.
Click Deploy to Azure.
Creating the GitHub Enterprise VM using the Azure Portal
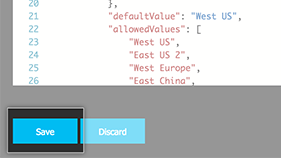 On the Azure template page, click Save.
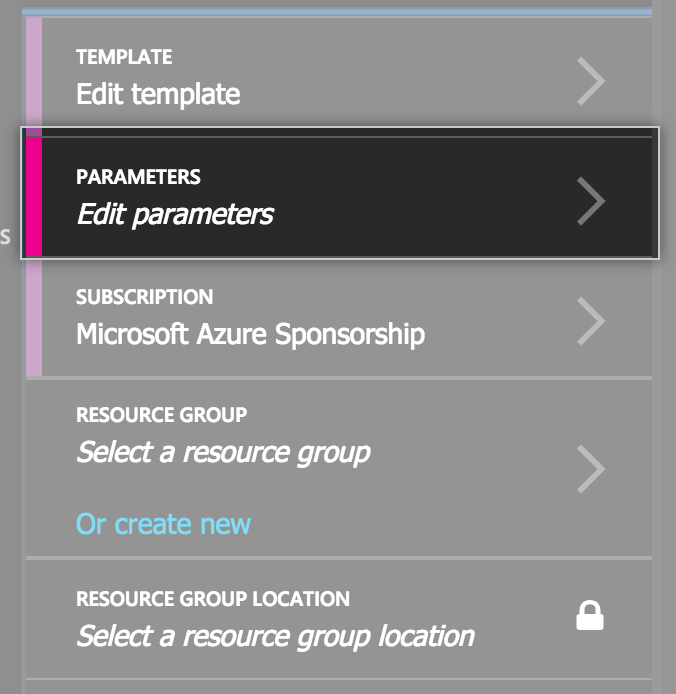 To configure your VM, click Edit Parameters.
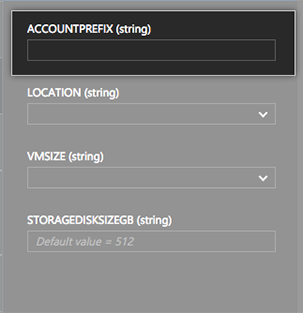 In the Account prefix field, enter a unique name to identify your GitHub Enterprise instance (like
 acmecorp). The prefix may only contain numbers or lower-case letters and be between three to 24 characters long.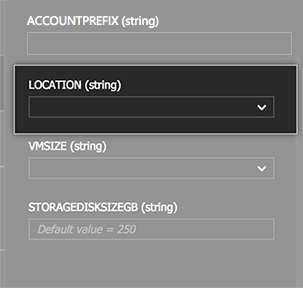 From the Location drop-down menu, select a region to deploy your instance into.
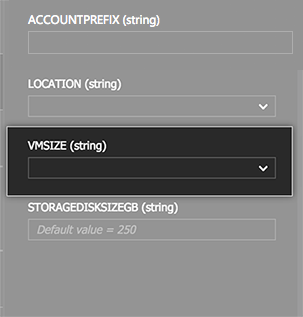 In the VM size field, select the Azure instance type you need. For more information, see Recommended instance types.
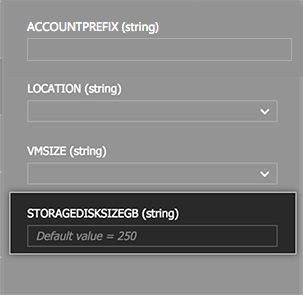 In the Storage disk size field, enter the size of the hard disk based on your seat count. For more information, see the hardware requirements.
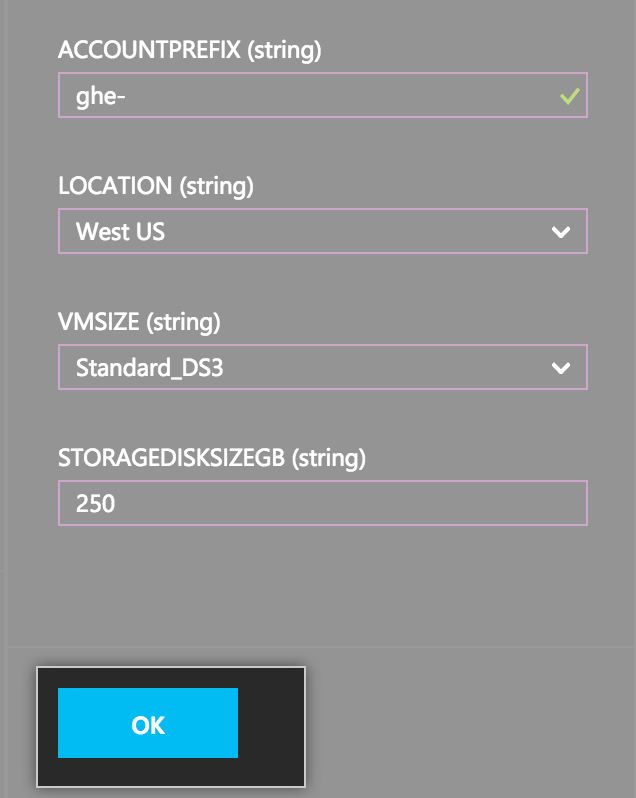 Click OK.
Creating a new resource group for the VM and data disk:
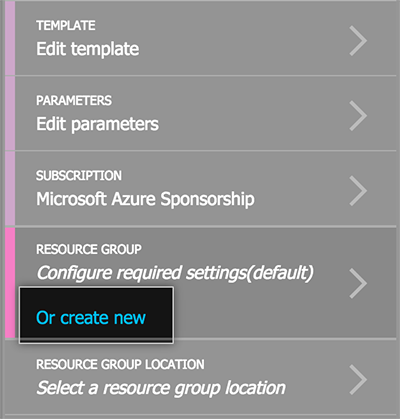 Click Or create new.
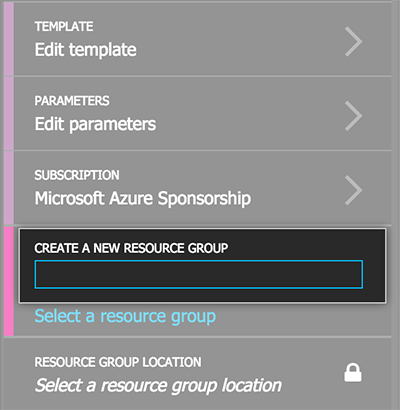 In the Resource group field, enter a name for the group.
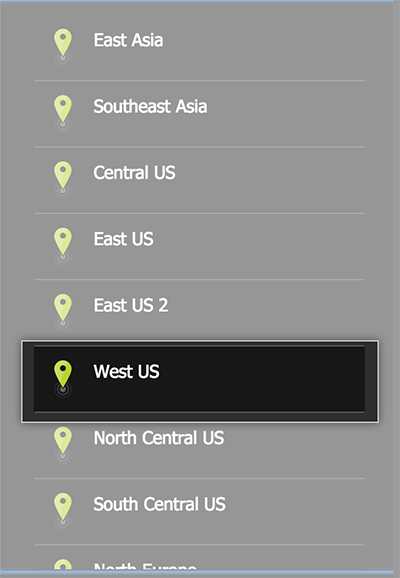 From the location listing on the right, select West US for the resource group. This does not need to match the VM region picked above.
Saving the VM
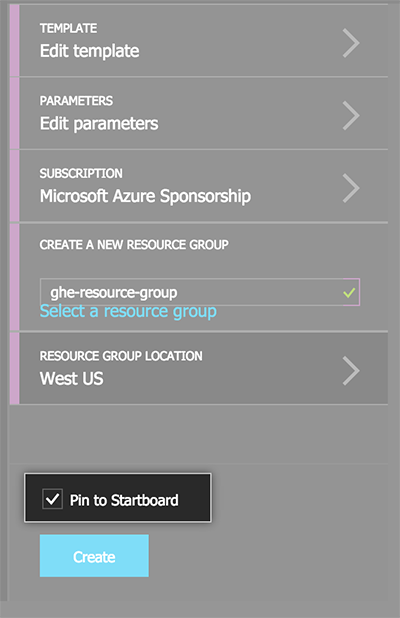 If you'd like to keep this new VM on your dashboard, click Pin to Startboard
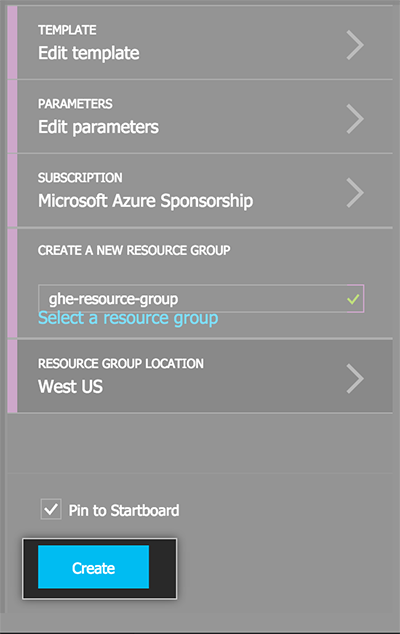 Click Create.
Tip: After the VM is saved, it may take about five minutes before it shows up in the Azure portal.
Enabling disk encryption
An encrypted data volume provides an extra level of security by ensuring that any data you write to your instance is protected. There's a slight peformance impact when using encrypted disks. If you decide to encrypt your volume, we strongly recommend doing so before starting your instance for the first time. For more information, see the guide on using Azure's Key Value encryption. Instead of creating a new resource group, you can provide the name of the resource group you created earlier.
If you decide to enable encryption after you've configured your instance, you will need to migrate your data to the encrypted volume, which will incur some downtime for your users.
Starting the VM
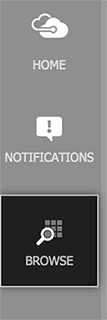 Click Browse.
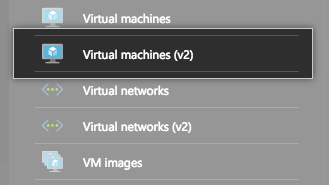 Click Virtual Machines (v2).
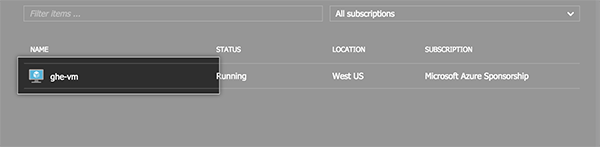 Click the row corresponding to your recently created VM.
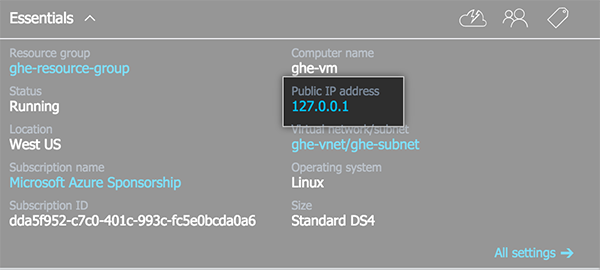 Copy the VM's public IP address and paste it into a web browser.
- Configure the GitHub Enterprise appliance.
Creating the GitHub Enterprise VM using the command line
-
Ensure the CLI is running in
asmmode with theconfig modecommand:azure config mode asm info: New mode is asm
-
Create a Premium-LRS storage account to store your data with the
storage account createcommand, passing in options for:-
name_of_storage_account: The name of your storage account (for example,gheacmedata). The prefix may only contain numbers or lower-case letters and be between three to 24 characters long. -
region: The name of your preferred Azure region (for example,West US)azure storage account create name_of_storage_account -l region --type PLRS info: Executing command storage account create + Creating storage account info: storage account create command OK
-
-
Find the latest GitHub Enterprise appliance image with the
vm image listcommand:azure vm image list | grep GitHub data: 29ad5df6dd__GitHub-Enterprise
-
Create a new VM using the appliance image with the
vm createcommand, passing in options for:-
vm_name: The name for your VM (for example,ghe-acme-corp) -
vm_size: The size for your instance (for example,Standard_D3) -
region: The name of your preferred Azure region (for example,West US) -
appliance_image_name: The name of the appliance image VM (for example,29ad5df6dd__GitHub-Enterprise)
Note that the username and password arguments are required for the Azure CLI, but are ignored by the appliance image.
azure vm create \
    --vm-size vm_size \
    --location "region" \
    --userName ignoreduser \
    --password ign0redP@ss \
    vm_name \
    appliance_image_name
info:    Executing command vm create
+ Looking up cloud service
+ Creating cloud service
+ Retrieving storage accounts
+ Creating VM
info:    vm create command OK
-
-
Configure the security settings on your VM by opening up required ports with the
vm endpointcommand, passing in the name of your VM (for example,ghe-acme-corp):azure vm endpoint create-multiple vm_name 122,80,8080,443,8443,9418,25,161:161:udp,1194:1194:udp info: Executing command vm endpoint create-multiple + Getting virtual machines + Reading network configuration + Updating network configuration info: vm endpoint create-multiple command OK
This table identifies what each port is used for:
Port Service Description 8443 HTTPS Secure web based Management Console. Required for basic installation and configuration. 8080 HTTP Plain-text web based Management Console. Not required unless SSL is disabled manually 122 SSH Instance shell access. Note that the default SSH port (22) is dedicated to application git+ssh network traffic. 1194/UDP VPN Secure replication network tunnel in High Availability configuration. 161/UDP SNMP Required for network monitoring protocol operation. 443 HTTPS Web application and Git over HTTPS access. 80 HTTP Web application access. Note that all requests are redirected to the HTTPS port when SSL is enabled. 22 SSH Git over SSH access. Clone, fetch, and push operations to public/private repositories supported. 9418 Git Simple Git protocol port. Clone and fetch operations to public repositories only. Unencrypted network communication. 25 SMTP SMTP with encryption (STARTTLS) support. -
Create and attach a new storage disk to the VM with the
vm diskcommand, passing in options for:-
vm_name: The name for your VM (for example,ghe-acme-corp) -
size_in_gb: The size of the disk (for example,100). The size of the hard disk should be based on your seat count. For more information, see Required Hardware. -
name_of_storage_account: The URL for the resulting VHD, using the name of your storage accountazure vm disk attach-new vm_name size_in_gb https://name_of_storage_account.blob.core.windows.net/data-disks/ghe-data.vhd info: Executing command vm disk attach-new + Getting virtual machines + Adding Data-Disk info: vm disk attach-new command OK
-
-
Before configuring the instance, you must wait for it to enter ReadyRole. You can check the status of the instance with the
vm listcommand, passing in the name of your VM (for example,ghe-acme-corp):azure vm list -d vm_name info: Executing command vm list + Getting virtual machines data: Name Status Location DNS Name IP Address data: -------- --------- --------- --------------------- ------------ data: vm_name ReadyRole West US ghe-acme-corp.app.foo 999.75.444.11 info: vm list command OK
Copy the VM's public DNS name and paste it into a web browser.