You can configure GitHub Enterprise to use LDAP for authentication.
Step 1: Access the LDAP settings
 At the top of the page, click the Settings tab.
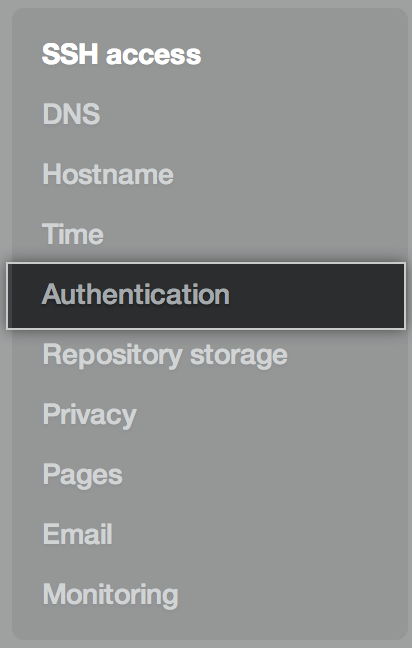 On the left side of the page, click Authentication.
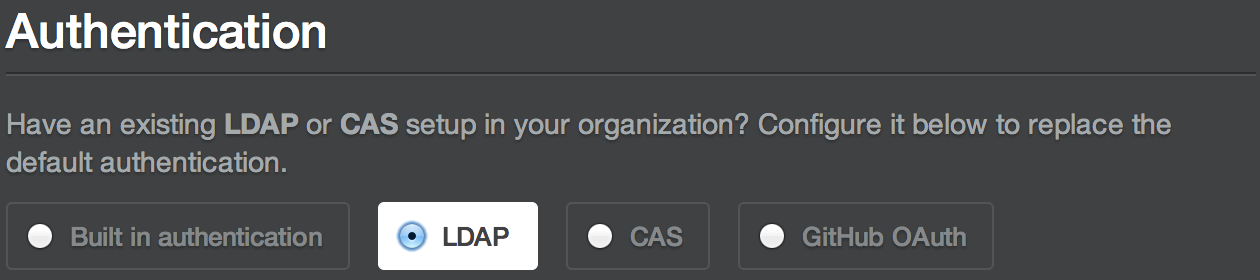 Under Authentication, select LDAP.
Step 2: Set up a connection to the server
 Use the Host field to specify the hostname of the LDAP server itself, such as
 ldap.example.comor10.0.0.30. If the hostname is only available from your internal network, you may need to configure GitHub Enterprise's DNS first so that it can resolve the hostname using your internal nameservers.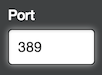 Use the Port field to specify the network port over which GitHub Enterprise will try to contact the LDAP server. This port will vary depending upon your specific LDAP server and the encryption method that you use. For example, port 389 is typically the default for plain authentication and port 636 is typically the default for LDAPS encryption.
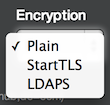 Use the Encryption field to specify the encryption method that will be used to communicate with the LDAP server. You can choose plain-text, StartTLS, or LDAPS encryption.
Tip: If GitHub Enterprise can't validate the SSL certificate used by your LDAP server, you can install a trusted certificate with the ghe-ssl-ca-certificate-install command-line utility.
Step 3: Set up domain search
 Specify the domain search user that will perform lookups to authenticate other users when they sign in. This search user is typically a service account that's created specifically for third party integrations. Use a fully qualified name, such as
 cn=Administrator,cn=Users,dc=example,dc=com. You can also use the[DOMAIN]\[USERNAME]syntax (e.g.WINDOWS\Administrator) for the domain search user with Active Directory. Specify a domain search password to authenticate the domain search user.
-
Specify a domain base: the fully qualified name of an LDAP subtree you want to search for users and groups. Although you can add as many domain bases as you like, each group must be defined in the same domain base as the users that belong to it. If you specify restricted user groups (as explained below), only users that belong to those groups will be in-scope. If you don't specify any restricted user groups, all users found in the domain base subtrees will be in-scope.
 We recommend that you specify the top level of your LDAP directory tree and then take advantage of user groups to control access.
Step 4: Set up groups (optional)
 Specify the administrators group to automatically promote its members to site administrators on GitHub Enterprise when they sign in for the first time.
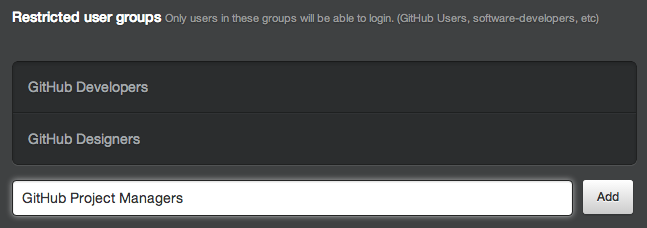 Specify restricted user groups to limit access to GitHub Enterprise. You only need to specify the common names (CNs) of the groups, and you can add as many groups as you like. If no groups are specified, all users within the scope of the specified domain base(s) can sign into your GitHub Enterprise installation.
Step 5: Set up user fields
 Specify a User ID field to map each user account on GitHub Enterprise to a user entry on your LDAP server. When a user signs into GitHub Enterprise for the first time, the LDAP server is queried for an entry whose User ID attribute (specified here) matches the username. Once a mapping with an LDAP user entry has been established, users may change their usernames. This field should be
 sAMAccountNamefor most Active Directory installations but it may beuidfor other LDAP solutions, such as OpenLDAP. The default value isuid. Optionally specify a Profile name field, which will be shown as the name of GitHub Enterprise users on their profile pages. Users may change their profile names.
 Optionally specify an Emails field to set the email addresses for GitHub Enterprise user accounts.
 Optionally specify an SSH keys field to set the SSH keys for GitHub Enterprise user accounts.
Step 6: Test your configuration
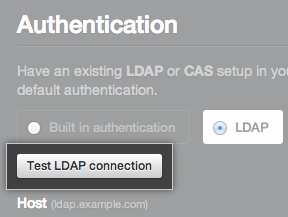 Under Authentication, click Test LDAP connection.
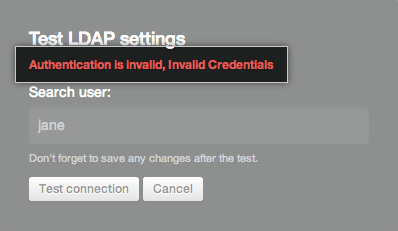
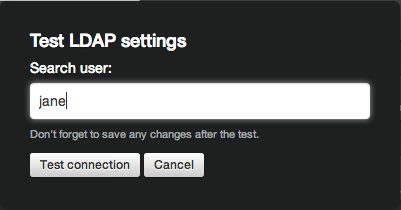 Type a username that should be able to authenticate with your settings. This test doesn't actually authenticate the user—you don't need to provide a password—it just ensures that the user can be found for the specified domain and group settings.
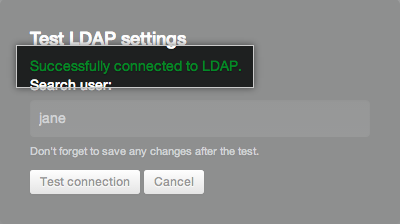
If the test was successful, you'll see a green success message appear:
If the test failed, you'll see an error message describing what went wrong:
Step 7: Save your settings
At the bottom of the page, click Save settings.
