We recommend storing your repository data on a separate block device to make backups and future expansions easier. You can also reduce I/O overhead by keeping this block device physically separate from your root partition.
Once you have added a new block device, your GitHub Enterprise instance will
- detect the block device;
- format the device if it is unformatted;
- copy the content of
/data/repositoriesfrom the VM's root partition to the block device; and - mount the block device at
/data/repositories.
Note that any existing data on the block device will be preserved.
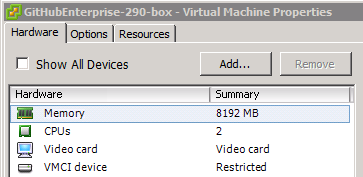
Edit your VM settings
Make sure that you have shut down your virtual machine.
Select your VM and then click Edit settings.
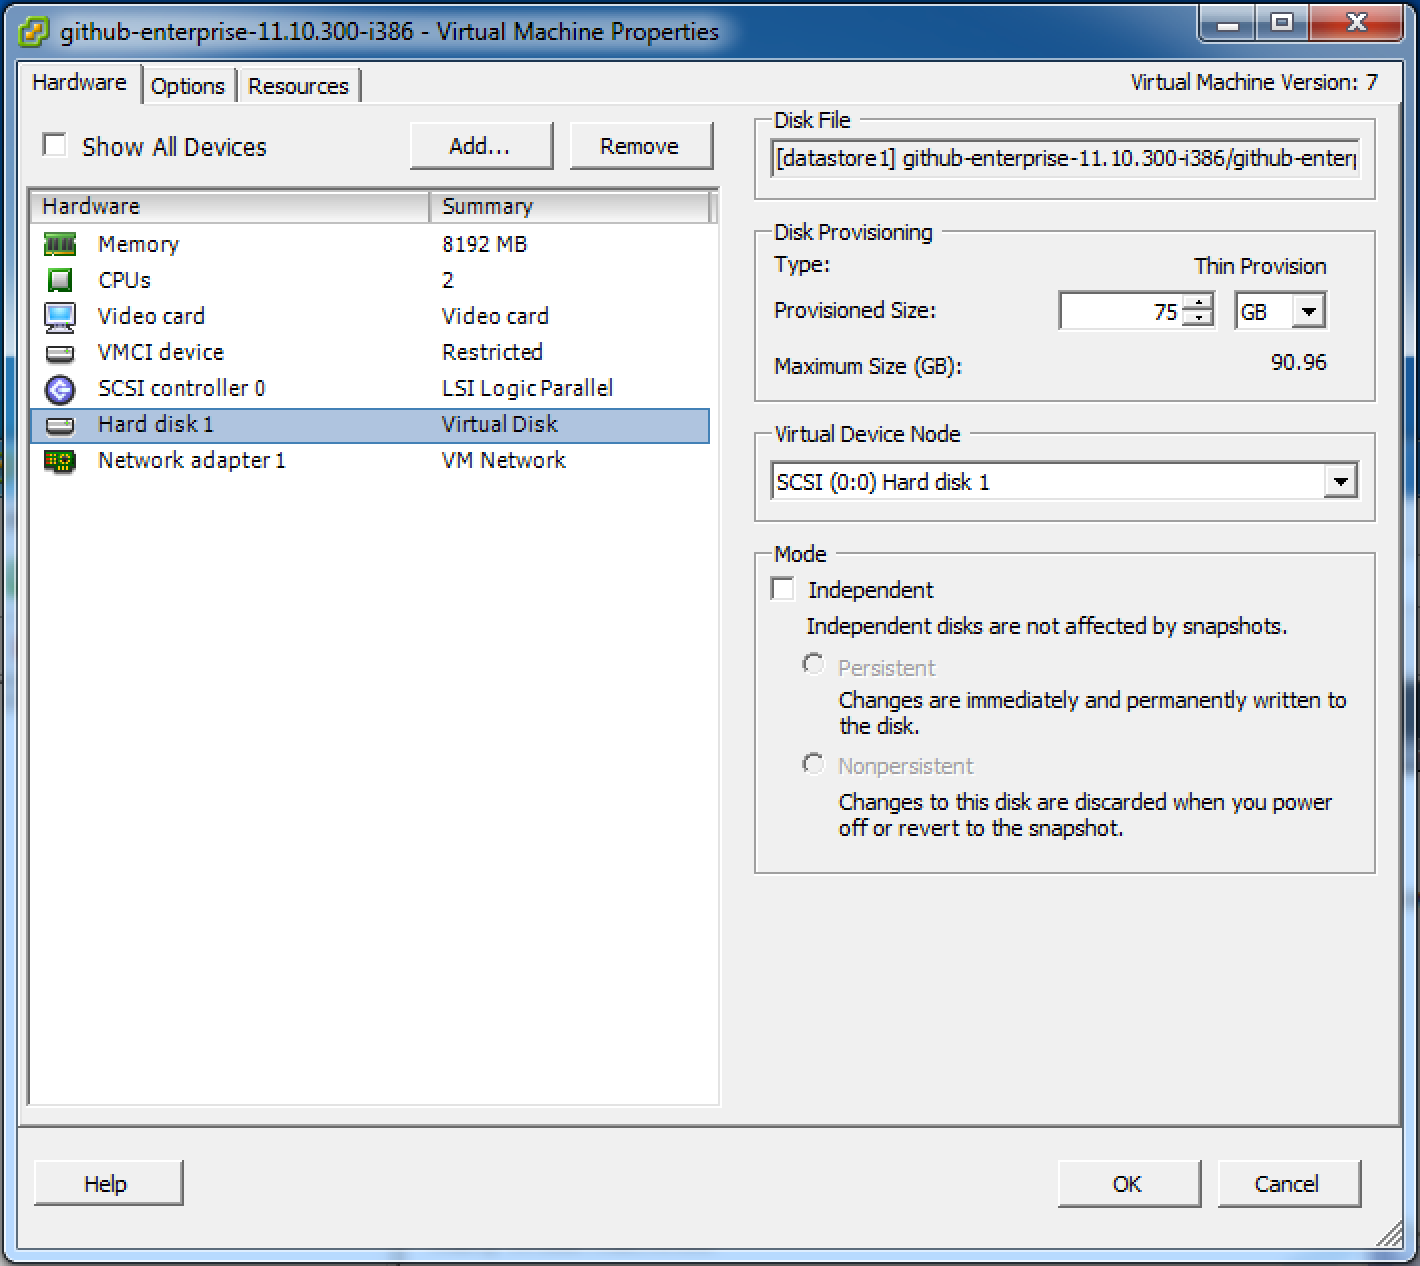
Select the Hardware tab and then click Add. . .
Select Hard Disk from the list of device types and then click Next.
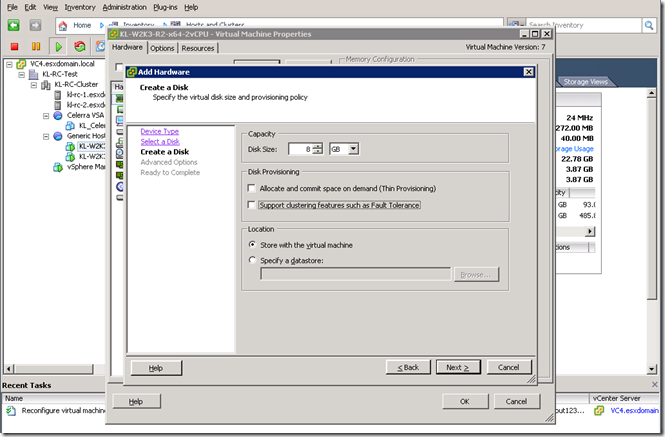
Choose Create a new virtual disk.
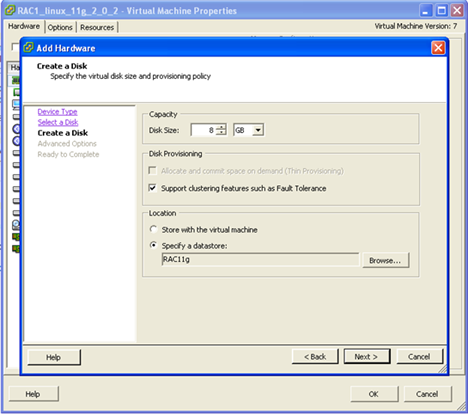
Specify the disk size.
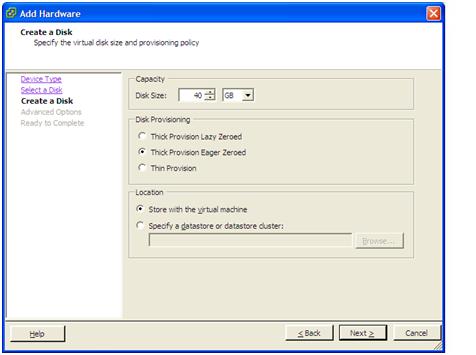
Choose Thick Provision Lazy Zeroed.
Choose Specify a datastore or datastore cluster: and then click Browse. . .
Select your datastore from the provided list and then click OK.
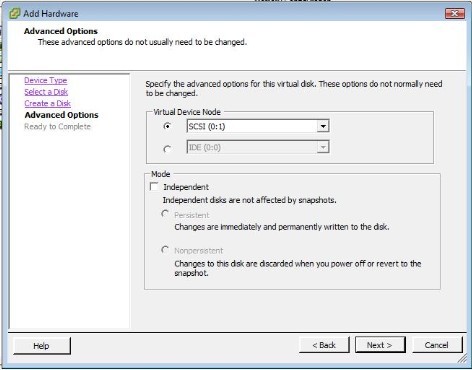
Click Next to accept the default advanced options. (By default, the new disk will be included in full VM snapshots. To keep them consistent, we recommend that you leave the Independent option unselected.)
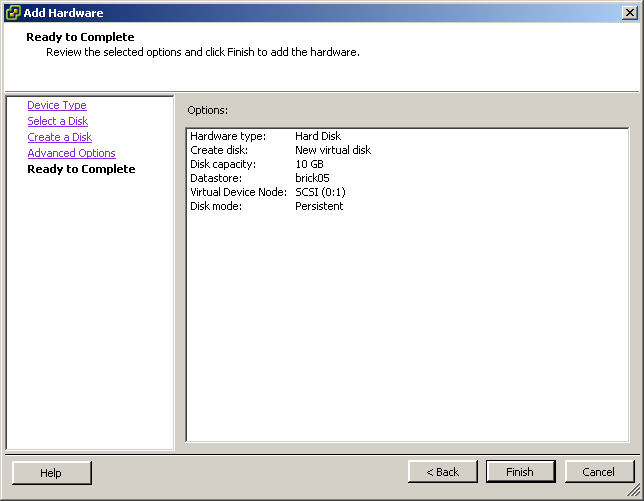
Click Finish to proceed with adding the disk.
Click OK once the new hard disk has been added. This may take some time, depending on how much storage you're adding.
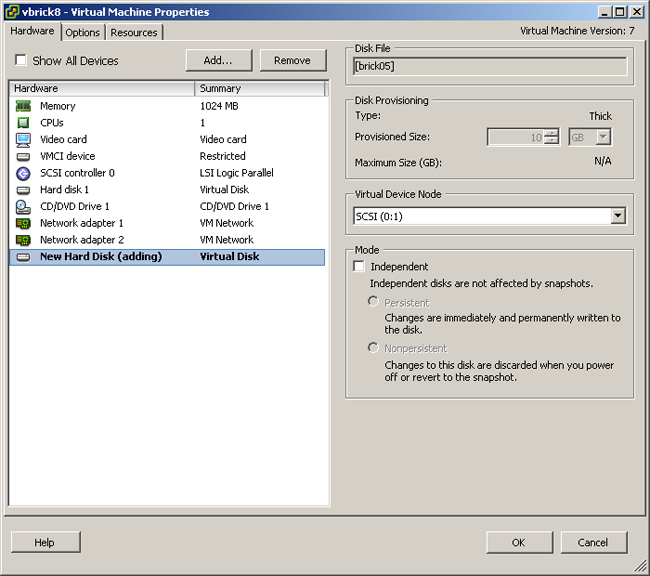
You can see the operation's progress in the Recent Tasks area of vSphere Client.

You can't add a block device larger than 2 TB unless you use ESXi 5.5 with a VMFS-5 datastore. For more details, see the VMware Knowledge Base article, "Support for virtual machine disks larger than 2 TB in VMware ESXi 5.5."
Configure GitHub Enterprise to use the device
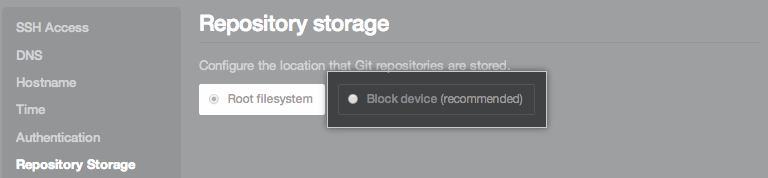
Once you've completed the steps above, start up your VM and go to the Management Console. In the Repository storage section, the Block device option should now appear with the label "recommended" instead of "no device detected".
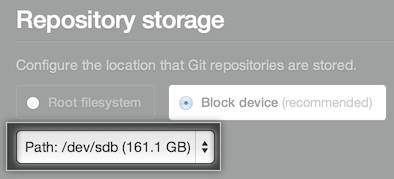
Choose the Block device option. A dropdown menu will appear, showing any detected block devices. If you have only added one disk, it should be the only one in the list.
Danger: Once you have configured a GitHub Enterprise instance to use a new block device, do not re-configure it to use the root filesystem. Any attempts to do so will make your instance fail to boot properly.
Choose the correct disk and then click Save settings at the bottom of the page.
You'll be taken to the configuration page. It should take less than 20 minutes to configure the drive, but it could take longer if you've added a very large drive.
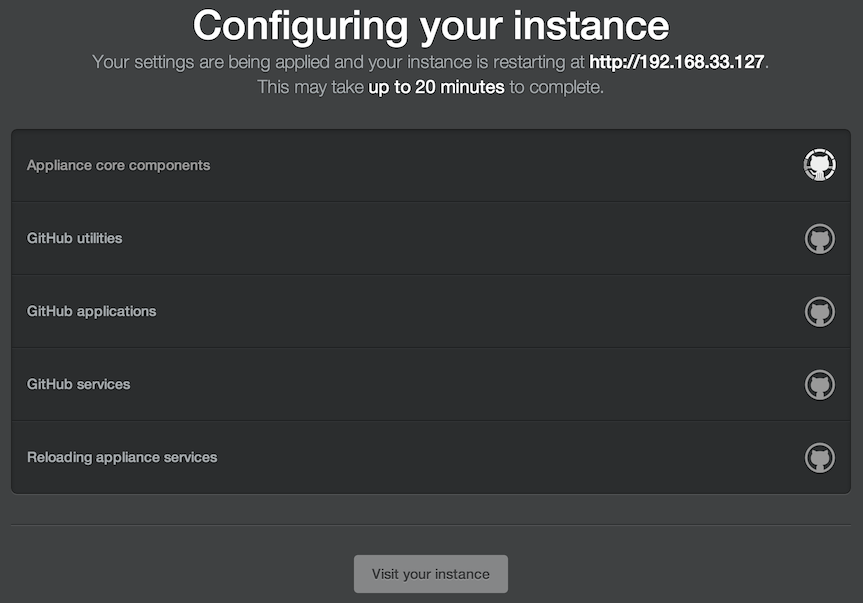
If the process takes longer than 20 minutes, check http(s)://[hostname]/setup/config.log?chef=1 to see whether there was an error formatting your disk. If there was, please contact support.