About commits
Similar to saving a file that's been edited, a commit records changes to one or more files in your branch. Git assigns each commit a unique ID, called a SHA or hash, that identifies:
- The specific changes
- When the changes were made
- Who created the changes
When you make a commit, you must include a commit message that briefly describes the changes.
If the repository you are committing to has compulsory commit signoffs enabled, and you are committing via the web interface, you will automatically sign off on the commit as part of the commit process. For more information, see Managing the commit signoff policy for your repository.
You can add a co-author on any commits you collaborate on. For more information, see Creating a commit with multiple authors.
You can also create a commit on behalf of an organization. For more information, see Creating a commit on behalf of an organization.
Rebasing allows you to change a series of commits and can modify the order of the commits in your timeline. For more information, see About Git rebase.
About commit branches and tag labels
You can see which branch a commit is on by looking at the labels beneath the commit on the commit page.
-
On GitHub, navigate to the main page of the repository.
-
On the main page of the repository, above the file list, click commits.

-
To navigate to a specific commit, click the commit message for that commit.

-
To see what branch the commit is on, check the label below the commit message.


If your commit is not on the default branch (main), the label will show the branches which contain the commit. If the commit is part of an unmerged pull request, you can click the link to go to the pull request.
Once the commit is on the default branch, any tags that contain the commit will be shown and the default branch will be the only branch listed. For more information on tags, see Git Basics - Tagging in the Git documentation.

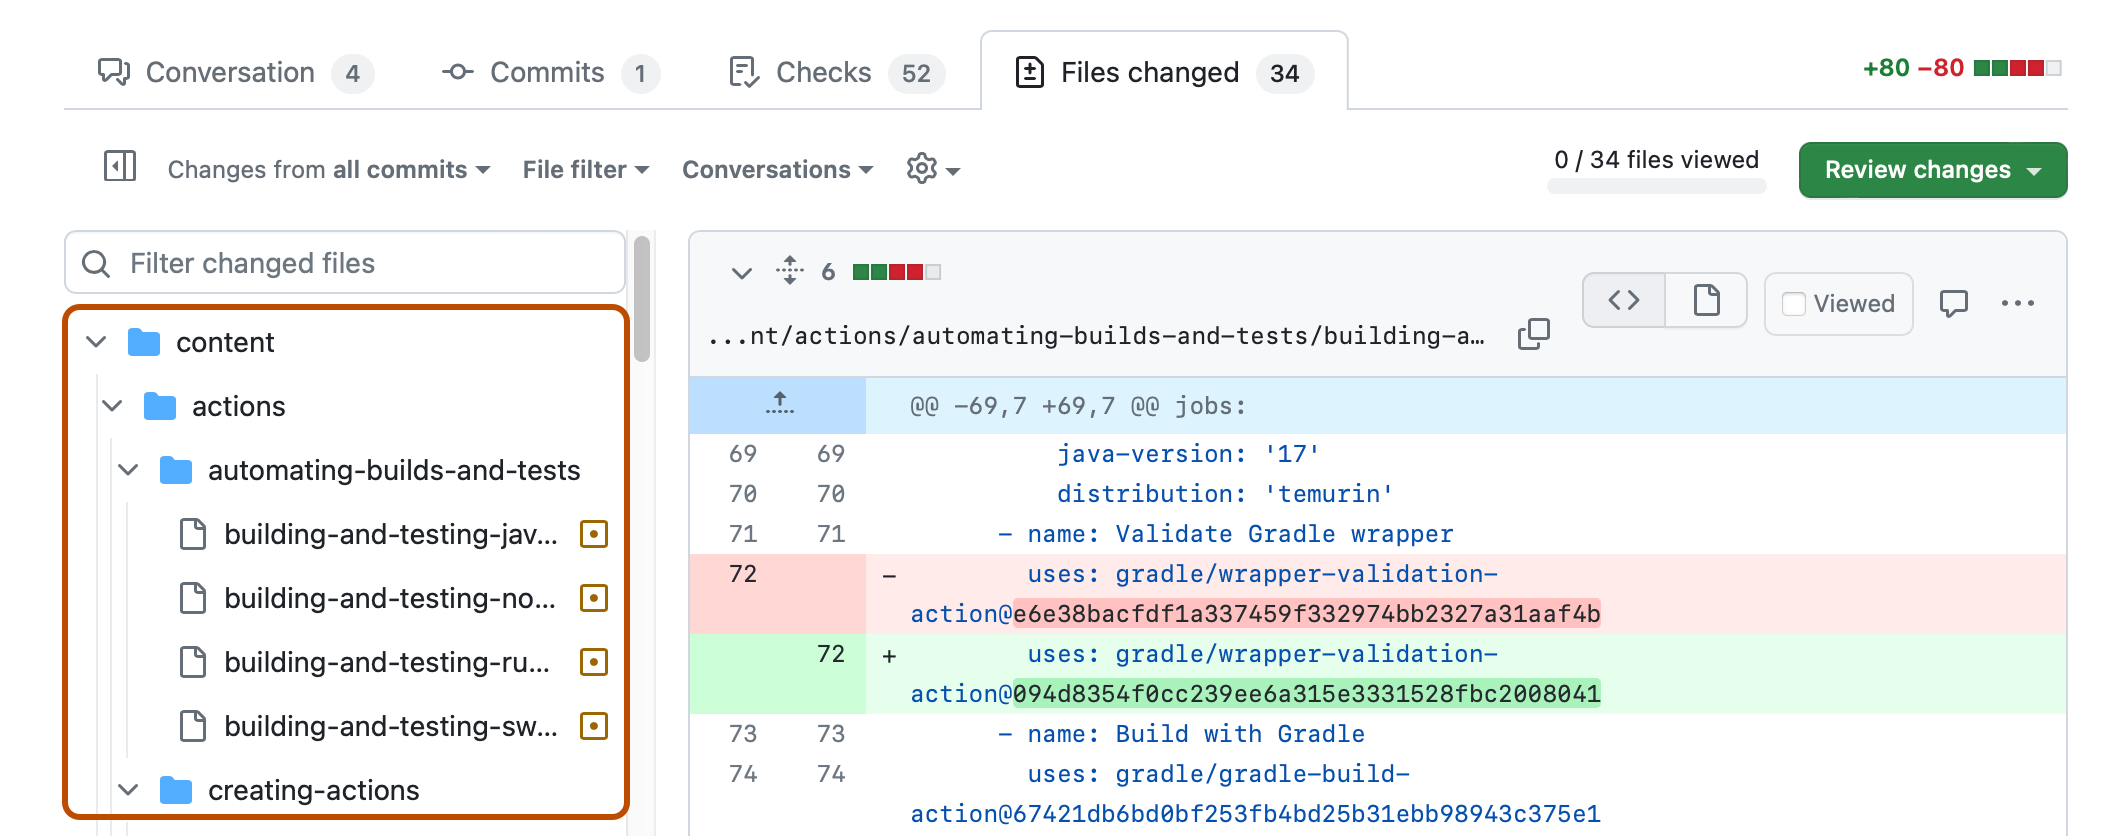
Using the file tree
You can use the file tree to navigate between files in a commit.
-
On GitHub, navigate to the main page of the repository.
-
On the main page of the repository, above the file list, click commits.
-
To navigate to a specific commit, click the commit message for that commit.
-
Click on a file in the file tree to view the corresponding file diff. If the file tree is hidden, click to display the file tree.
Note
The file tree will not display if your screen width is too narrow or if the commit only includes one file.
-
To filter by file path, enter part or all of the file path in the Filter changed files search box.

Further reading
- Committing and reviewing changes to your project in GitHub Desktop on GitHub Desktop