Creating a collapsed section
You can temporarily obscure sections of your Markdown by creating a collapsed section that the reader can choose to expand. For example, when you want to include technical details in an issue comment that may not be relevant or interesting to every reader, you can put those details in a collapsed section.
Any Markdown within the <details> block will be collapsed until the reader clicks to expand the details.
Within the <details> block, use the <summary> tag to let readers know what is inside. The label appears to the right of .
<details>

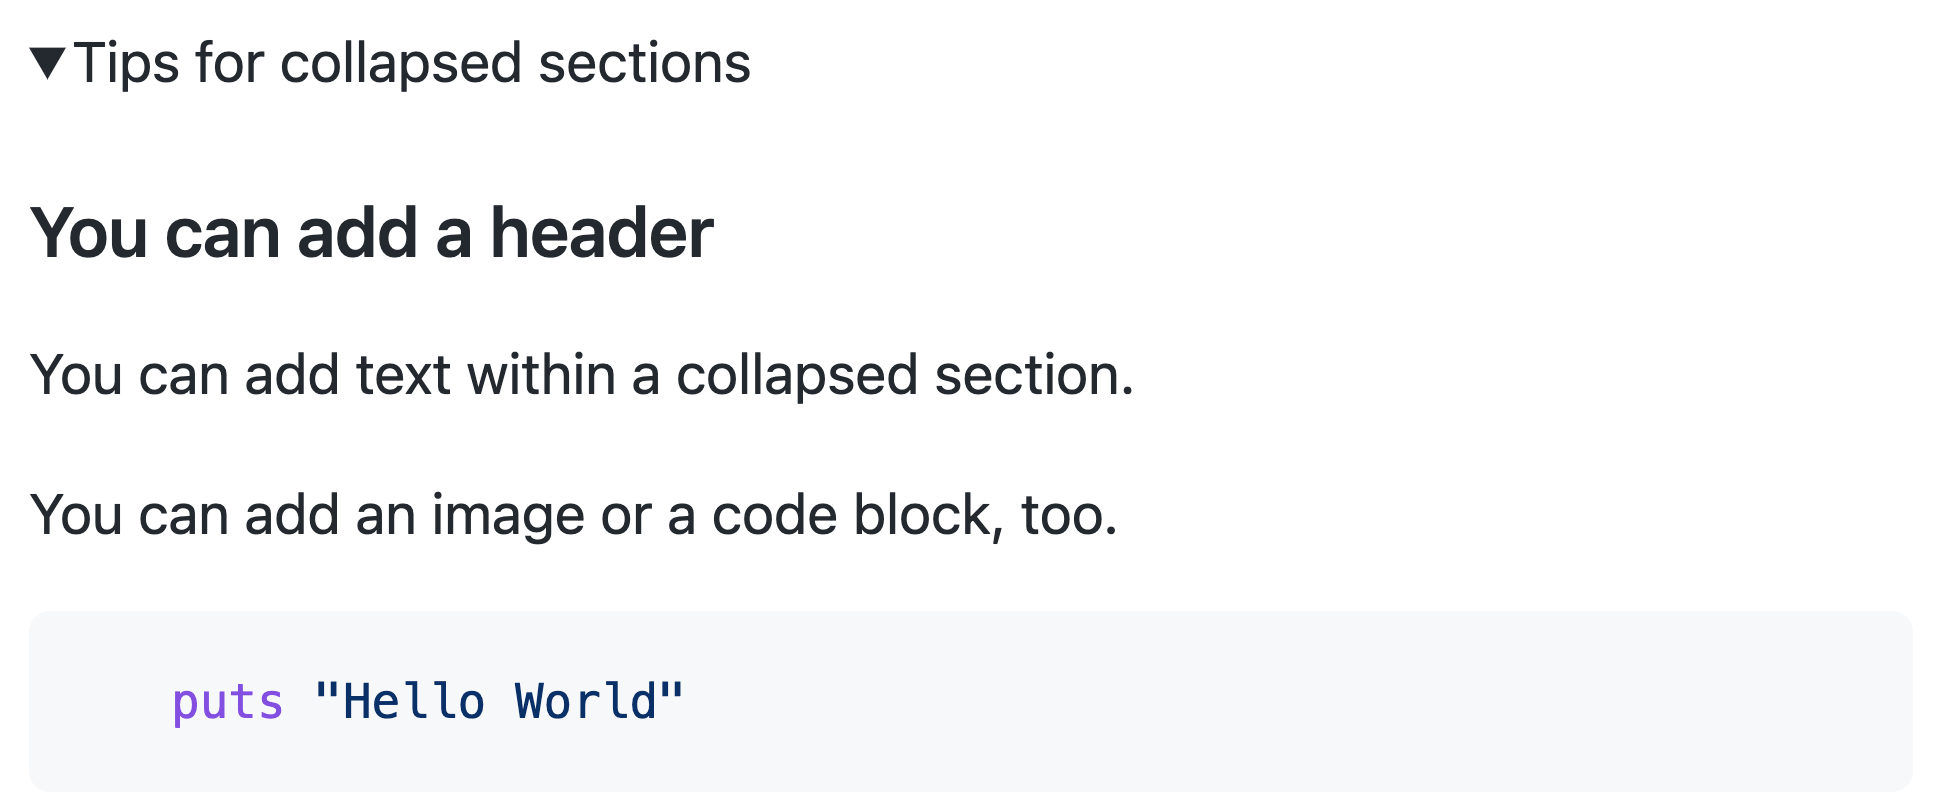
<summary>Tips for collapsed sections</summary>

### You can add a header

You can add text within a collapsed section.

You can add an image or a code block, too.

```ruby
   puts "Hello World"
```

</details>
The Markdown inside the <summary> label will be collapsed by default:

After a reader clicks , the details are expanded:

Optionally, to make the section display as open by default, add the open attribute to the <details> tag:
<details open>