About security policies
To give people instructions for reporting security vulnerabilities in your project, you can add a SECURITY.md file to your repository's root, docs, or .github folder. Adding this file to this part(s) of your repository automatically creates a row with a description where people can review it. When someone creates an issue in your repository, they will see a link to your project's security policy.
You can create a default security policy for your organization or personal account. For more information, see Creating a default community health file.
Tip
To help people find your security policy, you can link to your SECURITY.md file from other places in your repository, such as your README file. For more information, see About READMEs.
After someone reports a security vulnerability in your project, you can use GitHub Security Advisories to disclose, fix, and publish information about the vulnerability. For more information about the process of reporting and disclosing vulnerabilities in GitHub, see About coordinated disclosure of security vulnerabilities. For more information about repository security advisories, see About repository security advisories.
You can also join GitHub Security Lab to browse security-related topics and contribute to security tools and projects.
For an example of a real SECURITY.md file, see https://github.com/electron/electron/blob/main/SECURITY.md.
Adding a security policy to your repository
-
On GitHub, navigate to the main page of the repository.
-
Under the repository name, click Security. If you cannot see the "Security" tab, select the dropdown menu, and then click Security.

-
In the left sidebar, under "Reporting", click Policy.
-
Click Start setup.
-
In the new
SECURITY.mdfile, add information about supported versions of your project and how to report a vulnerability. -
Click Commit changes...
-
In the "Commit message" field, type a short, meaningful commit message that describes the change you made to the file. You can attribute the commit to more than one author in the commit message. For more information, see Creating a commit with multiple authors.
-
If you have more than one email address associated with your account on GitHub, click the email address drop-down menu and select the email address to use as the Git author email address. Only verified email addresses appear in this drop-down menu. If you enabled email address privacy, then a no-reply will be the default commit author email address. For more information about the exact form the no-reply email address can take, see Setting your commit email address.

-
Below the commit message fields, decide whether to add your commit to the current branch or to a new branch. If your current branch is the default branch, you should choose to create a new branch for your commit and then create a pull request. For more information, see Creating a pull request.
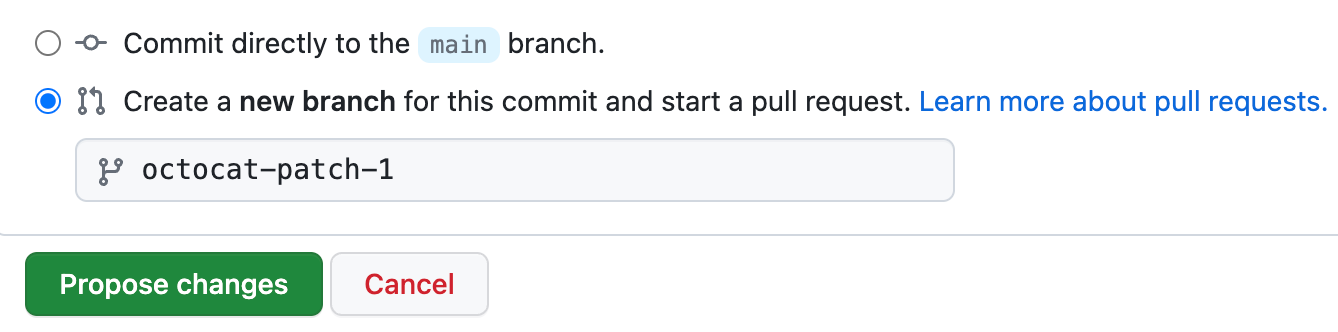
-
Click Commit changes or Propose changes.


