-
In the menu bar, select GitHub Desktop, then click Settings.

-
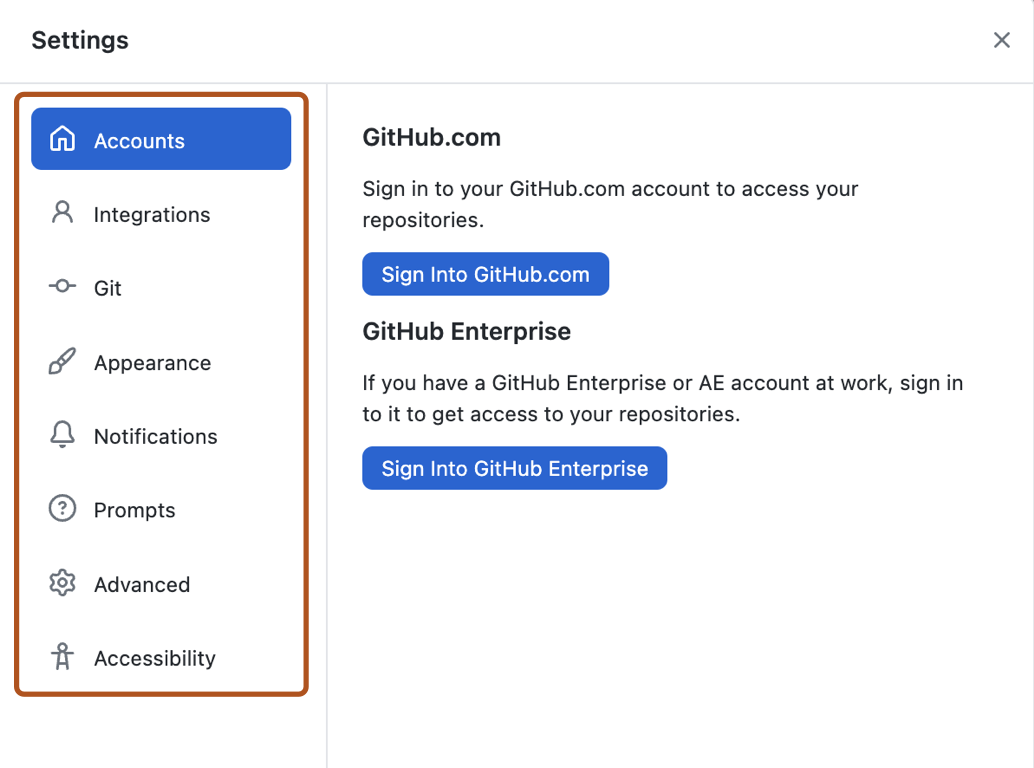
To view or change your settings, toggle between the panes in the "Settings" window.

You can choose from the following options.
- Choose Accounts to add or remove a GitHub or GitHub Enterprise account.
- Choose Integrations to pick an external editor or shell.
- Choose Git to edit your Git configuration.
- Choose Appearance to switch between the light or dark theme.
- Choose Prompts to enable or disable confirmation dialogs before performing destructive actions.
- Choose Advanced for more configuration options.
- Choose Accessibility to configure accessibility options.
-
Use the File menu, then click Options.

-
To view or change your settings, toggle between the panes in the "Options" window.

You can choose from the following options.
- Choose Accounts to add or remove a GitHub or GitHub Enterprise account.
- Choose Integrations to pick an external editor or shell.
- Choose Git to edit your Git configuration.
- Choose Appearance to switch between the light or dark theme.
- Choose Prompts to enable or disable confirmation dialogs before performing destructive actions.
- Choose Advanced for more configuration options.
- Choose Accessibility to configure accessibility options.