如果你有 GitHub Copilot Individual 订阅,则可以安装 GitHub Copilot in the CLI 扩展,而无需为组织启用它。
如果你是具有 GitHub Copilot Business 订阅的组织的一部分,那么组织所有者将需要在 Copilot 设置中启用 Copilot in the CLI 。 然后,可以安装 GitHub Copilot in the CLI 扩展。
在组织级别启用或禁用 Copilot in the CLI
组织所有者可以为组织启用或禁用 Copilot in the CLI。
-
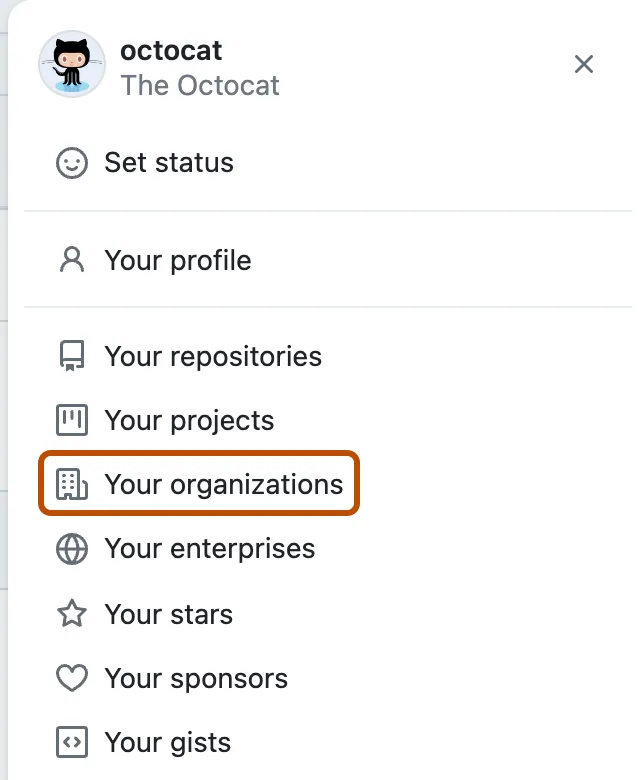
在 GitHub.com 的右上角,选择个人资料照片,然后单击 “你的组织”****。

-
在组织旁边,单击“设置”。
-
在边栏的“代码、规划和自动化”部分中,按下“ Copilot”,然后按下“策略”。********
-
在“Copilot in the CLI”的右侧,选择下拉菜单,然后单击“已启用”或“已禁用”。
安装 Copilot in the CLI
要安装 Copilot in the CLI,必须先安装 GitHub CLI。 有关 GitHub CLI 的安装说明,请参阅 GitHub CLI 存储库。
-
如果尚未通过 GitHub 帐户进行身份认证,请在终端上运行以下命令。
Shell gh auth login
gh auth login -
要安装 Copilot in the CLI 扩展,请运行以下命令。
Shell gh extension install github/gh-copilot
gh extension install github/gh-copilot -
要更新 Copilot in the CLI,请运行以下命令。
Shell gh extension upgrade gh-copilot
gh extension upgrade gh-copilot
要将 gh 与 GitHub Copilot 一起使用,请键入 gh copilot SUBCOMMAND,例如 gh copilot explain。
后续步骤
你已成功安装 Copilot in the CLI。 若要详细了解如何使用,请参阅“使用 GitHub Copilot(CLI 版)”。 如果想要为执行命令选项配置使用情况分析和默认行为,请参阅“在 CLI 中配置 GitHub Copilot”。