Migrating from GitHub Enterprise 11.10.x requires setting up a new appliance instance and migrating data from the previous instance using the GitHub Enterprise Backup Utilities.
Note: If you are currently running a version of GitHub Enterprise older than 11.10.348, you must upgrade to 11.10.348 first before migrating to 2.1. This may require several passes of the previous upgrade procedure.
To upgrade to GitHub Enterprise 2.2 or later, you must first migrate to GitHub Enterprise 2.1. After that, you can follow the instructions at "Upgrading GitHub Enterprise".
Prepare for the migration
Before starting the migration, follow the steps below to ensure that everything needed to perform the migration is in place.
-
Review installation instructions for the desired platform.
Review the Provisioning and Installation guide. Check that all prerequisites needed to provision and configure GitHub Enterprise 2.1.23 in your environment are met.
-
Verify the current instance is running a supported upgrade version.
We currently only support migrations from v11.10.348 on. Migrating from versions earlier than v11.10.348 is not supported--you must first upgrade to 11.10.348 in several passes of the previous upgrade procedure.
-
Set up the latest version of the GitHub Enterprise Backup Utilities.
- If you have already configured scheduled backups using the GitHub Enterprise Backup Utilities, ensure you have updated to the latest version.
- If you are not currently running scheduled backups, set up the GitHub Enterprise Backup Utilities.
-
Take an initial full backup snapshot.
Note: If you have already have configured scheduled backups for your current instance, you may skip this step.
Take an initial snapshot of the current instance using the
ghe-backupcommand. You can leave the instance online and in active use during this step.You will take another snapshot during the maintenance portion of the migration. Since backups are incremental, this initial snapshot reduces the amount of data transferred in the final snapshot, which may shorten the maintenance window.
-
Determine how you will switch user network traffic to the new instance.
Once the migration is complete, all HTTP and Git network traffic will need to be directed to the new instance. Options for performing the switch include, in order of recommendation:
DNS - Before starting migration, reduce the existing DNS record's TTL to five minutes or less and allow the change to propagate. Once the migration is complete, update the DNS record(s) to point to the IP address of the new instance. We recommend this method for all environments, as it's simple and works well even when migrating from one datacenter to another.
IP address assignment - Only available on VMware to VMware migrations. This method requires shutting down the old instance before starting the migration and assigning its IP address to the new instance. This approach is not recommended unless the options above are unavailable.
-
Schedule a maintenance window.
The current instance must be put into maintenance mode and will not be available during the migration to the new instance. Follow your organization's procedures for scheduling a maintenance window if needed.
The maintenance window should include enough time to transfer data from the backup host to the new instance. Time needed will vary based on the size of the backup snapshot and available network bandwidth.
Congratulations! You're ready to start the migration.
Perform the migration
Once all preparation is complete, follow these steps to perform the migration and switch network traffic to the new instance.
Provision a new GitHub Enterprise 2.1 instance by following the instructions in the Provisioning and Installation guide for your target platform. When the new instance is available, visit it in a browser, upload your GitHub Enterprise license, and set an administrator password.
-
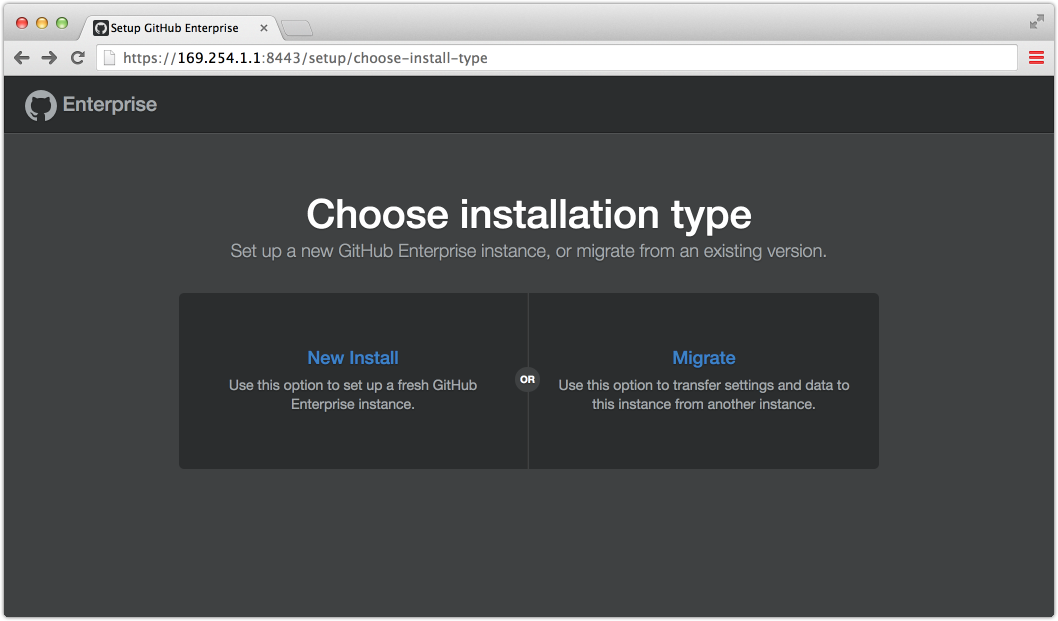
Choose Migrate when prompted for whether you'd like to set up a New Install or Migrate from a another instance.
-
You will be prompted to authorize backup host access via SSH to the new instance. Add the backup host's SSH key to the authorized keys list.

-
Once the SSH key is added, continue to the next screen, which will provide the specific
ghe-restorecommand to run on the backup host in order to migrate data to the new instance.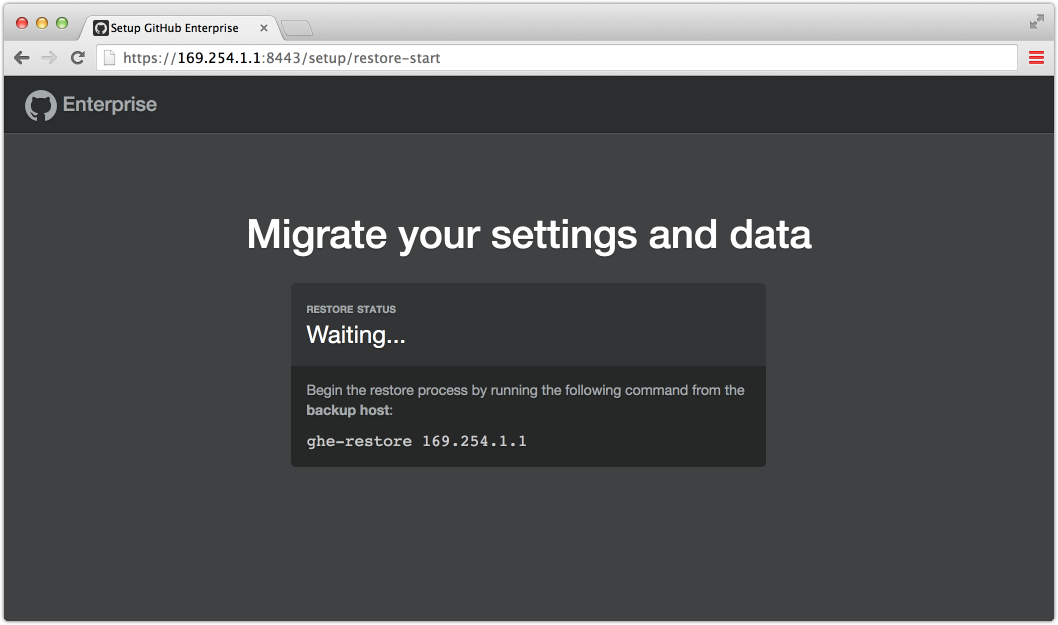
The new instance is now ready for the migration.
Enable maintenance mode on the old instance and wait for all active processes to complete. The instance will be unavailable for normal use from this point forward.
On the backup host, use the
ghe-backupcommand to take a final backup snapshot. This ensures that all data from the old instance has been captured.-
On the backup host, restore the latest snapshot by running the
ghe-restorecommand as instructed on the new instance's restore status screen.$ ghe-restore 169.254.1.1 The authenticity of host '169.254.1.1:122' can't be established. RSA key fingerprint is fe:96:9e:ac:d0:22:7c:cf:22:68:f2:c3:c9:81:53:d1. Are you sure you want to continue connecting (yes/no)? yes Connect 169.254.1.1:122 OK (v2.0.0) Starting restore of 169.254.1.1:122 from snapshot 20141014T141425 Restoring Git repositories ... Restoring GitHub Pages ... Restoring asset attachments ... Restoring hook deliveries ... Restoring MySQL database ... Restoring Redis database ... Restoring SSH authorized keys ... Restoring Elasticsearch indices ... Restoring SSH host keys ... Completed restore of 169.254.1.1:122 from snapshot 20141014T141425 Visit https://169.254.1.1/setup/settings to review appliance configuration. -
Once the restore is complete, return to the new instance's restore status screen. You should see that the restore completed successfully.

Click Continue to settings to review the new instance's configuration information.
-
Review the settings imported from the previous instance and adjust as needed for changes in deployment environment. Once you've made any necessary configuration changes, click Save settings to complete the migration process.

Once the new configuration has been applied and server restarted, the instance is available for use.
Switch user network traffic from the old instance to the new instance using the method determined during preparation.
Proceed to upgrade to the latest patch release of 2.6 by following the instructions at "Upgrading GitHub Enterprise".