When you add a manually-created issue template to your repository, project contributors will automatically see the template's contents in the issue body.
For more information, see "About issue and pull request templates."
You can create an ISSUE_TEMPLATE/ subdirectory in any of the supported folders to contain multiple issue templates, and use the template query parameter to specify the template that will fill the issue body. For more information, see "About automation for issues and pull requests with query parameters."
Adding an issue template
On GitHub Enterprise, navigate to the main page of the repository.
- Above the file list, click Create new file.

-
In the file name field:
- To make your issue template visible in the repository's root directory, type the name of your issue_template. For example,
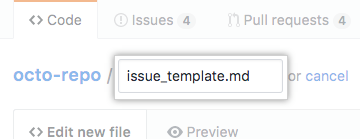
issue_template.md. - To make your issue template visible in the repository's
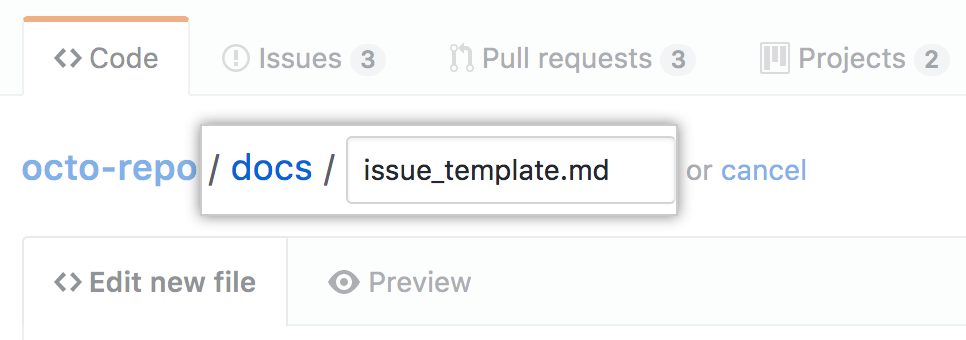
docsdirectory, type docs/ followed by the name of your issue_template. For example,docs/issue_template.md, - To store your file in a hidden directory, type .github/ followed by the name of your issue_template. For example,
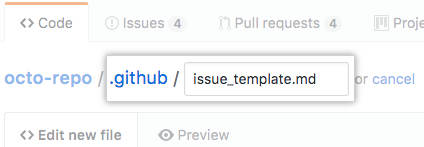
.github/issue_template.md. - To create multiple issue templates and use the

templatequery parameter to specify a template to fill the issue body, type .github/ISSUE_TEMPLATE/, then the name of your issue template. For example,.github/ISSUE_TEMPLATE/issue_template.md. You can also store multiple issue templates in anISSUE_TEMPLATEsubdirectory within the root ordocs/directories. For more information, see "About automation for issues and pull requests with query parameters."
- In the body of the new file, add your issue template. This could include:
- Expected behavior and actual behavior.
- Steps to reproduce the problem.
- Specifications like the version of the project, operating system, or hardware.
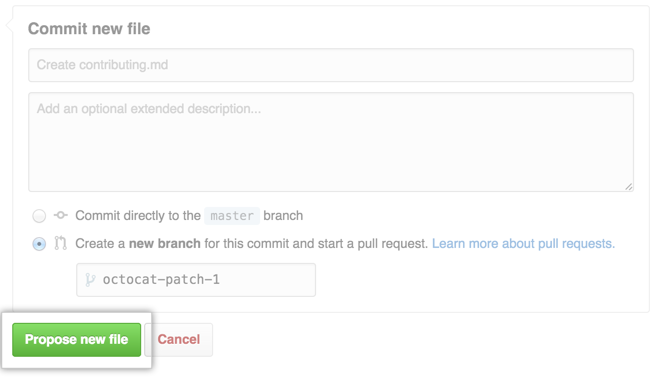
- At the bottom of the page, type a short, meaningful commit message that describes the change you made to the file.
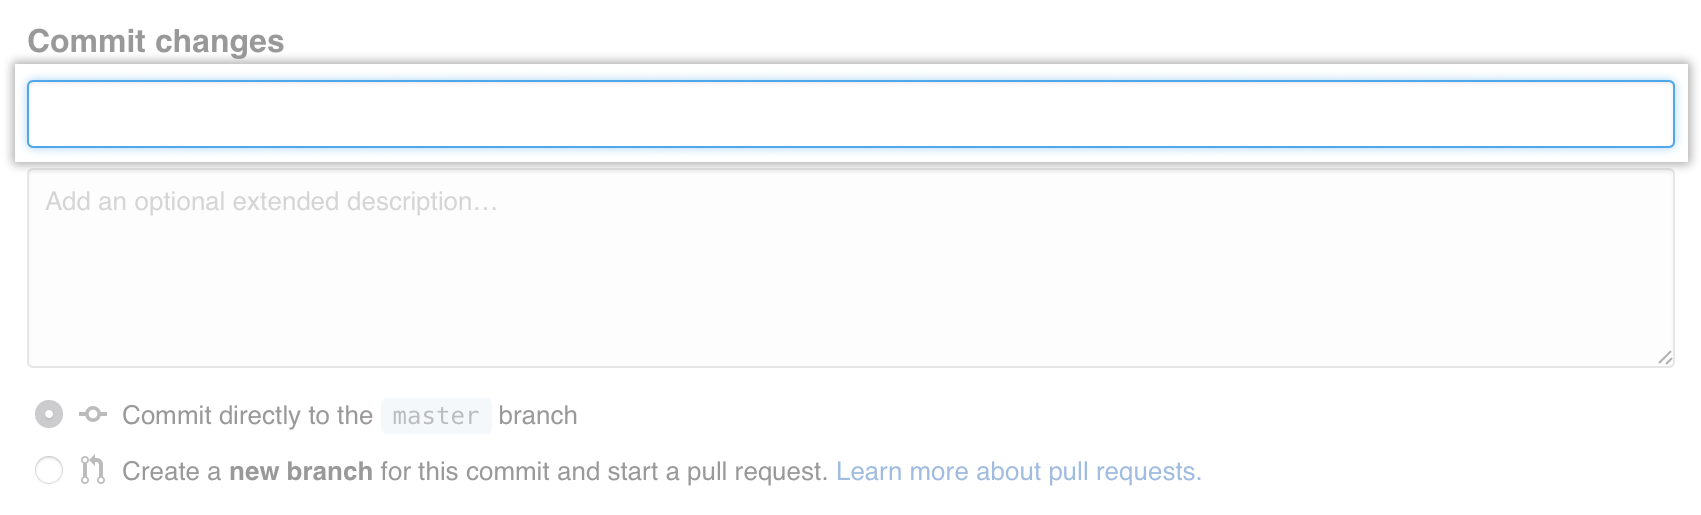
- Below the commit message fields, decide whether to add your commit to the current branch or to a new branch. If your current branch is
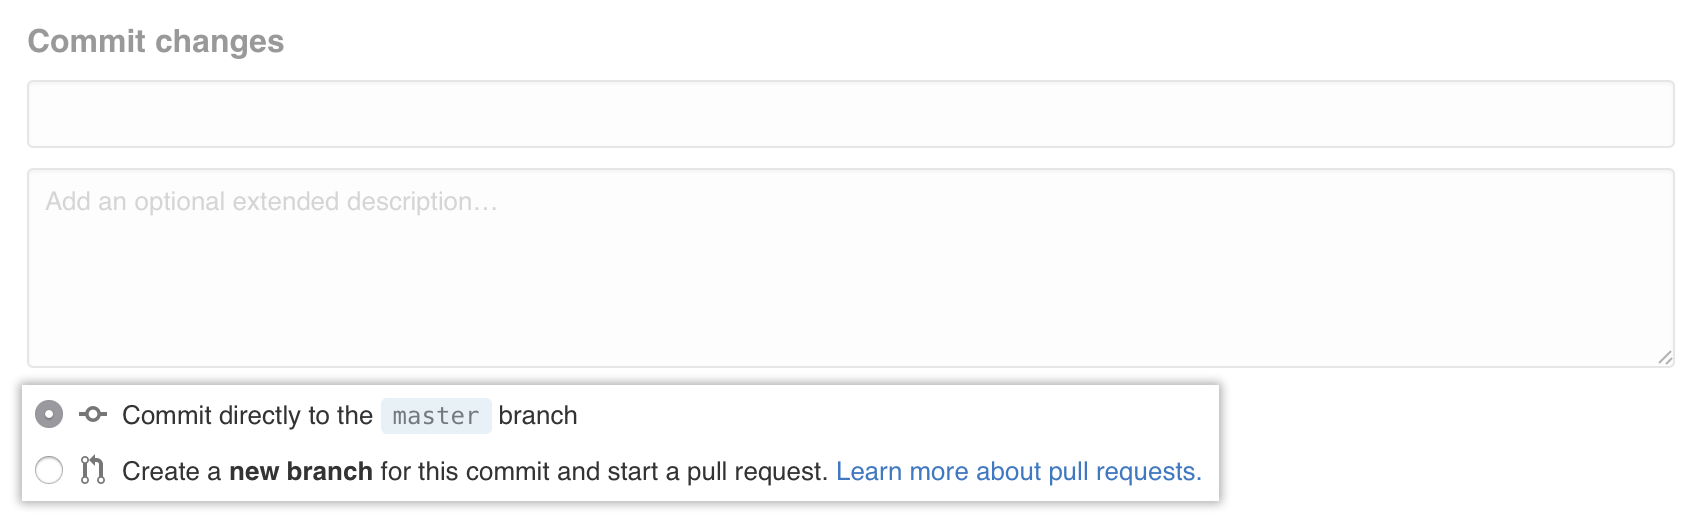
master, you should choose to create a new branch for your commit and then create a pull request. Templates are available to collaborators when they are merged into the repository's default branch. - Click Propose new file.