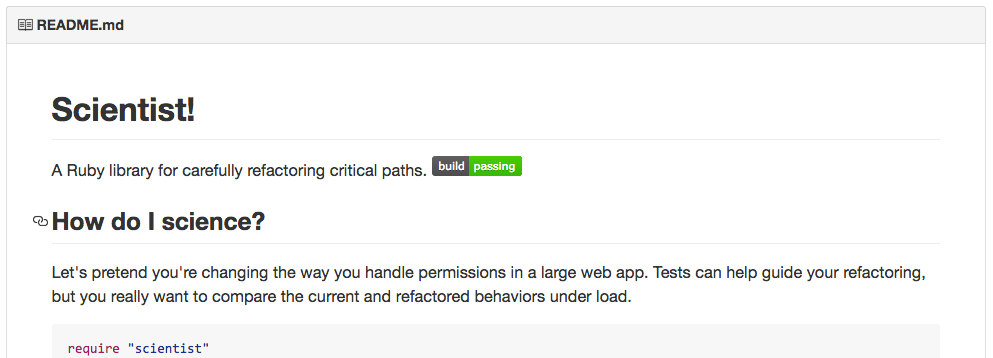
You can add a README file to your repository to tell other people why your project is useful, what they can do with your project, and how they can use it.
A README file, along with a repository license and contribution guidelines, helps you communicate expectations for and manage contributions to your project.
A README is often the first item a visitor will see when visiting your repository. README files typically include information on:
- What the project does
- Why the project is useful
- How users can get started with the project
- Where users can get help with your project
- Who maintains and contributes to the project
If you put your README file in your repository's root, docs, or hidden .github directory, GitHub Enterprise will recognize and automatically surface your README to repository visitors.

Section links in README files and blob pages
Many projects use a table of contents at the start of a README to direct users to different sections of the file. You can link directly to a section in a rendered file by hovering over the section heading to expose the link:

Relative links and image paths in README files
You can define relative links and image paths in your rendered files to help readers navigate to other files in your repository.
A relative link is a link that is relative to the current file. For example, if you have a README file in root of your repository, and you have another file in docs/CONTRIBUTING.md, the relative link to CONTRIBUTING.md in your README might look like this:
[Contribution guidelines for this project](docs/CONTRIBUTING.md)
GitHub Enterprise will automatically transform your relative link or image path based on whatever branch you're currently on, so that the link or path always works. You can use all relative link operands, such as ./ and ../.
Relative links are easier for users who clone your repository. Absolute links may not work in clones of your repository - we recommend using relative links to refer to other files within your repository.