To get started with GitHub Enterprise, we recommend running through the installation process with default settings on your local machine once to familiarize yourself with the set-up process before rolling it out to developers in your company. This will give you a chance to test the waters out before provisioning virtual machines on your production network. The easiest way to do a trial run is to use VirtualBox on a local machine. Keep in mind that you'll only want to do this to perform initial testing.
After you've done that and you're ready to proceed with setting up GitHub Enterprise on your main VMware environment for testing, here's what you'll need to do:
1. Install vSphere Client
Tip: If your company has a separate department that manages VMs, then you may need to request that they perform steps 1 and 2 here. You would start at step 3.
vSphere Client is the software used to interact with VMware ESXi to provision new virtual machines. You can download a copy from your ESXi installation by browsing to the URL displayed on its console (typically http://private-ip-of-your-esxi-install/). You should see something like this:
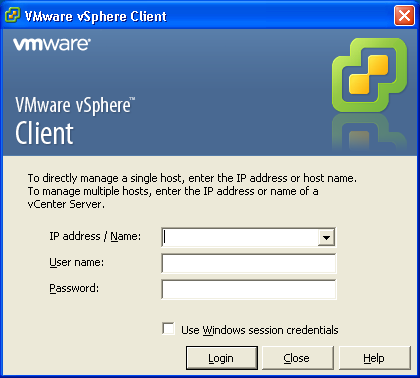
Once you have the installer downloaded, simply follow the on-screen instructions to install it (default options are fine).
2. Download the software
Tip: You need a trial or paid license to download the software for GitHub Enterprise. If you decide to request a trial, please make sure to use your business email address!
After you have vSphere Client installed, you'll need the virtual machine image (OVA). To get that, browse to https://enterprise.github.com/download and download the virtual appliance:

After you have the appliance image, you need to download the software package. You'll want the 64-bit GHP further down the same page:

And finally, you'll want to download your trial license file:

3. Import the appliance
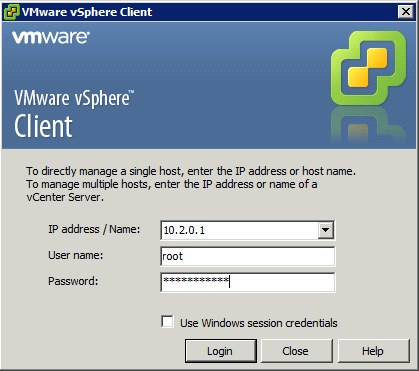
Connect to your ESXi host machine using vSphere Client by specifying the IP address of the ESXi server along with your username and password. The username will typically be "root" and the password will be whatever was assigned when the server was installed.
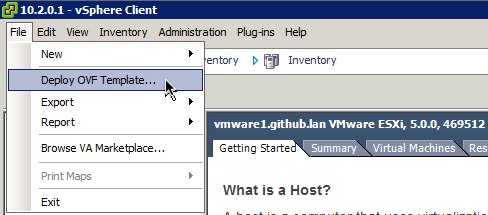
Next, begin the import process by selecting the Deploy OVF Template... option from the File menu:
Next, you'll be presented with an import wizard; the default values will probably be sufficient in most cases. First you'll be asked to specify the source OVF template file. This is the OVA file you downloaded in step 2. If you're working offsite, it might be faster for the ESXi host machine to download the file for you, so you can enter the OVA download URL in that field and it will download the file directly.
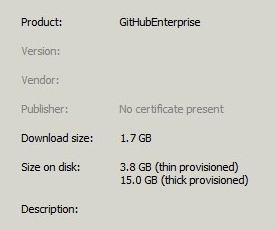
The next page displays the template details. Note that the template uses 75GB of disk space with the recommended thick provisioning. Click "Next" to continue to the next step.
Now you need to name the VM; you can use the default "GitHubEnterprise" if you like. It's generally a good idea to add something to identify which version OVA you imported, so we suggest changing it to something like "GitHubEnterprise (11.10.331)".

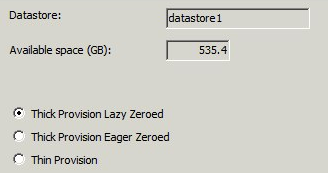
Next, you'll choose which datastore you want the base image loaded onto and whether you want it provisioned thick or thin. We recommend using thick provisioning with lazy zeroing.
Now, map the VM to the correct local network. Most installations will only have one visible network to choose from. If you have more than one and are unsure which to choose, find a System Administrator to advise you which to use.
Lastly, you're taken to a summary page that details all the settings you've chosen and gives you the option to power on the VM after you've deployed it. If you plan to add additional block storage for your repository data, leave the 'Power on after deployment' box unchecked and look for details on adding Repository Storage. If you use the Root Filesystem, you can go ahead and power on the VM.
Generally, while getting things setup it's a good idea to take a snapshot of your VM immediately after you finish importing so you have a base point to revert to later without having to re-import. You'll want to delete that snapshot once the VM actually starts being used regularly.
4. Upload your GHP and License files
Browse to the URL displayed in the VM console window that showed up when you started the appliance. You'll be taken to a page where you can upload the GHP and license files you downloaded previously. Click on the Upload license file link, browse to the .ghl license file you have, and choose that file. Next, click on the Upload GitHub software package link, browse to the .ghp file you have, and choose that. At this point, you should see something like this:
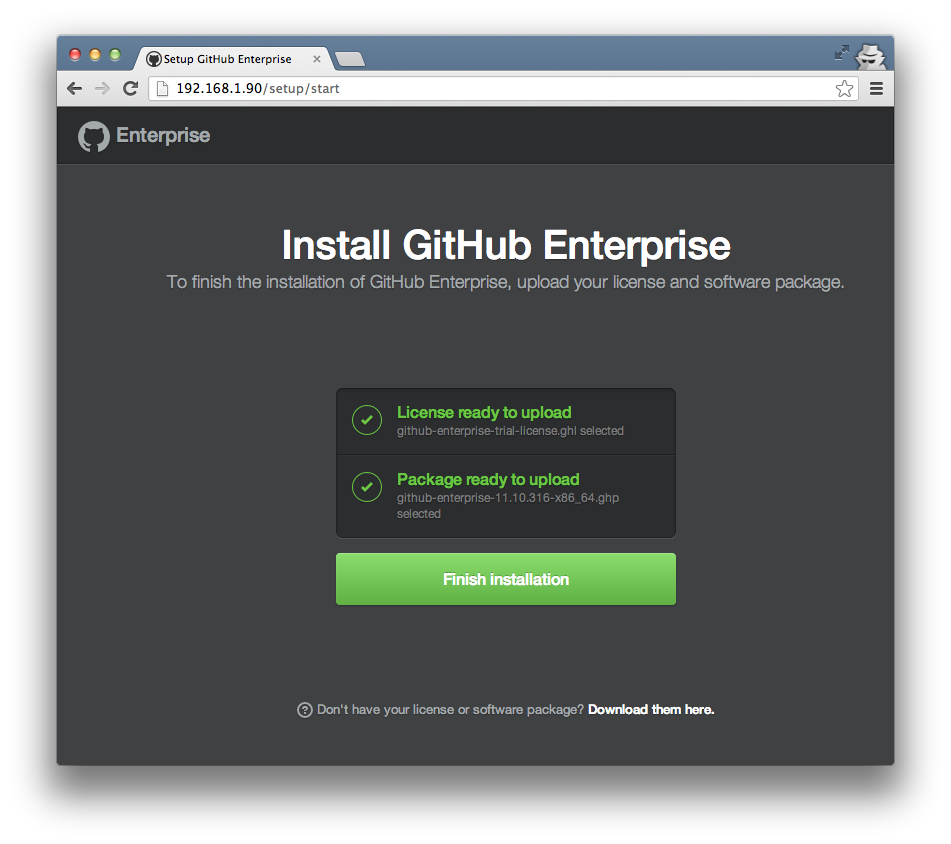
Click on the Finish installation button. You'll see an octospinner while the GHP is uploaded to the appliance (since the VM is running locally, this should only take a couple of minutes). Once the upload is complete, the GHP will be extracted and then you'll be taken to the Settings page.
Just use the default options here (you'll want to do all your configuration testing on a VMware virtual machine that's on your production network). Note that doing this will mean that email notifications won't work, but that's fine just to test things out. Once you're ready, click on the Save settings button at the bottom of the page. This will kick off the configuration process and take you to the configuration page where you can monitor its progress:
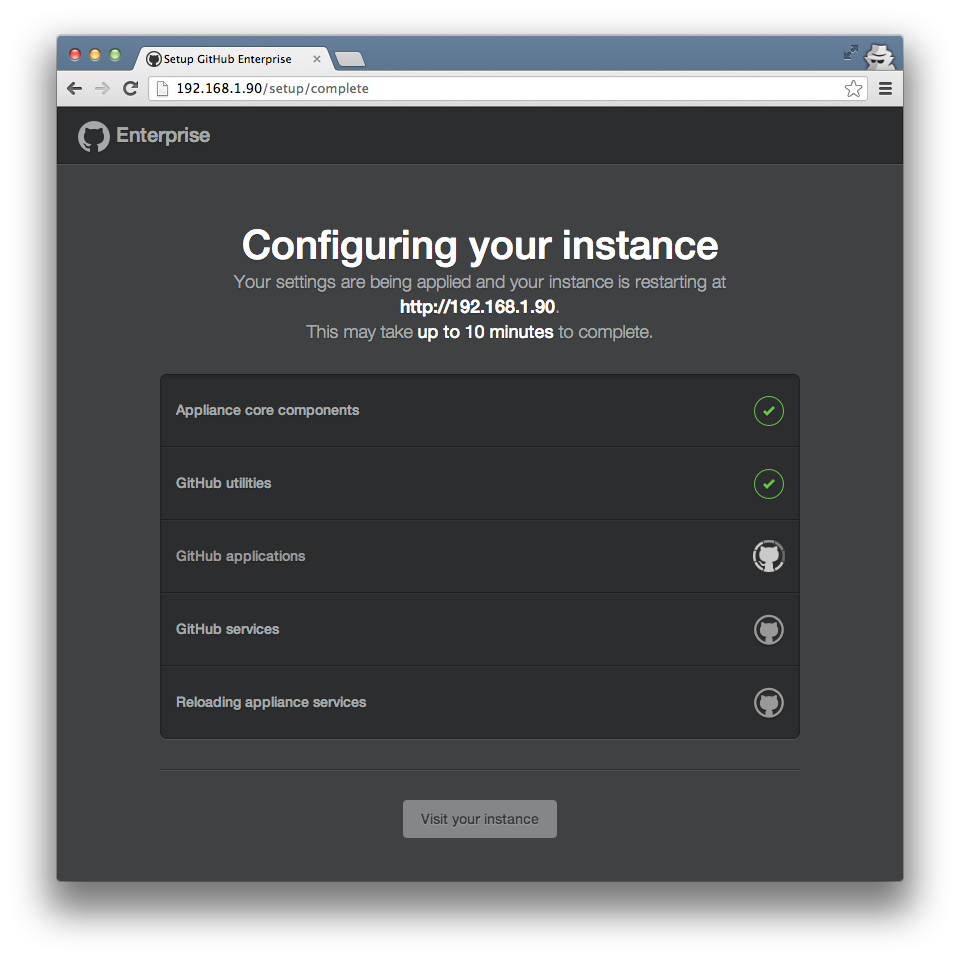
The configuration process may take anywhere from 8 to 20 minutes. Once it completes, you'll be greeted with this completion page:
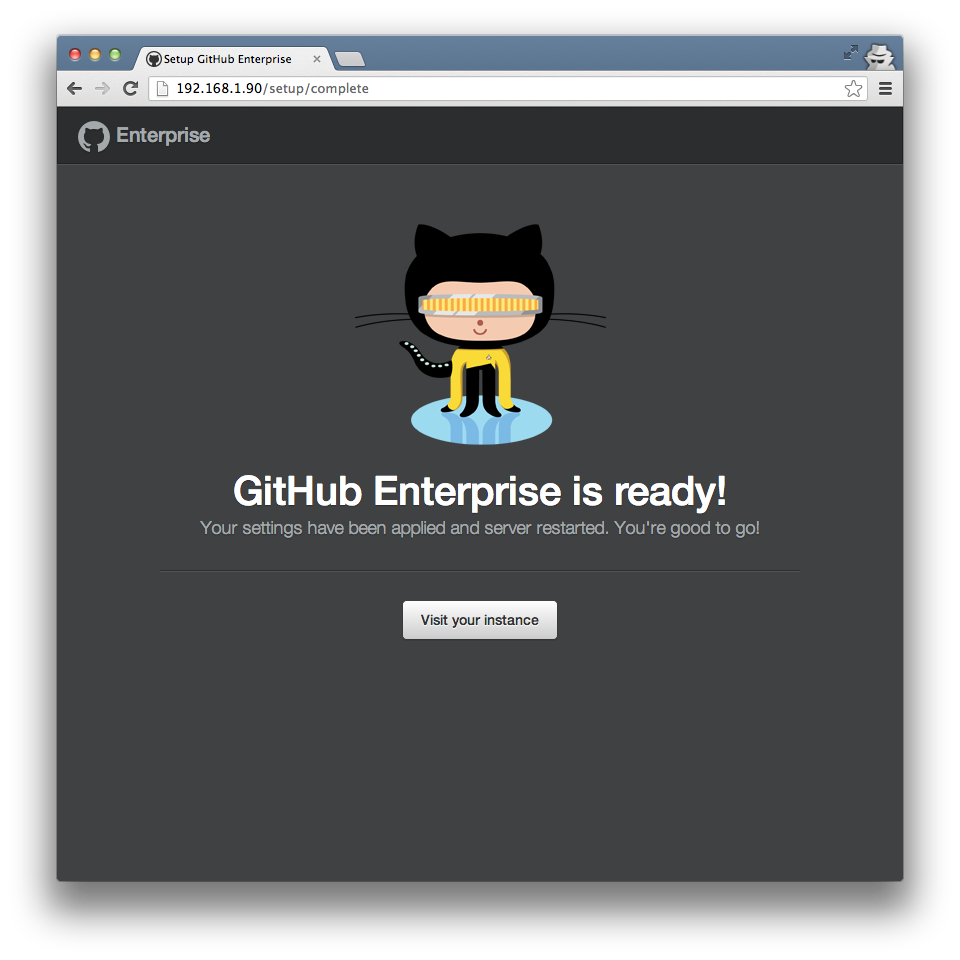
Click the Visit your instance button to setup your site admin user account and start using your GitHub Enterprise installation.