错误:权限被拒绝(公钥)
“权限被拒绝”错误表示服务器拒绝了您的连接。 可能有多个原因,最常见的如下所述。
对 Git 是否应该使用 sudo 命令?
不应对 Git 使用 sudo 命令。 如果有很好的原因必须使用 sudo,请确保对每个命令使用它(可能使用 su 获取 shell 作为该点的根更好)。 如果生成 SSH 密钥而不使用 sudo,则尝试使用 sudo git push 而不使用生成的相同密钥。
检查是否连接到正确的服务器
我们知道,键入 Url 很麻烦。 请注意您键入的内容;您无法连接到 "githib.com" 或 "guthub.com"。 有某些情况下,公司网络可能导致解析 DNS 记录有问题。
为确保连接到正确的域,可以输入以下命令:
$ ssh -vT git@主机名> OpenSSH_5.6p1, OpenSSL 0.9.8r 8 Feb 2011
> debug1: Reading configuration data /Users/you/.ssh/config
> debug1: Reading configuration data /etc/ssh_config
> debug1: Applying options for *
> debug1: Connecting to 主机名 [IP ADDRESS] port 22.
应连接端口 22。
始终使用 "git" 用户
所有连接(包括远程 URL 的连接)必须以 "git" 用户进行。 如果尝试以 GitHub Enterprise 用户名连接,将会失败:
$ ssh -T GITHUB-USERNAME@主机名> Permission denied (publickey).如果连接失败且您通过 GitHub Enterprise 用户名使用远程 URL,可以更改远程 URL 以使用 "git" 用户。
应键入以下命令来验证连接:
$ ssh -T git@主机名> Hi username! You've successfully authenticated...确保您有使用的密钥
-
Open TerminalTerminalGit Bashthe terminal.
-
确认您的私钥已生成并加载到 SSH。 如果使用的是 OpenSSH 6.7 或更早版本:
# start the ssh-agent in the background
$ eval "$(ssh-agent -s)"
> Agent pid 59566
$ ssh-add -l
> 2048 a0:dd:42:3c:5a:9d:e4:2a:21:52:4e:78:07:6e:c8:4d /Users/you/.ssh/id_rsa (RSA)
如果使用的是 OpenSSH 6.8 或更新版本:
# start the ssh-agent in the background
$ eval "$(ssh-agent -s)"
> Agent pid 59566
$ ssh-add -l -E md5
> 2048 MD5:a0:dd:42:3c:5a:9d:e4:2a:21:52:4e:78:07:6e:c8:4d /Users/you/.ssh/id_rsa (RSA)
If you have GitHub Desktop installed, you can use it to clone repositories and not deal with SSH keys. It also comes with the Git Bash tool, which is the preferred way of running git commands on Windows.
-
If you are using Git Bash, turn on ssh-agent:
# start the ssh-agent in the background
$ eval "$(ssh-agent -s)"
> Agent pid 59566
If you are using another terminal prompt, such as Git for Windows, turn on ssh-agent:
# 在后台启动 ssh-agent $ eval $(ssh-agent -s) > Agent pid 59566 -
确认您的私钥已生成并加载到 SSH。 如果使用的是 OpenSSH 6.7 或更早版本:
$ ssh-add -l
> 2048 a0:dd:42:3c:5a:9d:e4:2a:21:52:4e:78:07:6e:c8:4d /Users/you/.ssh/id_rsa (RSA)
如果使用的是 OpenSSH 6.8 或更新版本:
$ ssh-add -l -E md5
> 2048 MD5:a0:dd:42:3c:5a:9d:e4:2a:21:52:4e:78:07:6e:c8:4d /Users/you/.ssh/id_rsa (RSA)
-
Open TerminalTerminalGit Bashthe terminal.
-
确认您的私钥已生成并加载到 SSH。 如果使用的是 OpenSSH 6.7 或更早版本:
# start the ssh-agent in the background
$ eval "$(ssh-agent -s)"
> Agent pid 59566
$ ssh-add -l
> 2048 a0:dd:42:3c:5a:9d:e4:2a:21:52:4e:78:07:6e:c8:4d /Users/you/.ssh/id_rsa (RSA)
如果使用的是 OpenSSH 6.8 或更新版本:
# start the ssh-agent in the background
$ eval "$(ssh-agent -s)"
> Agent pid 59566
$ ssh-add -l -E md5
> 2048 MD5:a0:dd:42:3c:5a:9d:e4:2a:21:52:4e:78:07:6e:c8:4d /Users/you/.ssh/id_rsa (RSA)
-
Open TerminalTerminalGit Bashthe terminal.
-
确认您的私钥已生成并加载到 SSH。 如果使用的是 OpenSSH 6.7 或更早版本:
# start the ssh-agent in the background
$ eval "$(ssh-agent -s)"
> Agent pid 59566
$ ssh-add -l
> 2048 a0:dd:42:3c:5a:9d:e4:2a:21:52:4e:78:07:6e:c8:4d /Users/you/.ssh/id_rsa (RSA)
如果使用的是 OpenSSH 6.8 或更新版本:
# start the ssh-agent in the background
$ eval "$(ssh-agent -s)"
> Agent pid 59566
$ ssh-add -l -E md5
> 2048 MD5:a0:dd:42:3c:5a:9d:e4:2a:21:52:4e:78:07:6e:c8:4d /Users/you/.ssh/id_rsa (RSA)
ssh-add 命令应印出一个长的数字和字母字符串。 如果未印出任何内容,则需要生成新 SSH 密钥并将其与 GitHub Enterprise 关联。
提示:在大多数系统中,默认私钥(~/.ssh/id_rsa、~/.ssh/id_dsa 和 ~/.ssh/identity)会自动添加到 SSH 身份验证代理中。 应无需运行 ssh-add path/to/key,除非在生成密钥时覆盖文件名。
获取更多详细信息
也可尝试连接 git@[hostname] 来检查使用的密钥:
$ ssh -vT git@主机名> ...
> debug1: identity file /Users/you/.ssh/id_rsa type -1
> debug1: identity file /Users/you/.ssh/id_rsa-cert type -1
> debug1: identity file /Users/you/.ssh/id_dsa type -1
> debug1: identity file /Users/you/.ssh/id_dsa-cert type -1
> ...
> debug1: Authentications that can continue: publickey
> debug1: Next authentication method: publickey
> debug1: Trying private key: /Users/you/.ssh/id_rsa
> debug1: Trying private key: /Users/you/.ssh/id_dsa
> debug1: No more authentication methods to try.
> Permission denied (publickey).
在该示例中,我们没有任何密钥供 SSH 使用。 "identity file" 行末的 "-1" 表示 SSH 找不到可使用的文件。 后面的 "Trying private key" 行也表示未找到文件。 如果文件存在,这些行将分别是 "1" 和 "Offering public key":
$ ssh -vT git@主机名> ...
> debug1: identity file /Users/you/.ssh/id_rsa type 1
> ...
> debug1: Authentications that can continue: publickey
> debug1: Next authentication method: publickey
> debug1: Offering RSA public key: /Users/you/.ssh/id_rsa
确认公钥已附加到您的帐户
必须向 GitHub Enterprise 提供公钥才可建立安全连接。
-
打开终端。
-
在后台启动 SSH 代理程序。
$ eval "$(ssh-agent -s)" > Agent pid 59566 -
找到并记录公钥指纹。 如果使用的是 OpenSSH 6.7 或更早版本:
$ ssh-add -l
> 2048 a0:dd:42:3c:5a:9d:e4:2a:21:52:4e:78:07:6e:c8:4d /Users/USERNAME/.ssh/id_rsa (RSA)
如果使用的是 OpenSSH 6.8 或更新版本:
$ ssh-add -l -E md5 > 2048 MD5:a0:dd:42:3c:5a:9d:e4:2a:21:52:4e:78:07:6e:c8:4d /Users/USERNAME/.ssh/id_rsa (RSA) -
在任意页面的右上角,单击您的个人资料照片,然后单击 Settings(设置)。

-
在用户设置侧边栏中,单击 SSH and GPG keys(SSH 和 GPG 密钥)。

-
比较 SSH 公钥列表与
ssh-add命令的输出。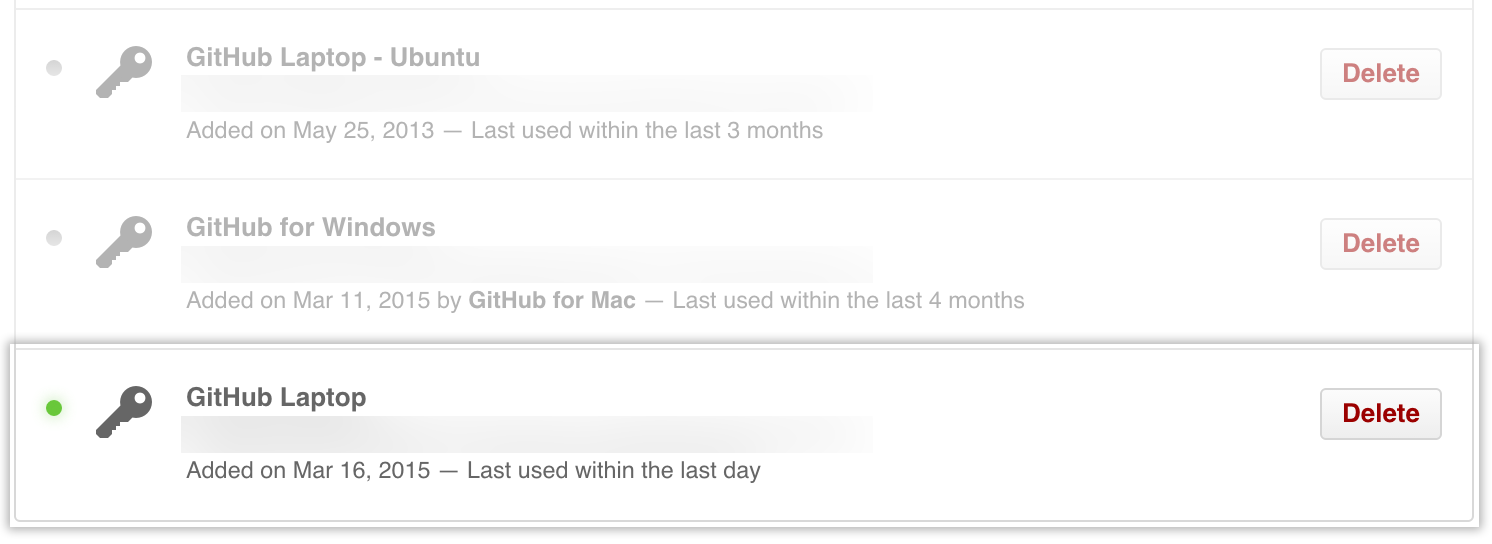
-
打开命令行。
-
在后台启动 SSH 代理程序。
$ ssh-agent -s > Agent pid 59566 -
找到并记录公钥指纹。 如果使用的是 OpenSSH 6.7 或更早版本:
$ ssh-add -l
> 2048 a0:dd:42:3c:5a:9d:e4:2a:21:52:4e:78:07:6e:c8:4d /Users/USERNAME/.ssh/id_rsa (RSA)
如果使用的是 OpenSSH 6.8 或更新版本:
$ ssh-add -l -E md5 > 2048 MD5:a0:dd:42:3c:5a:9d:e4:2a:21:52:4e:78:07:6e:c8:4d /Users/USERNAME/.ssh/id_rsa (RSA) -
在任意页面的右上角,单击您的个人资料照片,然后单击 Settings(设置)。
-
在用户设置侧边栏中,单击 SSH and GPG keys(SSH 和 GPG 密钥)。
-
比较 SSH 公钥列表与
ssh-add命令的输出。
-
打开终端。
-
在后台启动 SSH 代理程序。
$ eval "$(ssh-agent -s)" > Agent pid 59566 -
找到并记录公钥指纹。 如果使用的是 OpenSSH 6.7 或更早版本:
$ ssh-add -l
> 2048 a0:dd:42:3c:5a:9d:e4:2a:21:52:4e:78:07:6e:c8:4d /Users/USERNAME/.ssh/id_rsa (RSA)
如果使用的是 OpenSSH 6.8 或更新版本:
$ ssh-add -l -E md5 > 2048 MD5:a0:dd:42:3c:5a:9d:e4:2a:21:52:4e:78:07:6e:c8:4d /Users/USERNAME/.ssh/id_rsa (RSA) -
在任意页面的右上角,单击您的个人资料照片,然后单击 Settings(设置)。
-
在用户设置侧边栏中,单击 SSH and GPG keys(SSH 和 GPG 密钥)。
-
比较 SSH 公钥列表与
ssh-add命令的输出。
如果在 GitHub Enterprise 中未看到公钥,则需要添加 SSH 密钥到 GitHub Enterprise 并将其与您的计算机关联。
警告:如果在 GitHub Enterprise 上看到您不熟悉的 SSH 密钥,请立即删除并联系 您的 GitHub Enterprise 站点管理员 寻求进一步的帮助。 无法识别的公钥可能表示安全问题。 更多信息请参阅“审查 SSH 密钥”。