About secret scanning
If someone checks a secret with a known pattern into a repository, secret scanning catches the secret as it's checked in, and helps you mitigate the impact of the leak. Repository administrators are notified about any commit that contains a secret, and they can quickly view all detected secrets in the Security tab for the repository. For more information, see "About secret scanning."
Checking whether your license includes GitHub Advanced Security
You can identify if your enterprise has a GitHub Advanced Security license by reviewing your enterprise settings. For more information, see "Enabling GitHub Advanced Security for your enterprise."
Prerequisites for secret scanning
-
The SSSE3 (Supplemental Streaming SIMD Extensions 3) CPU flag needs to be enabled on the VM/KVM that runs GitHub Enterprise Serverインスタンス.
-
A license for GitHub Advanced Security (see "About billing for GitHub Advanced Security")
-
Secret scanning enabled in the management console (see "Enabling GitHub Advanced Security for your enterprise")
Checking support for the SSSE3 flag on your vCPUs
The SSSE3 set of instructions is required because secret scanning leverages hardware accelerated pattern matching to find potential credentials committed to your GitHub repositories. SSSE3 is enabled for most modern CPUs. You can check whether SSSE3 is enabled for the vCPUs available to your GitHub Enterprise Server instance.
-
Connect to the administrative shell for your GitHub Enterprise Server instance. For more information, see "Accessing the administrative shell (SSH)."
-
Enter the following command:
grep -iE '^flags.*ssse3' /proc/cpuinfo >/dev/null | echo $?If this returns the value
0, it means that the SSSE3 flag is available and enabled. You can now enable secret scanning for GitHub Enterprise Serverインスタンス. For more information, see "Enabling secret scanning" below.If this doesn't return
0, SSSE3 is not enabled on your VM/KVM. You need to refer to the documentation of the hardware/hypervisor on how to enable the flag, or make it available to guest VMs.
Enabling secret scanning
警告: この設定を変更すると、GitHub Enterprise Serverのユーザが利用するサービスが再起動されます。 ユーザにとってのダウンタイ� を最小化するために、この変更の時間は慎重に調整しなければなりません。
-
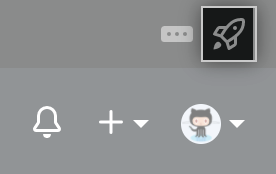
From an administrative account on GitHub Enterprise Server, in the upper-right corner of any page, click .
-
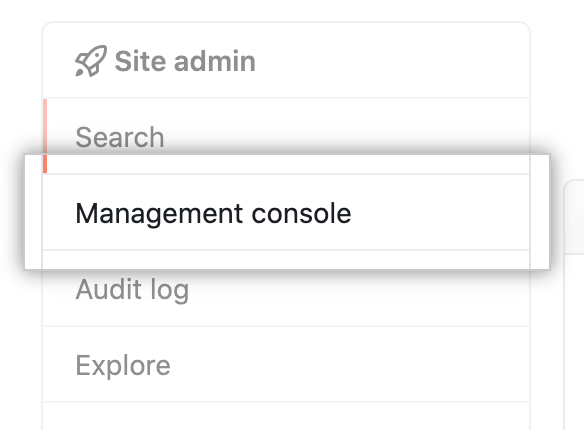
If you're not already on the "Site admin" page, in the upper-left corner, click Site admin.

-
左のサイドバーでManagement Consoleをクリックしてく� さい。
-
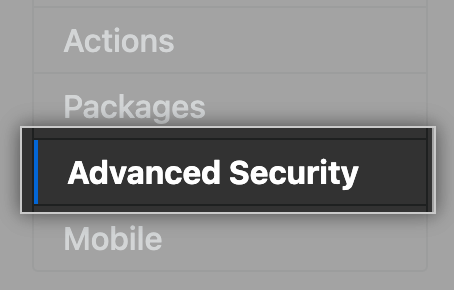
In the left sidebar, click Advanced Security.
-
Under "Advanced Security," click Secret scanning.

-
左のサイドバーの下でSave settings(設定の保存)をクリックしてく� さい。
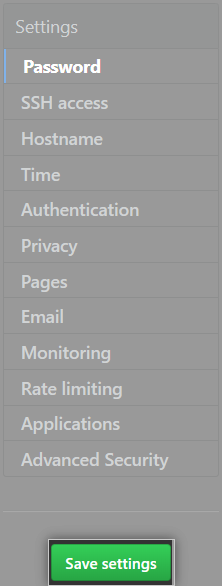
Note: Saving settings in the Management Console restarts system services, which could result in user-visible downtime.
-
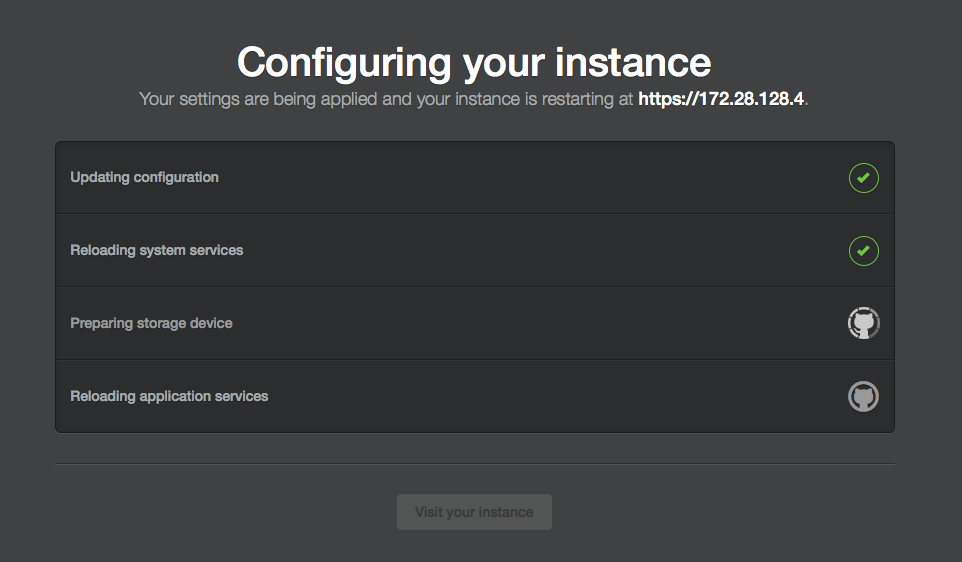
設定が完了するのを待ってく� さい。
Disabling secret scanning
警告: この設定を変更すると、GitHub Enterprise Serverのユーザが利用するサービスが再起動されます。 ユーザにとってのダウンタイ� を最小化するために、この変更の時間は慎重に調整しなければなりません。
-
From an administrative account on GitHub Enterprise Server, in the upper-right corner of any page, click .
-
If you're not already on the "Site admin" page, in the upper-left corner, click Site admin.
-
左のサイドバーでManagement Consoleをクリックしてく� さい。
-
In the left sidebar, click Advanced Security.
-
Under "Advanced Security," unselect Secret scanning.

-
左のサイドバーの下でSave settings(設定の保存)をクリックしてく� さい。
Note: Saving settings in the Management Console restarts system services, which could result in user-visible downtime.
-
設定が完了するのを待ってく� さい。