To execute pre-receive hooks, use either the default pre-receive environment, or create a custom environment.
A pre-receive environment for GitHub Enterprise is a Linux chroot environment. Because pre-receive hooks execute on every push event, they should be fast and lightweight. The environment needed for such checks will typically be minimal.
GitHub Enterprise provides a default environment which includes these packages: awk, bash, coreutils, curl, find, gnupg, grep, jq, sed.
If you have a specific requirement that isn't met by this environment, such as support for a particular language, you can create and upload your own 64-bit Linux chroot environment.
Creating a pre-receive hook environment using Docker
You can use a Linux container management tool to build a pre-receive hook environment. This example uses Alpine Linux and Docker.
Ensure Docker is installed locally.
-
Create the file
Dockerfile.alpine-3.3that contains this information:FROM gliderlabs/alpine:3.3 RUN apk add --no-cache git bash -
From the working directory that contains
Dockerfile.alpine-3.3, build an image:docker build -f Dockerfile.alpine-3.3 -t pre-receive.alpine-3.3 . Sending build context to Docker daemon 12.29 kB Step 1 : FROM gliderlabs/alpine:3.3 ---> 8944964f99f4 Step 2 : RUN apk add --no-cache git bash ---> Using cache ---> 0250ab3be9c5 Successfully built 0250ab3be9c5
-
Create a container:
docker create --name pre-receive.alpine-3.3 pre-receive.alpine-3.3 /bin/true -
Export the Docker container to a
gzipcompressedtarfile:docker export pre-receive.alpine-3.3 | gzip > alpine-3.3.tar.gzThis file
alpine-3.3.tar.gzis ready to be uploaded to the GitHub Enterprise appliance.
Creating a pre-receive hook environment using chroot
- Create a Linux
chrootenvironment. -
Create a
gzipcompressedtarfile of thechrootdirectory:tar -czf pre-receive-environment.tar.gz /path/to/chroot
For more information about creating a chroot environment see "Chroot" from the Debian Wiki, "BasicChroot" from the Ubuntu Community Help Wiki, or "Installing Alpine Linux in a chroot" from the Alpine Linux Wiki.
Uploading a pre-receive hook environment via the Admin Center
Sign in to your GitHub Enterprise instance at
http(s)://[hostname]/login.In the upper-right corner of any page, click .

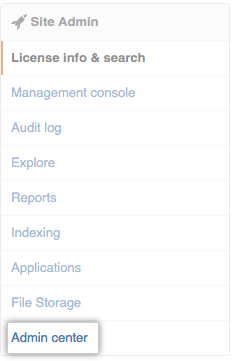
In the left sidebar, click Admin center.
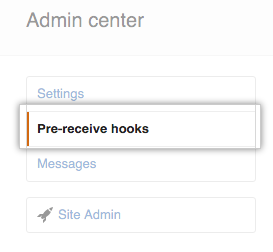
In the left sidebar, click Pre-receive hooks.
Click Manage environments.

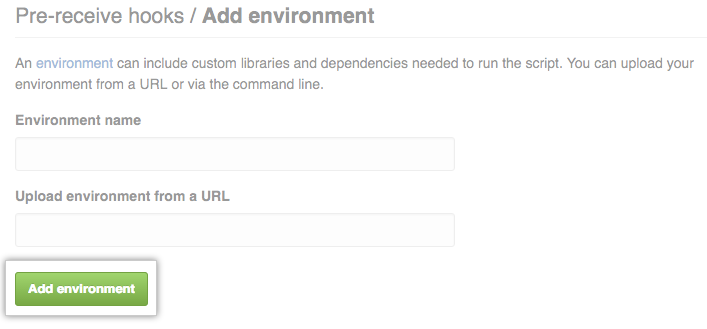
- Click Add environment.

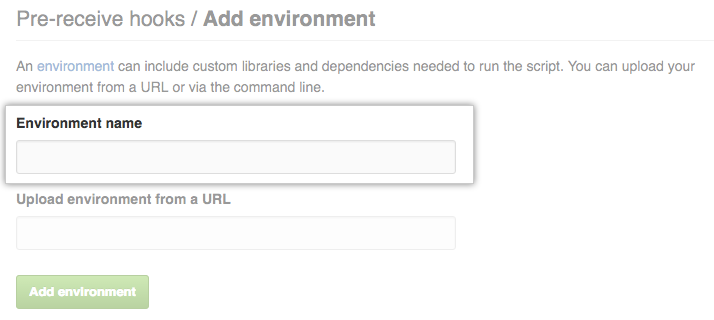
- Enter the desired name in the Environment name field.
- Enter the URL of the
*.tar.gzfile that contains your environment.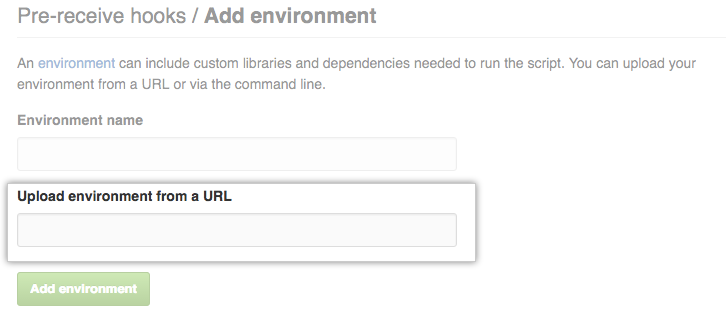
- Click Add environment.
Uploading a pre-receive hook environment via the administrative shell
- Upload a readable
*.tar.gzfile that contains your environment to a web host and copy the URL or transfer the file to the GitHub Enterprise appliance viascp. When usingscp, you may need to adjust the*.tar.gzfile permissions so that the file is world readable. - Connect to the administrative shell.
-
Use the
ghe-hook-env-createcommand and type the name you want for the environment as the first argument and the full local path or URL of a*.tar.gzfile that contains your environment as the second argument.admin@ghe-host:~$ ghe-hook-env-create AlpineTestEnv /home/admin/alpine-3.3.tar.gz Pre-receive hook environment 'AlpineTestEnv' (2) has been created.
