To put your project up on your GitHub Enterprise instance, you'll need to create a repository for it to live in.
You can store a variety of projects in GitHub Enterprise repositories, including open source projects. With open source projects, you can share code to make better, more reliable software.
Note: You can create public repositories for an open source project. When creating your public repository, make sure to include a license file that determines how you want your project to be shared with others. For more information on open source, specifically how to create and grow an open source project, we've created Open Source Guides that will help you foster a healthy open source community by recommending best practices for creating and maintaining repositories for your open source project.
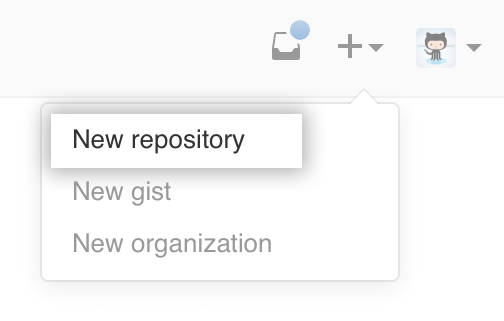 In the upper-right corner of any page, click , and then click New repository.
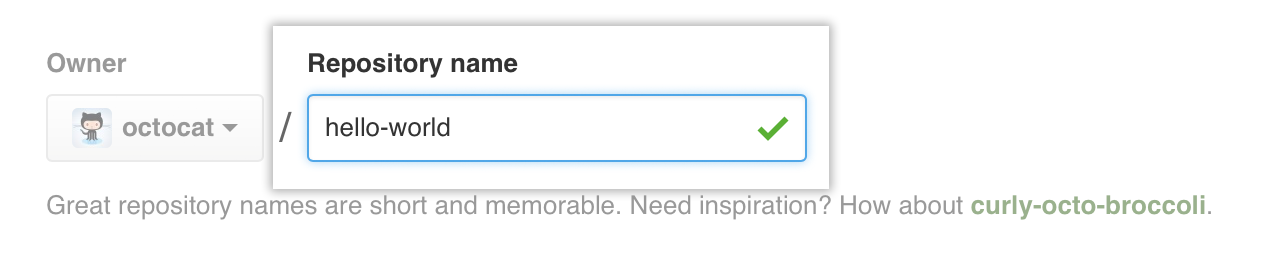 Type a short, memorable name for your repository. For example, "hello-world".
 Optionally, add a description of your repository. For example, "My first repository on GitHub Enterprise."
- Choose between creating a public or private repository.
- Public repositories are a great choice for getting started. They're visible to any user on your GitHub Enterprise instance, so you can benefit from a collaborative community.
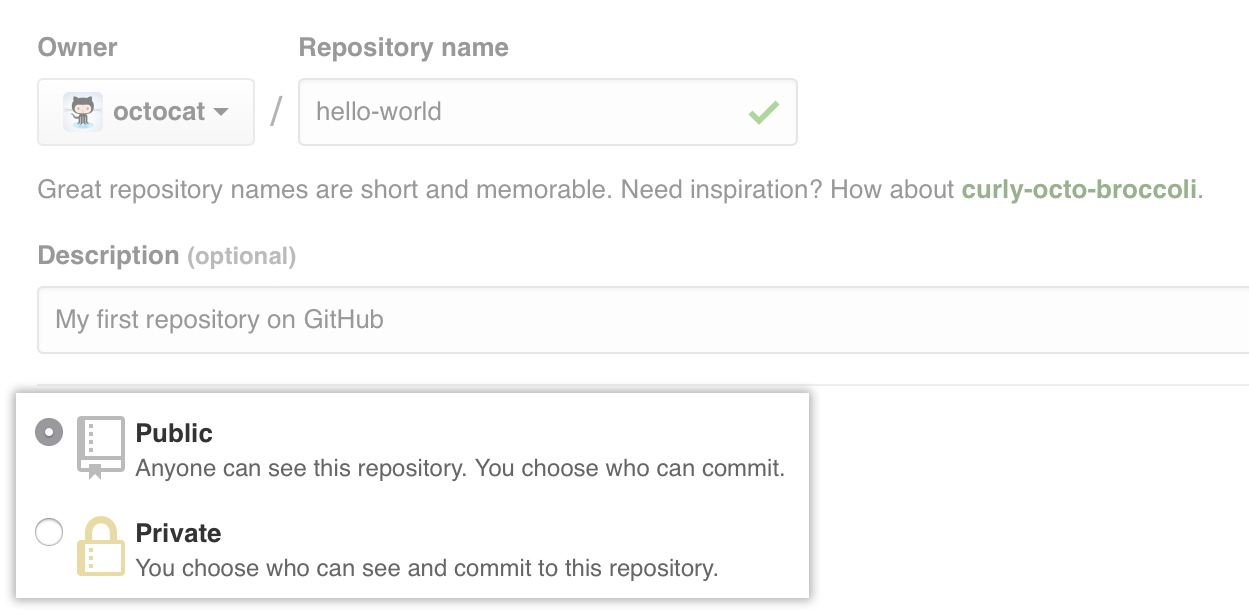 Private repositories require a little more setup. They're only available to you, the repository owner, as well as any collaborators you choose to share with.
 Select Initialize this repository with a README.
- Click Create repository.
Congratulations! You've successfully created your first repository, and initialized it with a README file.
Commit your first change
A commit is like a snapshot of all the files in your project at a particular point in time.
When you created your new repository, you initialized it with a README file. README files are a great place to describe your project in more detail, or add some documentation such as how to install or use your project. The contents of your README file are automatically shown on the front page of your repository.
Let's commit a change to the README file.
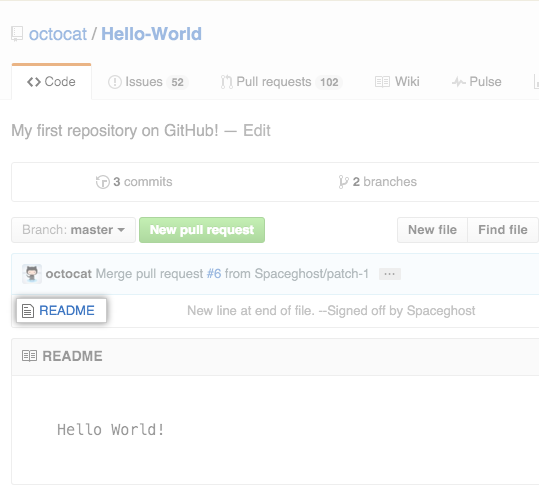 In your repository's list of files, click README.md.
- Above the file's content, click .
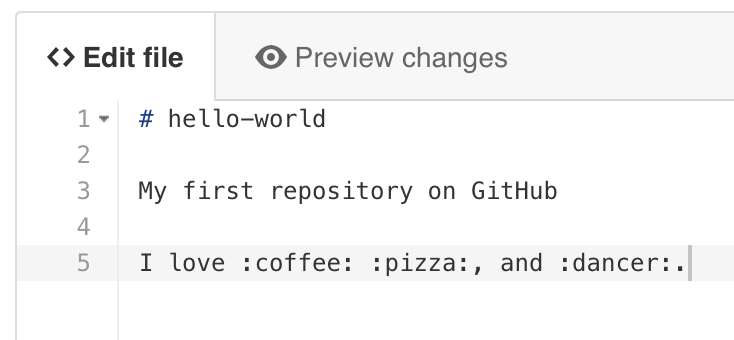 On the Edit file tab
, type some information about yourself.
On the Edit file tab
, type some information about yourself.
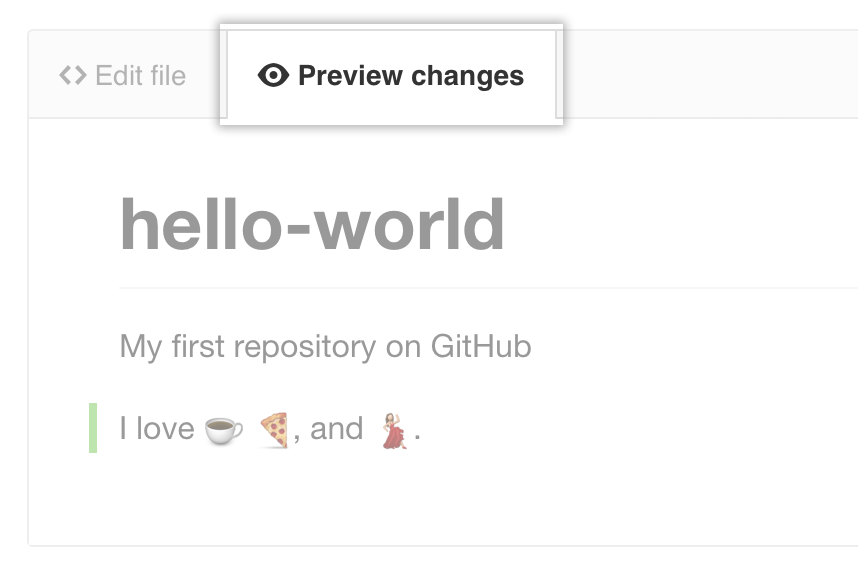 Above the new content, click Preview changes.
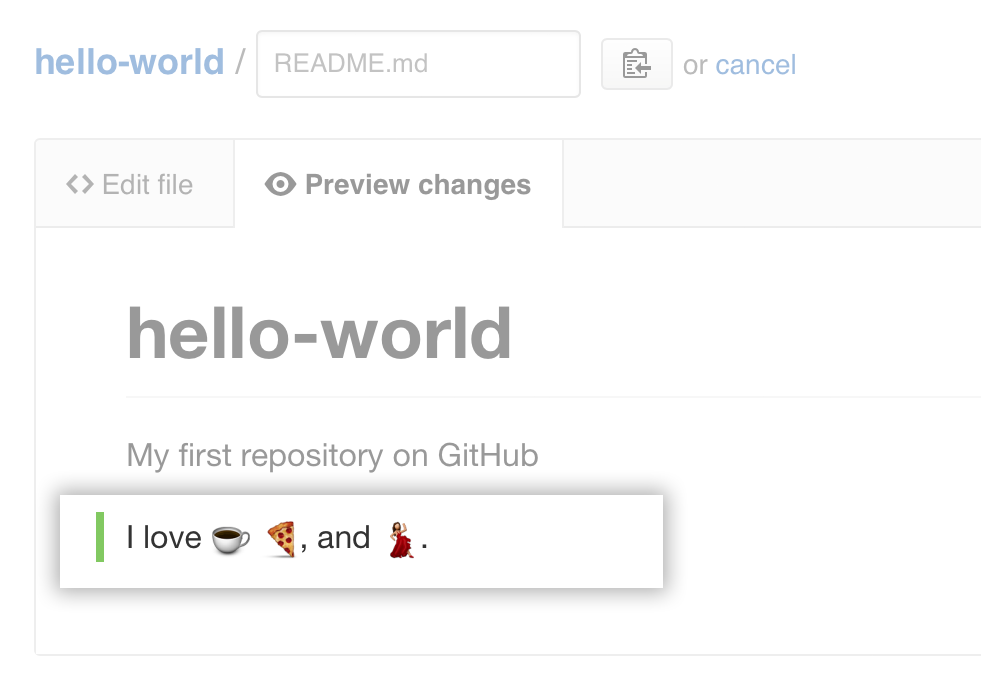 Review the changes you made to the file. You'll see the new content in green.
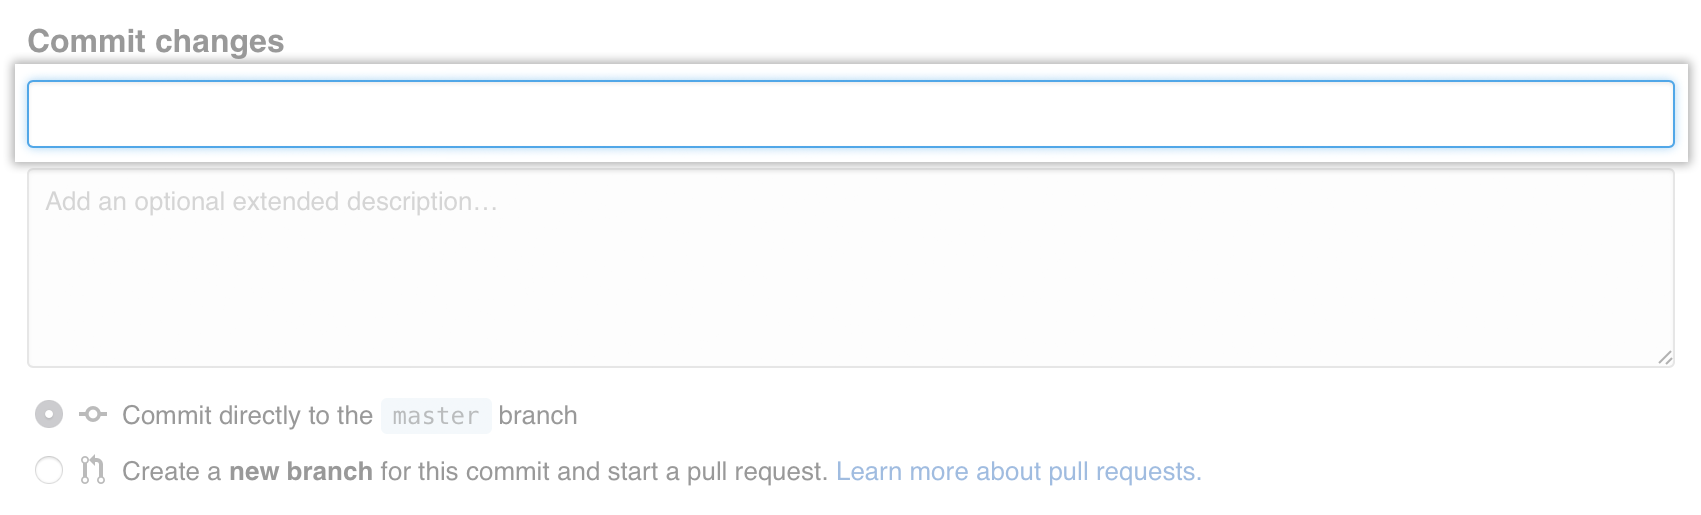 At the bottom of the page, type a short, meaningful commit message that describes the change you made to the file.
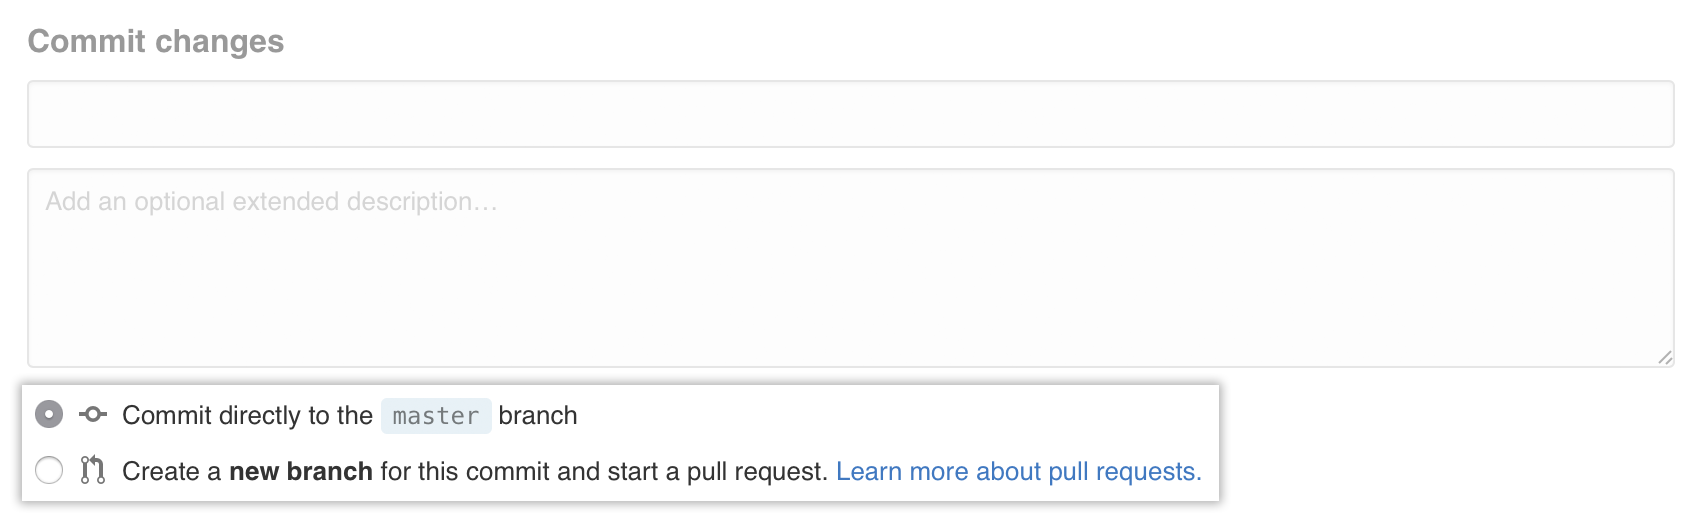 Below the commit message fields, decide whether to add your commit to the current branch or to a new branch. If your current branch is
 master, you should choose to create a new branch for your commit and then create a pull request.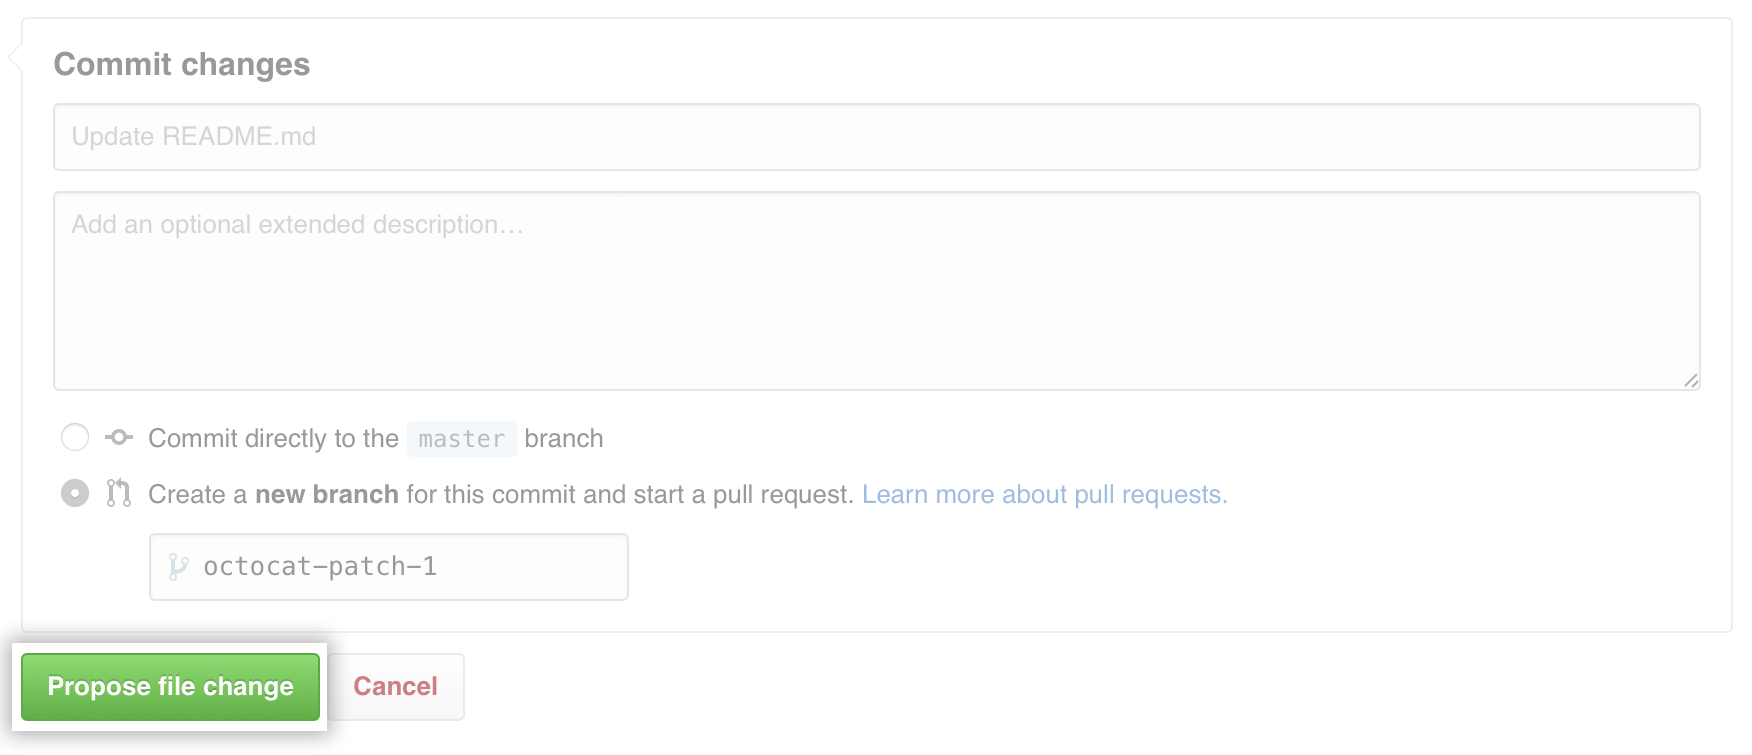 Click Propose file change.
Celebrate
Congratulations! You have now created a repository, including a README file, and created your first commit on your GitHub Enterprise instance. What do you want to do next?
- "Set up Git"
- Create A Repository
- "Fork a repository"
- "Be social"