To install GitHub Enterprise on OpenStack KVM, you must have OpenStack access and download the GitHub Enterprise QCOW2 image.
Requirements
Software
- Access to an installation of OpenStack Horizon, the web-based user interface to OpenStack services.
- GitHub Enterprise QCOW2 image, available from the GitHub Enterprise website.
Hardware
Based on your seat count, we recommend this hardware configuration:
| Seats | vCPUs | Memory | Attached Storage | Root Storage |
|---|---|---|---|---|
| 10-500 | 2 | 16 GB | 100 GB | 80 GB |
| 500-3000 | 4 | 32 GB | 250 GB | 80 GB |
| 3000-5000 | 8 | 64 GB | 500 GB | 100 GB |
| 5000-8000 | 12 | 72 GB | 750 GB | 120 GB |
| 8000-10000+ | 16 | 128 GB | 1000 GB | 140 GB |
These are minimum recommendations. More resources may be required depending on your usage, such as user activity and selected integrations.
Note: The root disk cannot be resized.
Warning: We recommend you use webhooks to fetch repository changes for continuous integration (CI) or similar systems. Regular automatic checks, or polling, will significantly reduce the scalability of your instance.
Creating a new image in OpenStack Horizon
-
In a browser, log in to your OpenStack Horizon installation.
-
In the left sidebar, under the "Project" menu, click Images.
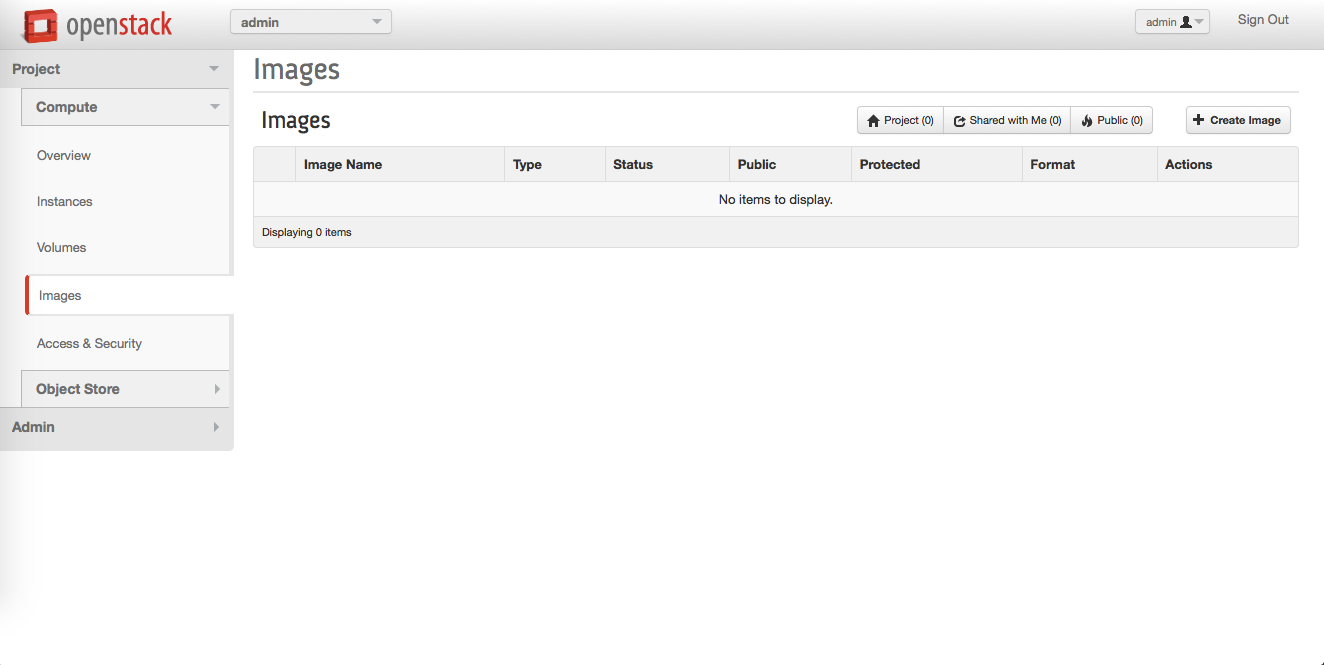
Click Create Image.
-
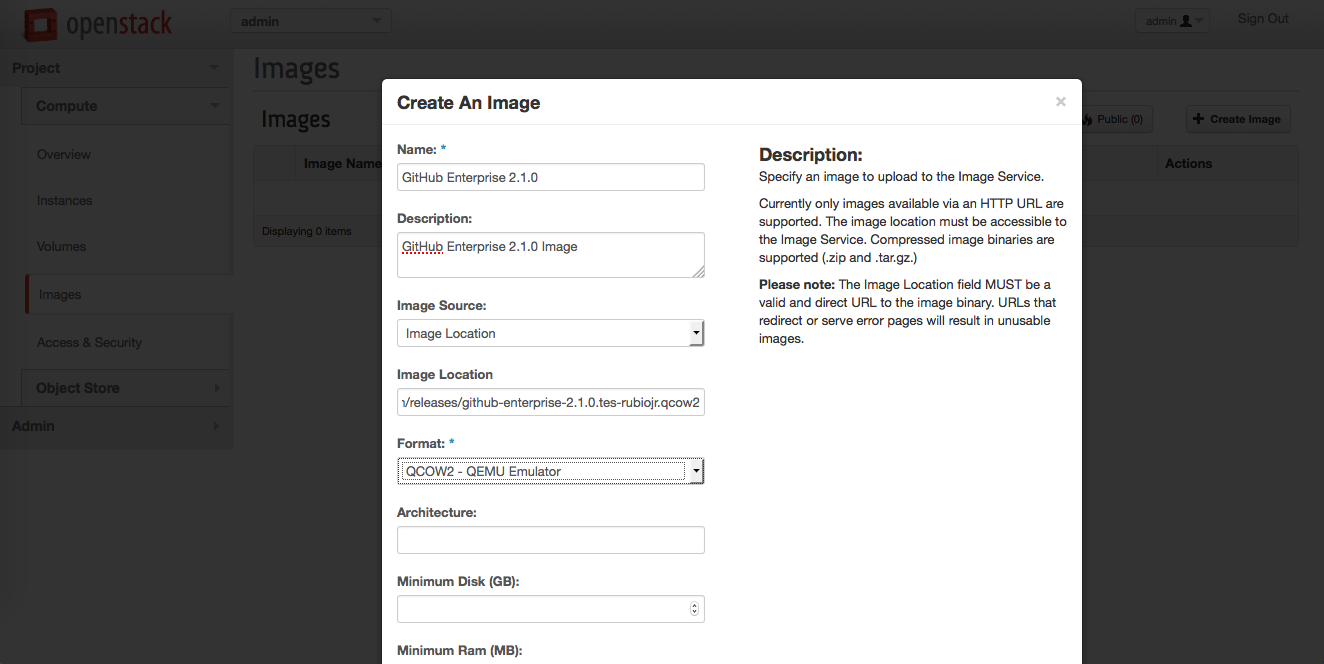
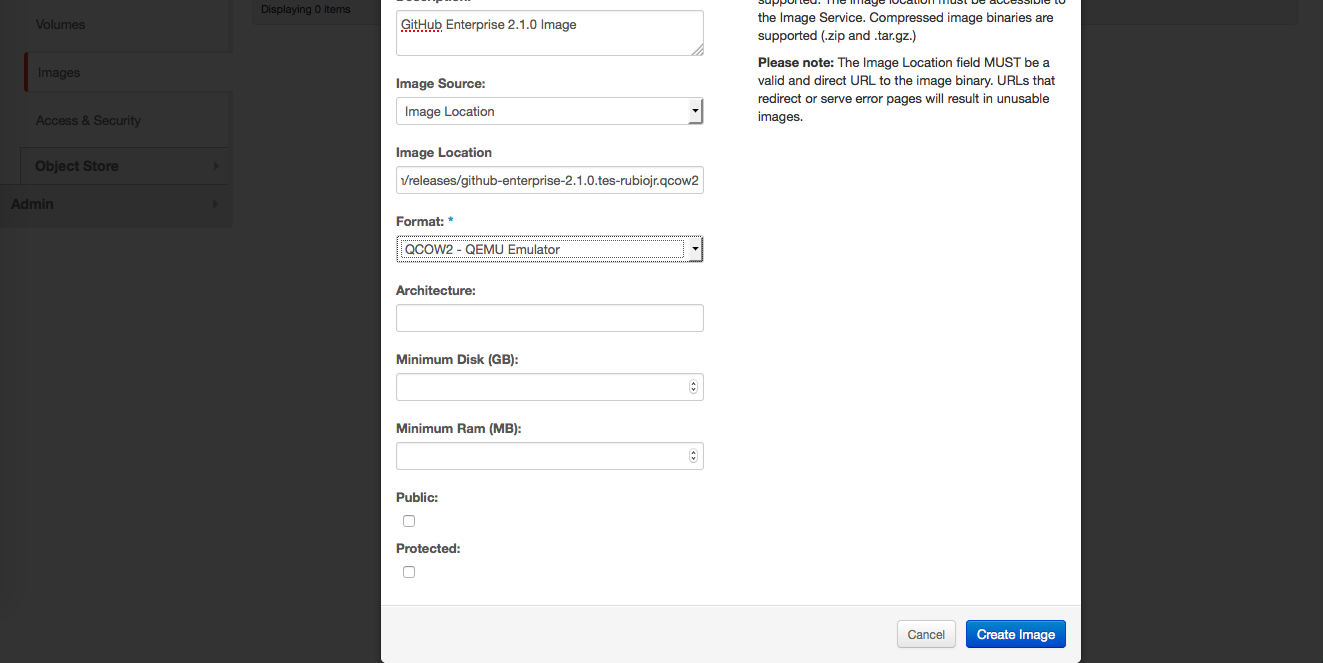
In the image creation dialog, fill in the required fields:
- Name
- Image location
- Format
-
Click Create Image.
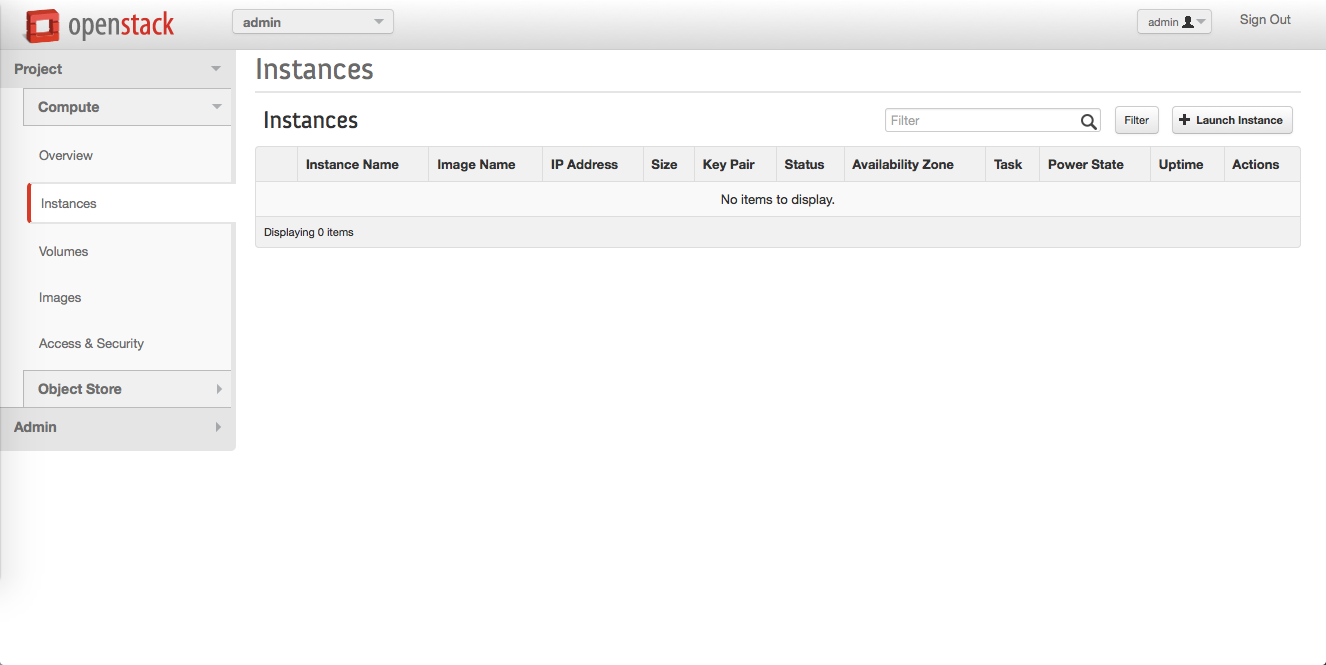
Creating the GitHub Enterprise instance
-
In the left sidebar, click Instances.
Click Launch instance.
-
In the instance creation dialog, fill in the required fields:
- Instance Name - type a suitable, descriptive name.
- Flavor - select a flavor based on your seat count. For more information, see the hardware requirements.
- Instance Boot Source - select "Boot from image".
- Image Name - select the name of the image you uploaded in the previous steps.
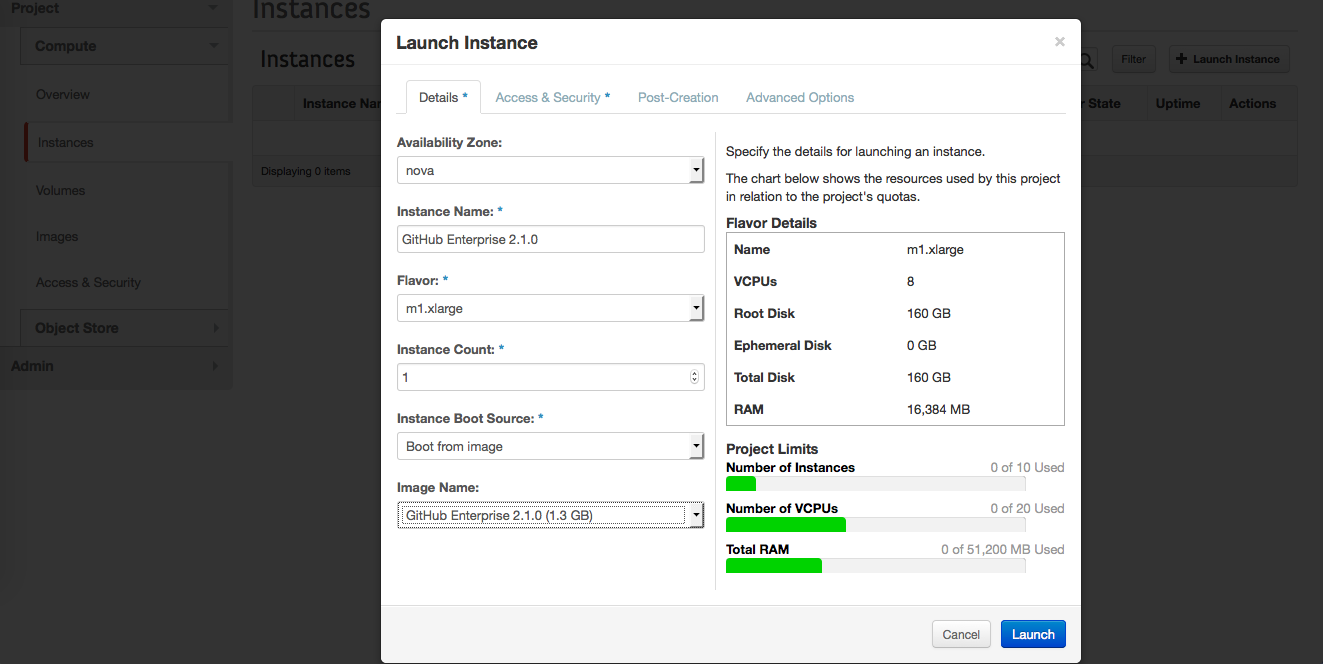
Click Launch.
Creating a security group
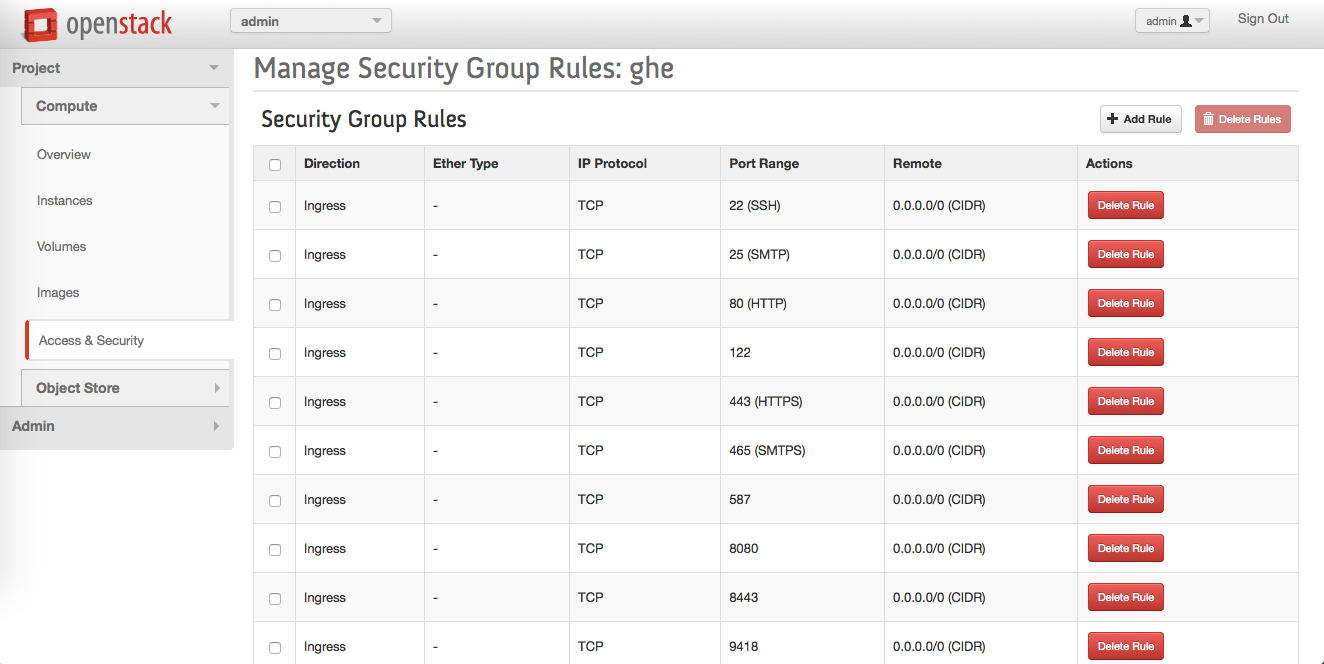
If you're setting up your OpenStack KVM for the first time, you will need to create a security group with entries for each port in the following table:
| Port | Service | Description |
|---|---|---|
| 22 | SSH | Git over SSH access. Clone, fetch, and push operations to public/private repositories supported. |
| 25 | SMTP | SMTP with encryption (STARTTLS) support. |
| 80 | HTTP | Web application access. Note that all requests are redirected to the HTTPS port when SSL is enabled. |
| 122 | SSH | Instance shell access. Note that the default SSH port (22) is dedicated to application git+ssh network traffic. |
| 161/UDP | SNMP | Required for network monitoring protocol operation. |
| 443 | HTTPS | Web application and Git over HTTPS access. |
| 1194/UDP | VPN | Secure replication network tunnel in High Availability configuration. |
| 8080 | HTTP | Plain-text web based Management Console. Not required unless SSL is disabled manually |
| 8443 | HTTPS | Secure web based Management Console. Required for basic installation and configuration. |
| 9418 | Git | Simple Git protocol port. Clone and fetch operations to public repositories only. Unencrypted network communication. |
-
In the left sidebar, click Access & Security.
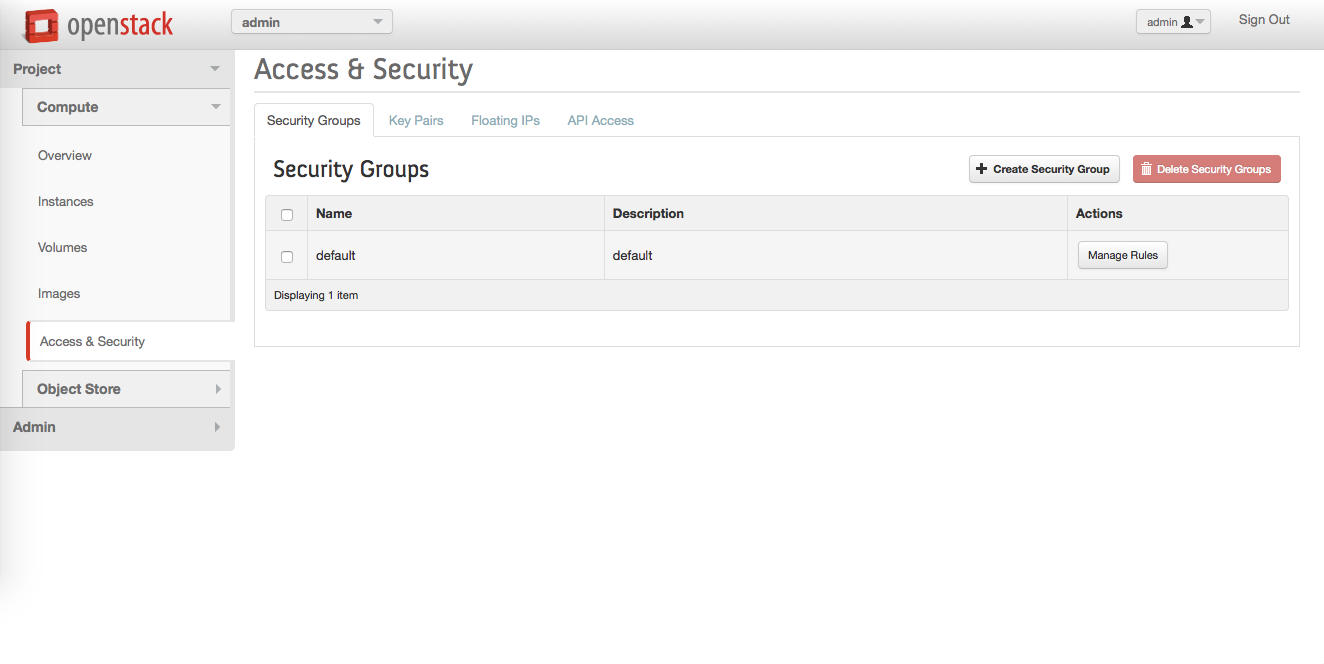
In the "Security groups" panel, in the upper right corner, click Create Security Group.
-
In the "Create Security Group" dialog, fill in the fields:
- Name: A descriptive name for your group. We recommend including "GitHub Enterprise" or "ghe".
- Description: A brief description of the security group's purpose.
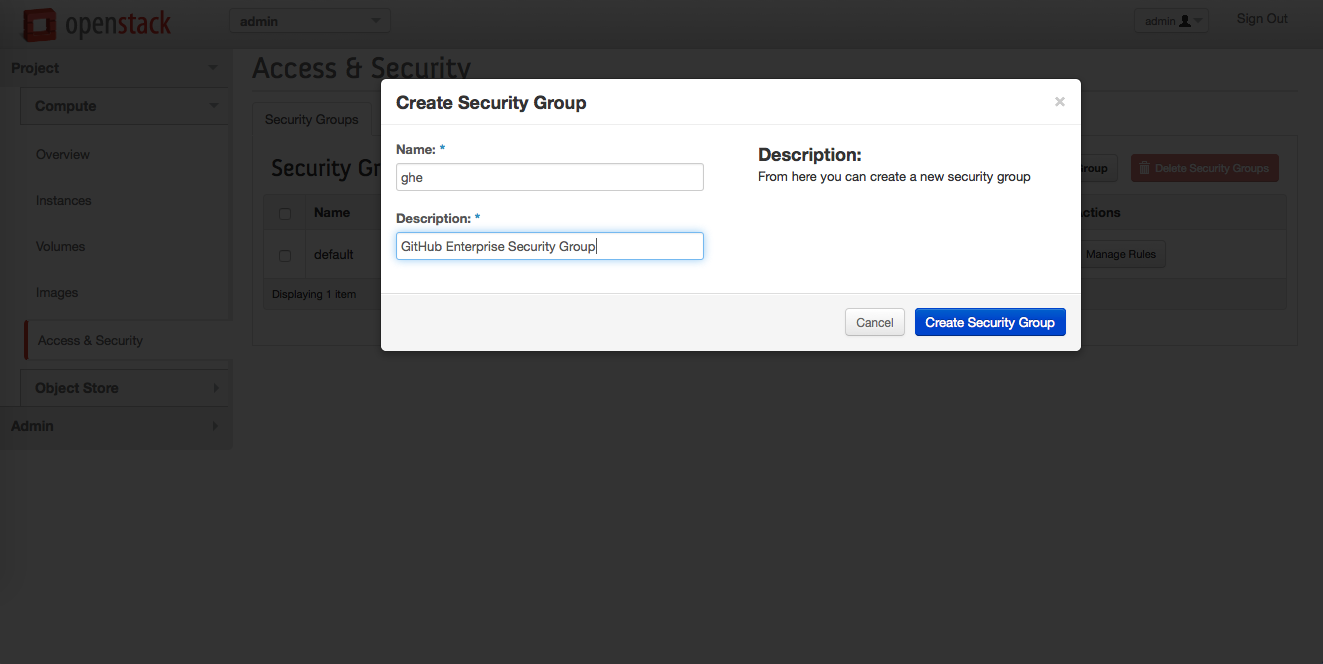
Click Create Security Group.
-
To add security rules, in the "Actions" column next to the new security group, click Manage Rules.

-
For each port that needs to be open, you must add a new security group rule. To do so:
- Click Add Rule
- In the "Add Rule" dialog, in the "Port" field, enter the port number.
- Click Add. The rule will be added to the security group editor.
Add the rest of the rules until you get a security group like this:
-
In the left sidebar, click Instances.
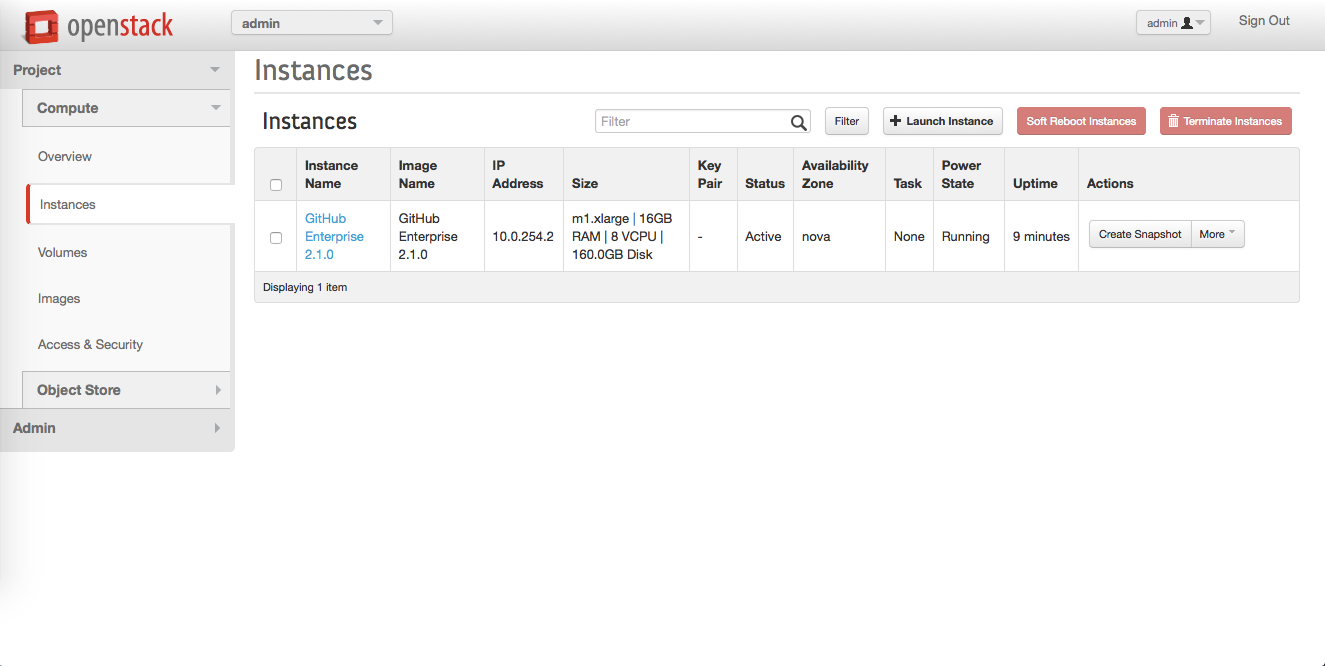
-
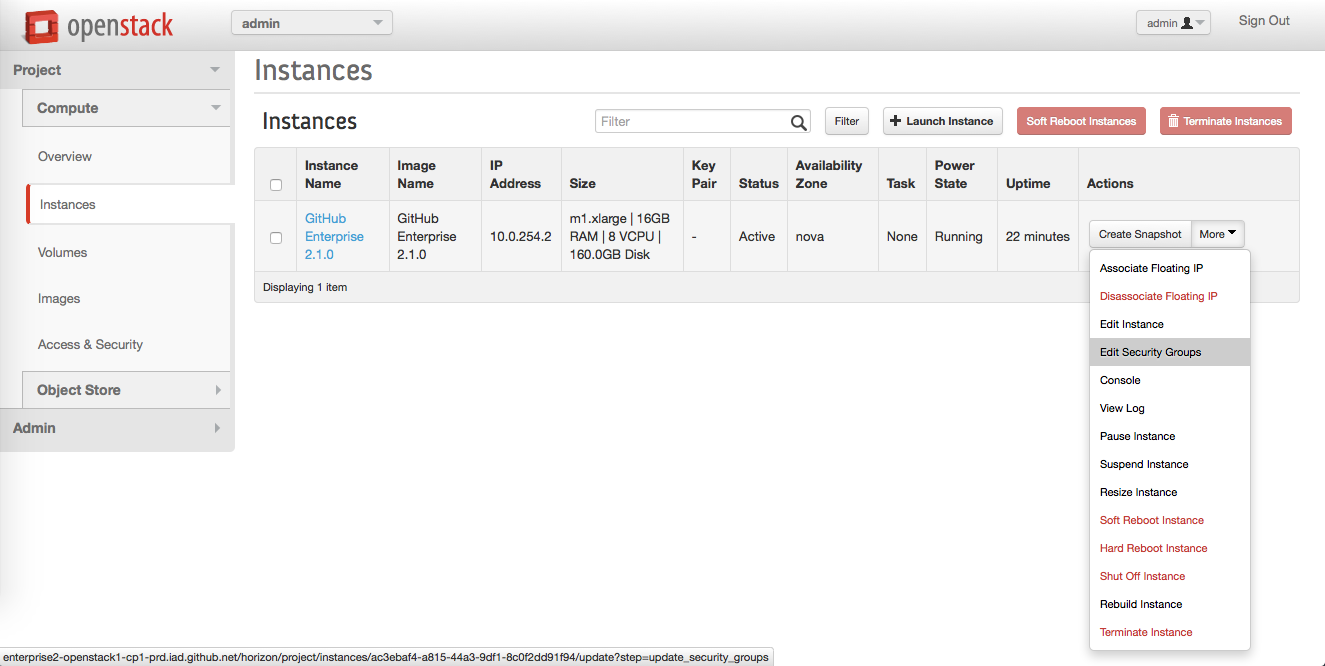
In the GitHub Enterprise instance's row, in the "Actions" column, click More, then click Edit Security Groups.
-
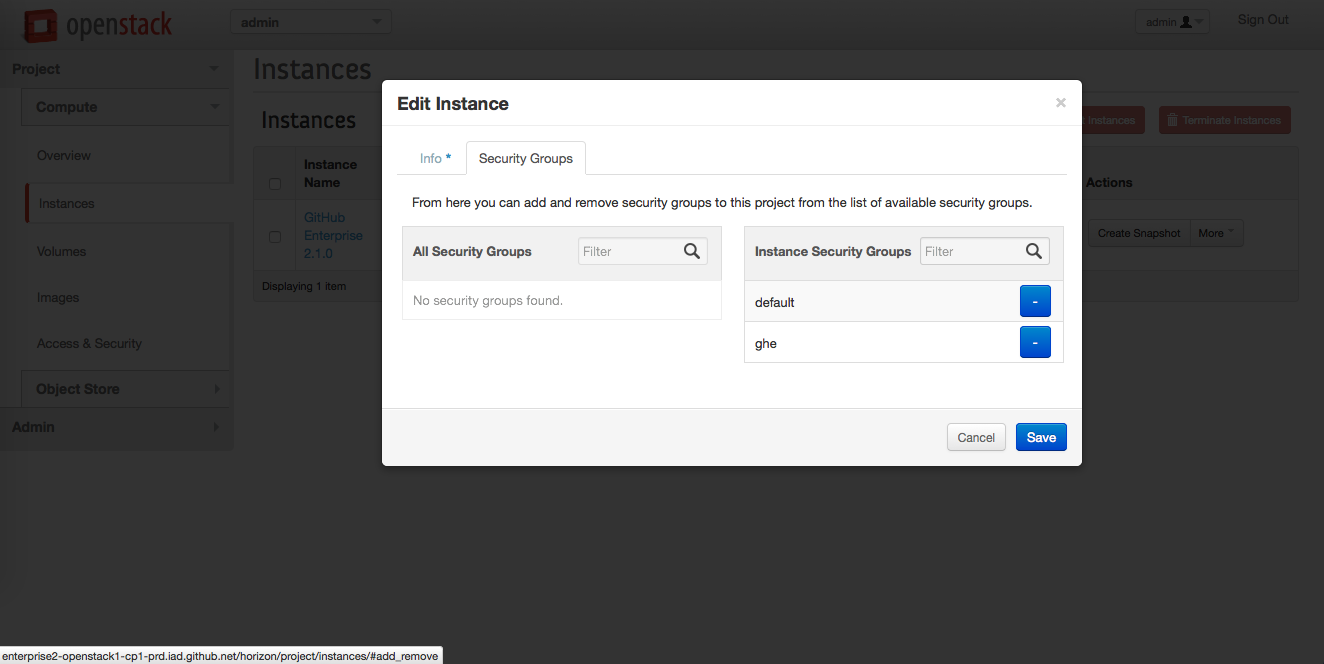
To add the new security group to the running instance, in the "Edit Instance" dialog, to the right of the security group name, click the blue plus box.
At this point, all of the required ports should be open. If you can reach the private IP address of your instance, you should be able to navigate to the GitHub Enterprise Management Console at https://<private-ip>/setup.
Adding a storage volume for instance data
-
In the left sidebar, click Volumes.

Click + Create Volume.
-
In the volume creation dialog, fill in the required fields:
- Volume Name - use a descriptive name. We recommend including "GitHub Enterprise" or "ghe".
- Size (GB) - should be the amount of attached storage you need based on the seat count.
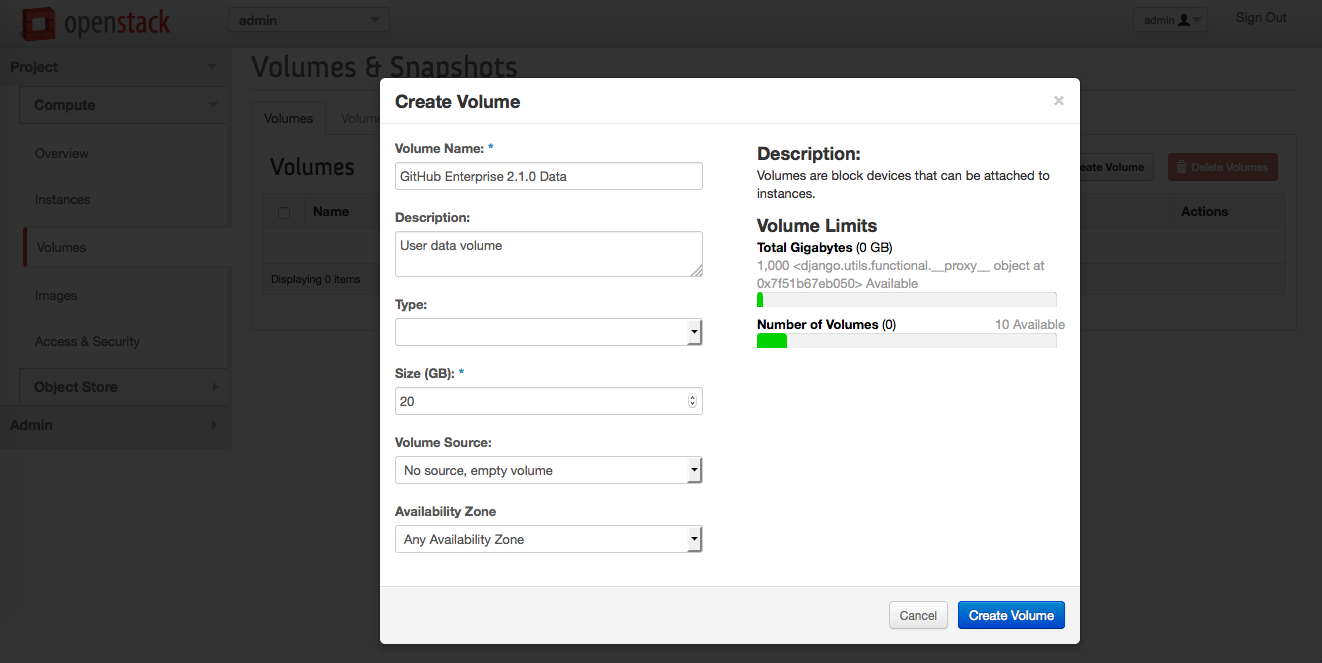
Click Create Volume.
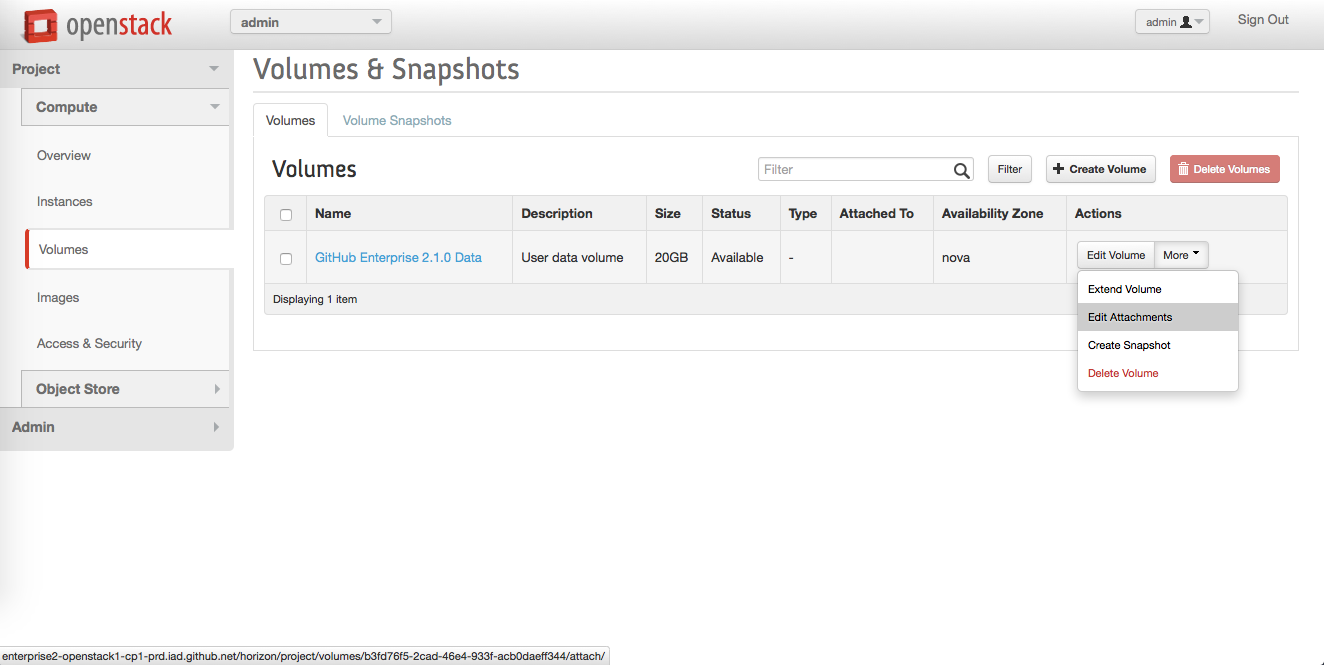
-
In the "Volumes" box, next to the newly-created volume, in the "Actions" column, click More, then click Edit Attachments.
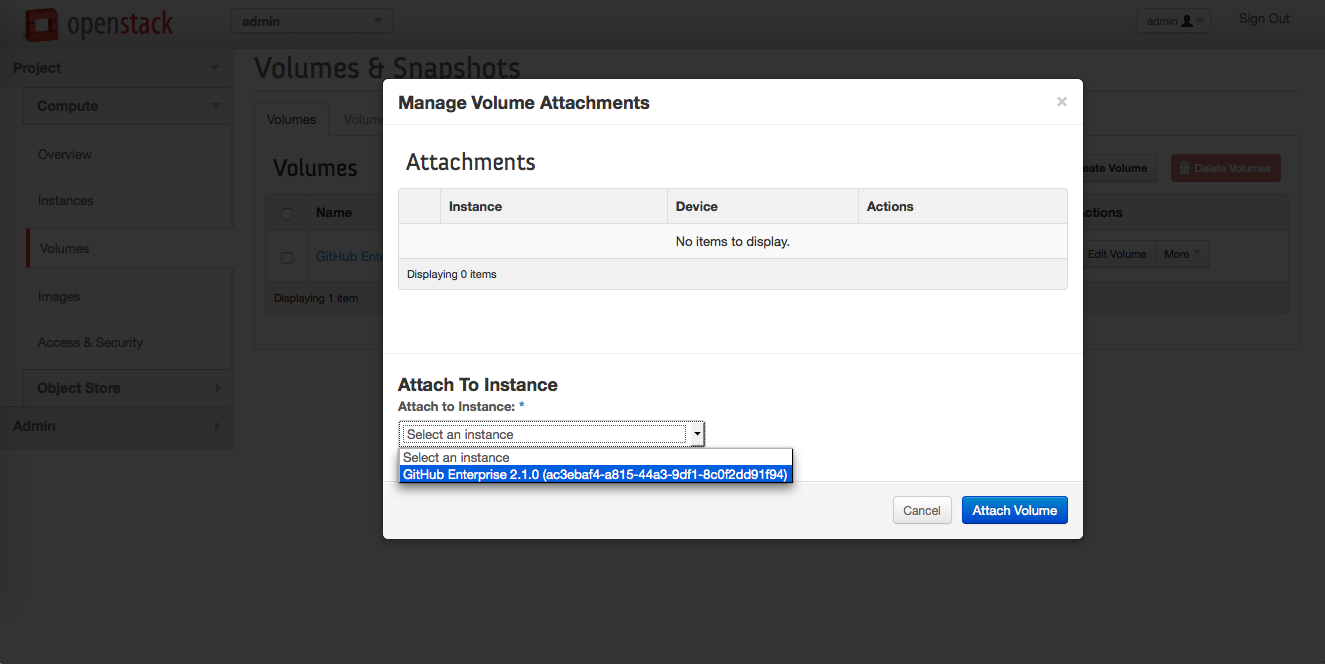
-
In the "Manage Volume Attachments" dialog:
- Under "Attach to Instance", select the GitHub Enterprise instance
- Click Attach
Associating a floating IP to the instance
Depending on your OpenStack setup, you may need to allocate a floating IP to the project and associate it to the instance. Contact your sysadmin to determine if this is the case for you.
At this point, the volume should be attached and you can visit http://<instance-ip>/setup in a browser to continue configuration.