Project boards can be used to create customized workflows to suit your needs, like tracking and prioritizing specific feature work, comprehensive roadmaps, or even release checklists.
Once you've created your project board, you can add issues, pull requests, and notes to it. For more information, see "Adding issues and pull requests to a project board" and "Adding notes to a project board."
You can also configure workflow automations to keep your project board in sync with the status of issues and pull requests. For more information, see "About automation for project boards."
Creating a repository project board
On GitHub Enterprise, navigate to the main page of the repository.
- Under your repository name, click Projects.

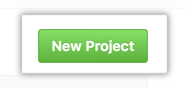
- Click New Project.
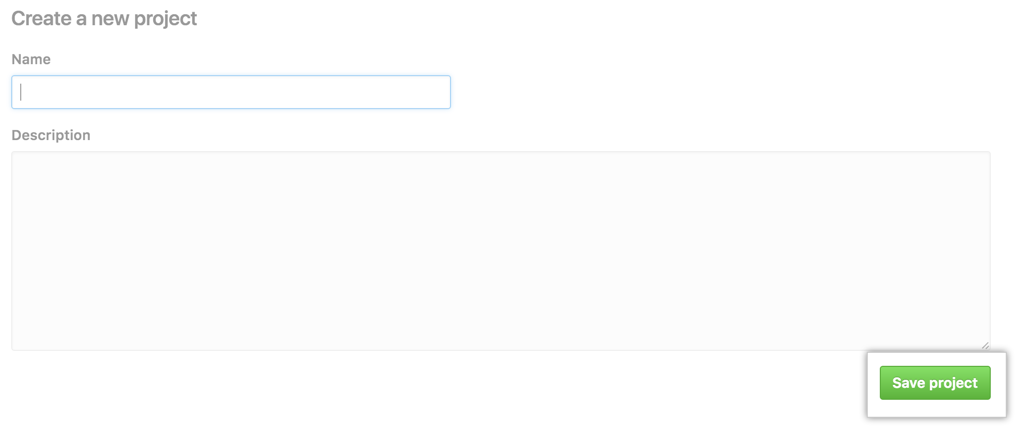
- Type a project board name and a description of the project board and click Save Project.
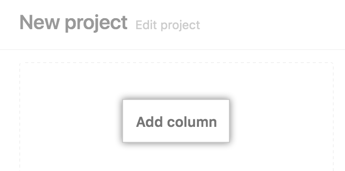
- Click Add column to add your first column to your project board.
- Under "Column name", type the name of the column you want to create.

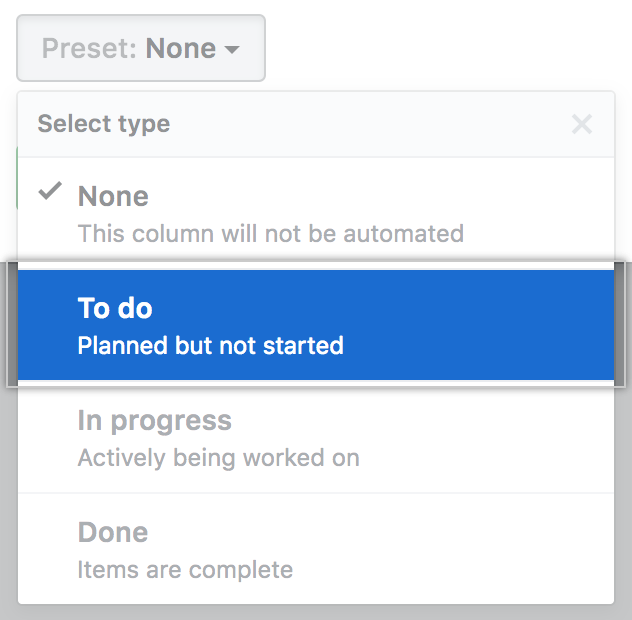
- Optionally, under "Automation", select an automation preset using the drop-down menu.
- Select the workflow automations you want to configure for the column.
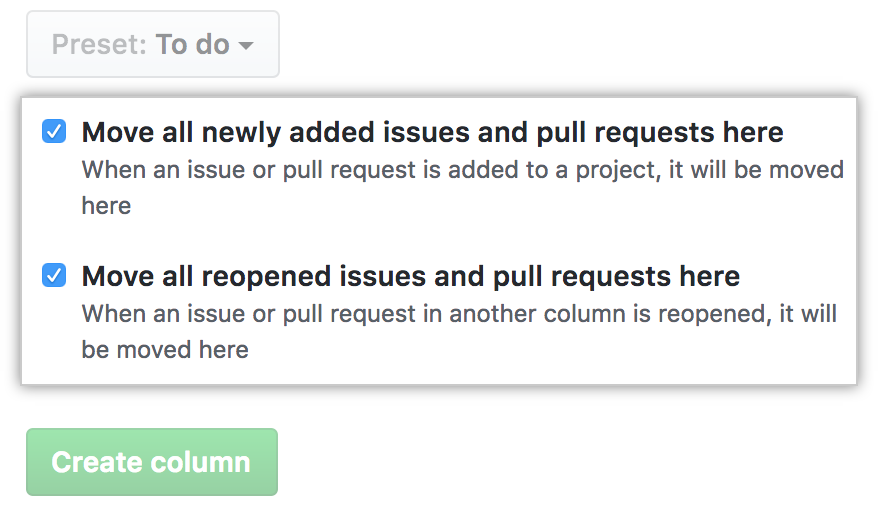
Click Create column.
Add columns to best suit your workflow.
Tip: To edit or remove a column from your project board, in the upper-right corner of the column, click .
Creating an organization-wide project board
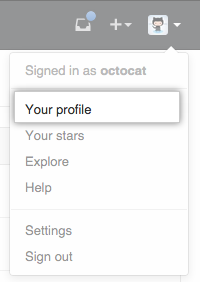
- In the top right corner of GitHub Enterprise, click your profile photo, then click Your profile.
- On the left side of your profile page, under "Organizations", click the icon for your organization.

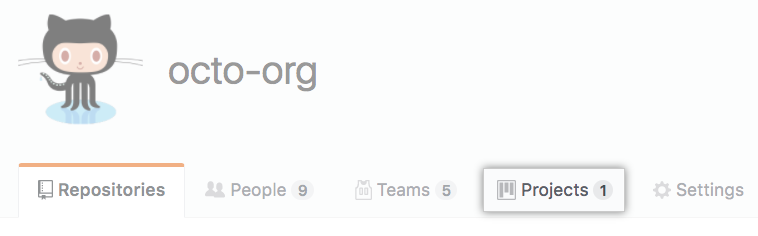
- Under your organization name, click Projects.
- Click New Project.
- Type a project board name and a description of the project board and click Save Project.
- Click Add column to add your first column to your project board.
- Under "Column name", type the name of the column you want to create.
- Optionally, under "Automation", select an automation preset using the drop-down menu.
- Select the workflow automations you want to configure for the column.
Click Create column.
Add columns to best suit your workflow.
Tip: To edit or remove a column from your project board, in the upper-right corner of the column, click .