When you add a pull request template to your repository, project contributors will automatically see the template's contents in the pull request body.
For more information, see "About issue and pull request templates."
Adding a pull request template
On GitHub Enterprise, navigate to the main page of the repository.
 Above the file list, click Create new file.
-
In the file name field:
 To make your pull request template visible in the repository's root directory, type the name of your pull request template. For example,
 pull_request_template.md. To make your pull request template visible in the repository's
 docsdirectory, type docs/, then the name of your pull request template. For example,docs/pull_request_template.md. To store your file in a hidden directory, type .github/, then the name of your pull request template. For example,
 .github/pull_request_template.md.
- In the body of the new file, add your pull request template. This could include:
- A reference to a related issue in your repository.
- A description of the changes proposed in the pull request.
- @mentions of the person or team responsible for reviewing proposed changes.
 At the bottom of the page, type a short, meaningful commit message that describes the change you made to the file.
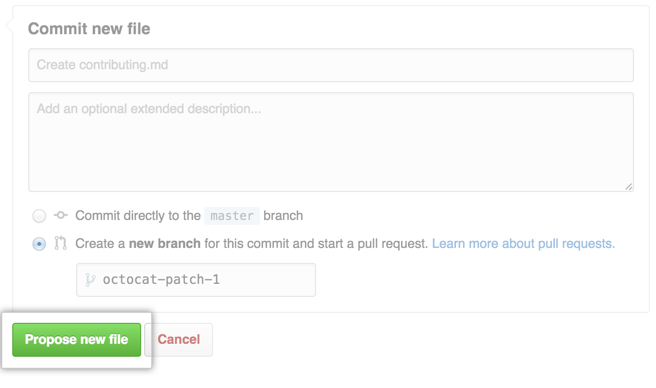
 Below the commit message fields, decide whether to add your commit to the current branch or to a new branch. If your current branch is
 master, you should choose to create a new branch for your commit and then create a pull request. Templates are available to collaborators when they are merged into the repository's default branch. Click Propose new file.