You can add a Jekyll theme to your GitHub Pages site by editing your site's _config.yml file.
GitHub Pages supports the officially supported Jekyll themes. For more information, see "About Jekyll themes on GitHub."
You can override a Jekyll theme's defaults with your site's content in these folders:
_layouts_includes_sassassets
For more information about the Jekyll theme files you can override, see your theme's README or other documentation in your theme's source repository.
Adding a Jekyll theme in your site's _config.yml file
On GitHub Enterprise, navigate to the main page of the repository.
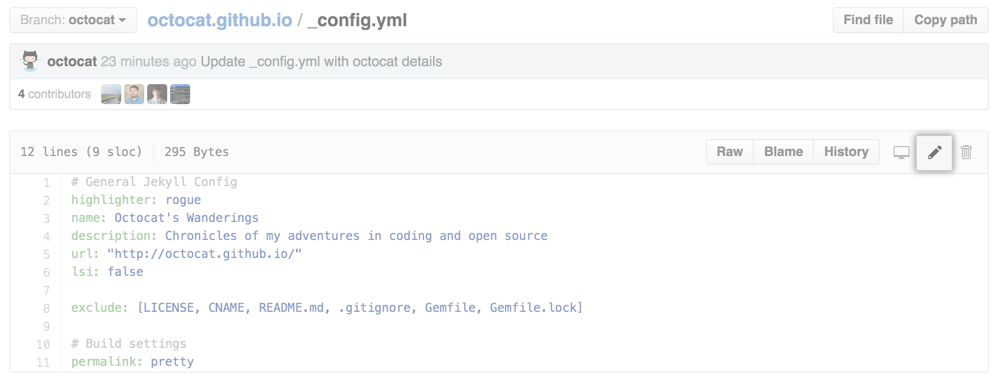
In your repository, browse to _config.yml.
- In the upper-right corner of the file view, click to open the file editor.
- To activate one of the officially supported themes, type
theme:followed by the name of the theme (as shown in the README in the theme's source repository).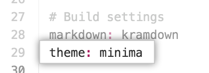
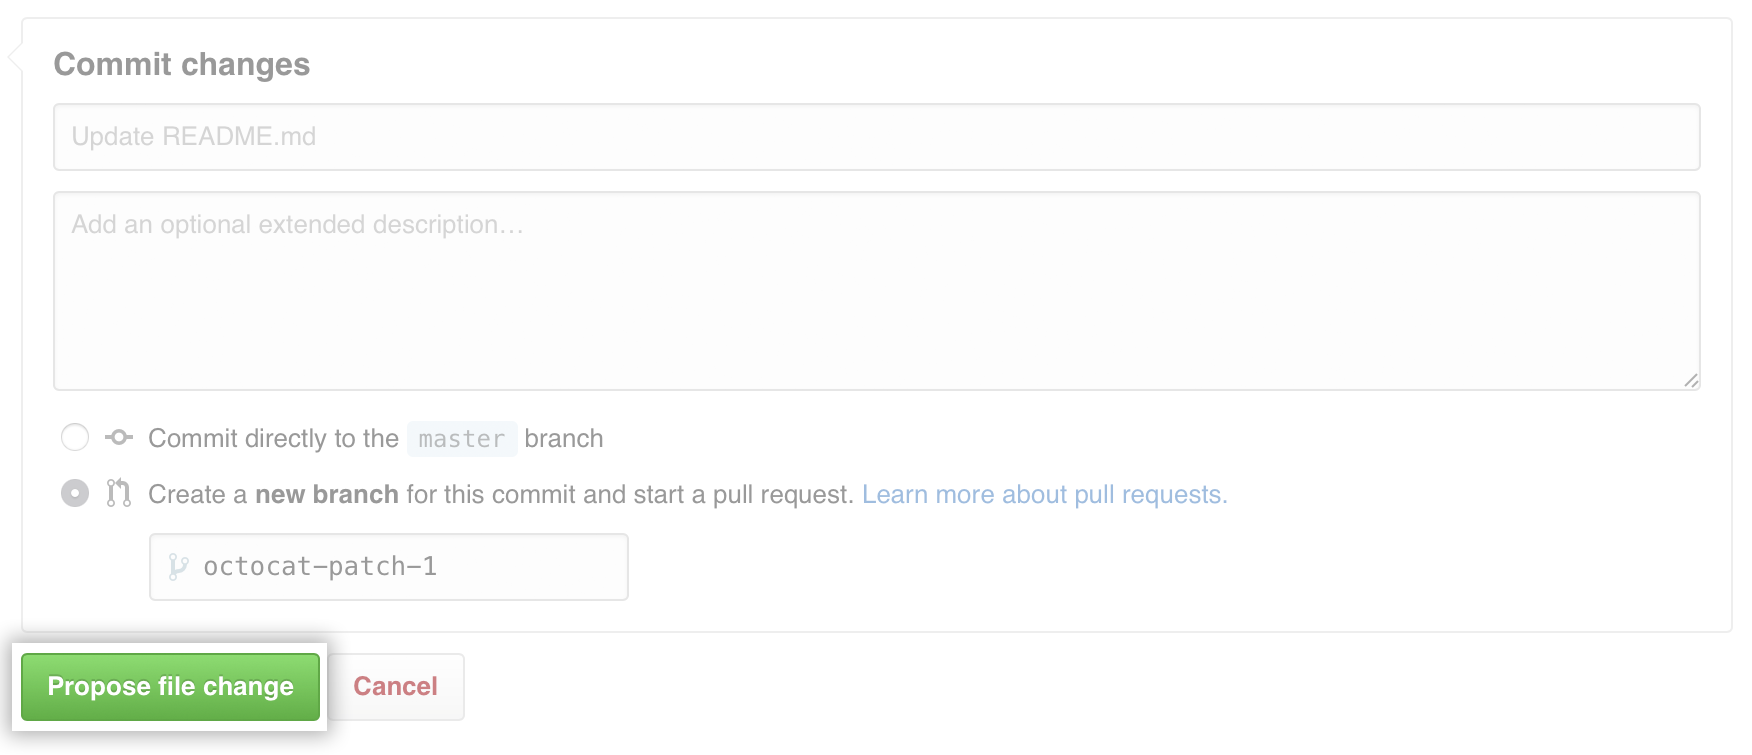
At the bottom of the page, type a short, meaningful commit message that describes the change you made to the file.
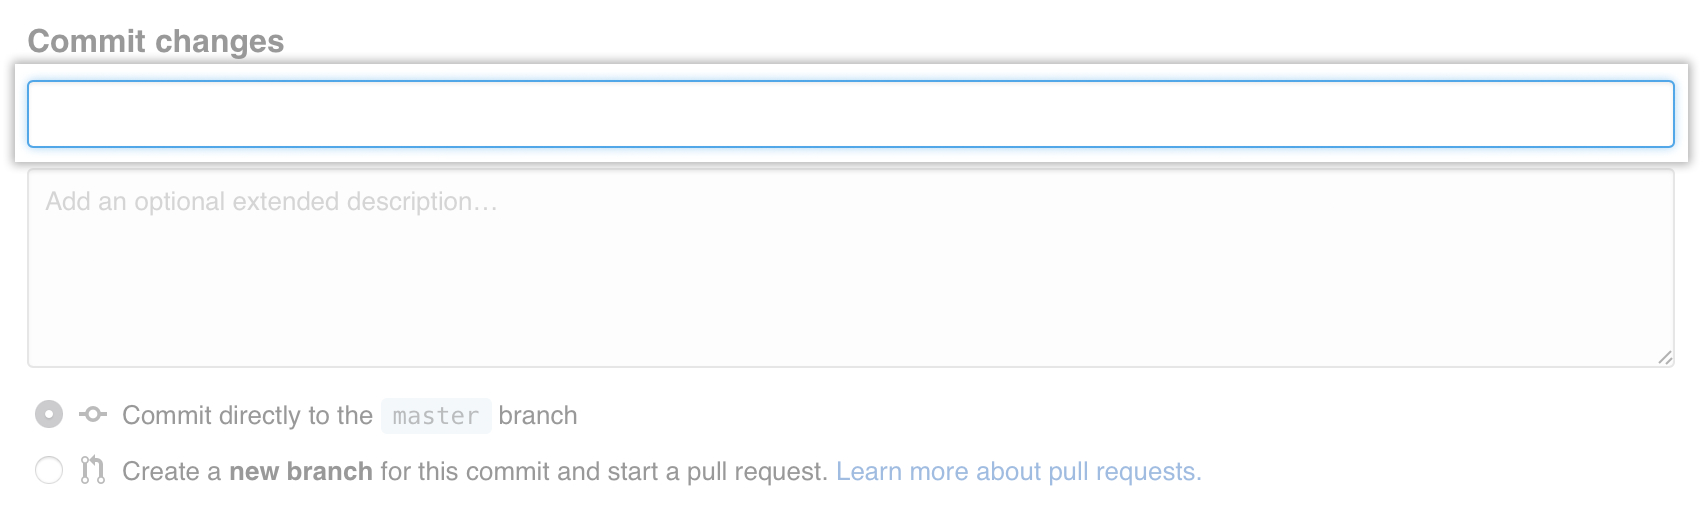
Below the commit message fields, decide whether to add your commit to the current branch or to a new branch. If your current branch is
master, you should choose to create a new branch for your commit and then create a pull request.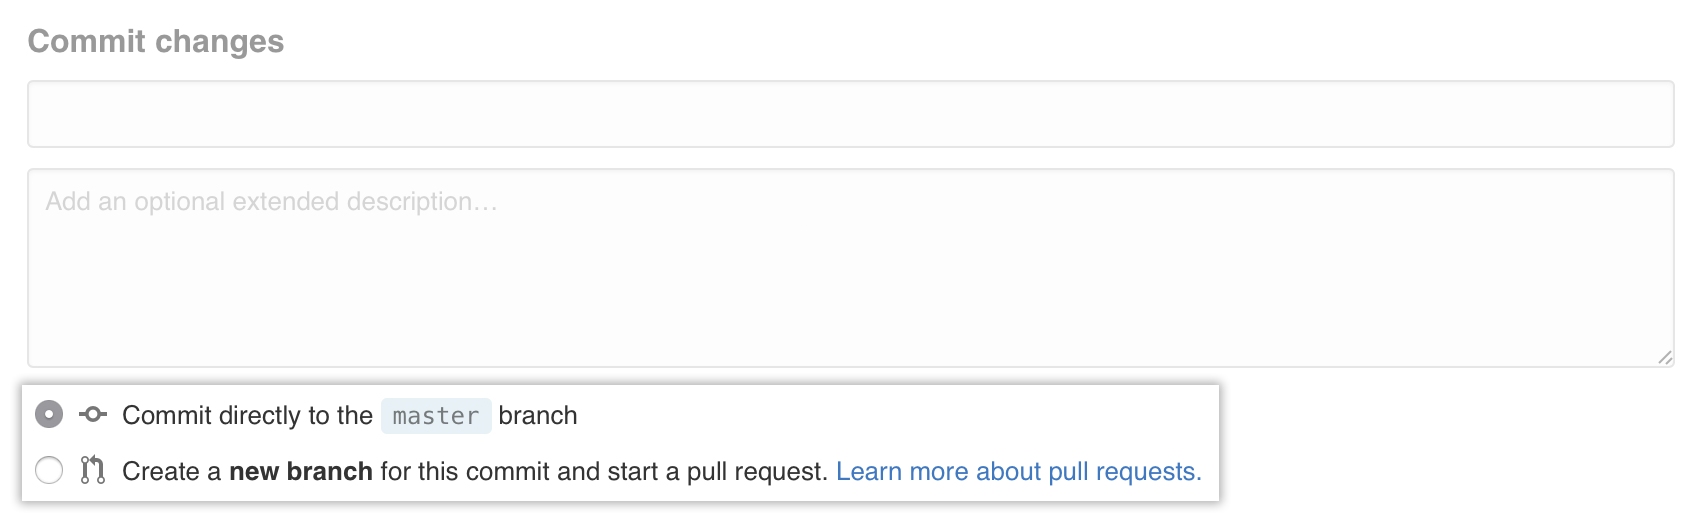
Click Propose file change.
If you created a pull request, merge your pull request into your GitHub Pages publishing branch, which is usually
masterand sometimesgh-pages.
Your site should now publish with the new theme you added.
Previewing your Jekyll theme locally
After adding a Jekyll theme in your site's _config.yml file on your GitHub Enterprise instance, you can preview the theme locally by following the steps detailed in the sections below.
Before attempting to preview your Jekyll theme locally, ensure the following:
- You have a local copy of your remote GitHub Pages site repository on your computer. If you don't have a local copy of your site repository, see "Cloning a repository." If you don't have a remote GitHub Pages site repository on your GitHub Enterprise instance yet you can use someone else's open source site repository as a starting template and fork it.
- You have Bundler installed.
Adding your theme as a Gem to your Gemfile
Note: If you're using the web-only interface to edit, you don't need to add your theme to the site's Gemfile, if one exists.
On GitHub Enterprise, navigate to the main page of the repository.
In your repository, browse to Gemfile.
- In the upper-right corner of the file view, click to open the file editor.
-
Add a new line to your Gemfile with the theme name in quotations:

Tip: You can add multiple Jekyll themes to your Gemfile but to activiate a theme, only one theme can be added to your _config.yml file.
At the bottom of the page, type a short, meaningful commit message that describes the change you made to the file.
Below the commit message fields, decide whether to add your commit to the current branch or to a new branch. If your current branch is
master, you should choose to create a new branch for your commit and then create a pull request.Click Propose file change.
If you created a pull request, merge your pull request into your GitHub Pages publishing branch, which is usually
masterand sometimesgh-pages. For more information on which branch to publish your site with, see "User, Organization, and Project Pages."
Installing your theme using Bundler
Open TerminalTerminalGit Bash.
-
Navigate into your local GitHub Pages site repository:
cd my-pages-site-repository -
Load your changes from your remote site repository on your GitHub Enterprise instance to your local site repository:
git pullTip: For more information on using
git pull, see "Fetching a remote." -
Install your Jekyll theme Gem using Bundler:
bundle install
Fetching gem metadata from https://rubygems.org/............
Fetching version metadata from https://rubygems.org/...
Fetching dependency metadata from https://rubygems.org/..
Resolving dependencies...
. . .
Installing minima 1.0.1
Using bundler 1.10.6
Bundle complete! 2 Gemfile dependencies, 54 gems now installed.
Use `bundle show [gemname]` to see where a bundled gem is installed.
-
Push your changes up to your remote GitHub Pages site repository on your GitHub Enterprise instance, replacing
masterin the example below withgh-pagesif you use agh-pagesbranch to publish your site:git push origin master
Adding a Jekyll theme on the command line
Open TerminalTerminalGit Bash.
-
Navigate into your local site repository:
cd my-pages-site-repository -
To add a theme to your site's Gemfile, open your favorite text editor, such as Atom, and add this line to your Gemfile using your selected theme's name in quotations:
gem "minima"
# Minima is a default theme for Jekyll sites.
Tip: You can add multiple Jekyll themes to your Gemfile but only one of these themes can be added to your _config.yml file to activate your theme.
-
Install your Jekyll theme Gem using Bundler:
bundle install
Fetching gem metadata from https://rubygems.org/............
Fetching version metadata from https://rubygems.org/...
Fetching dependency metadata from https://rubygems.org/..
Resolving dependencies...
. . .
Installing minima 1.0.1
Using bundler 1.10.6
Bundle complete! 2 Gemfile dependencies, 54 gems now installed.
Use `bundle show [gemname]` to see where a bundled gem is installed.
-
To activate your theme, using your favorite text editor, add a new line to your site's _config.yml file with your theme's name:
theme: minima
-
Add and commit your changes using Git:
git commit -a
# Adds your changes
git commit -m "added theme to Gemfile & _config.yml"
# Commits your changes with a commit message
-
Push your changes up to your remote GitHub Pages site repository, replacing
masterin the example below withgh-pagesif you use agh-pagesbranch to publish your site::git push origin master
Your site should now publish with the new theme you added.