Configuring Transport Layer Security (TLS) on your GitHub Enterprise instance allows you to use a certificate that is signed by a trusted certificate authority.
In this guide:
About Transport Layer Security
TLS, which replaced SSL, is enabled and configured with a self-signed certificate when GitHub Enterprise is started for the first time. As self-signed certificates are not trusted by web browsers and Git clients, these clients will report certificate warnings until you disable TLS or upload a certificate signed by a trusted authority.
The GitHub Enterprise appliance will send HTTP Strict Transport Security headers when SSL is enabled. Disabling TLS will cause users to lose access to the appliance, because their browsers will not allow a protocol downgrade to HTTP. For more information, see "HTTP Strict Transport Security (HSTS)" on Wikipedia.
Warning: When terminating HTTPS connections on a load balancer, the requests from the load balancer to GitHub Enterprise also need to use HTTPS. Downgrading the connection to HTTP is not supported.
To allow users to use FIDO U2F for two-factor authentication, you must enable TLS for your instance. For more information, see "Configuring two-factor authentication via FIDO U2F."
Prerequisites
To use TLS in production, you must have a certificate in an unencrypted PEM format signed by a trusted certificate authority.
Your certificate will also need Subject Alternative Names configured for the subdomains listed in "Enabling subdomain isolation" and will need to include the full certificate chain if it has been signed by an intermediate certificate authority. For more information, see "Subject Alternative Name" on Wikipedia.
Uploading a custom TLS certificate
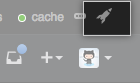 In the upper-right corner of any page, click .
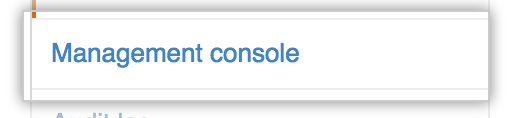 In the left sidebar, click Management Console.
 In the left sidebar, click Privacy.
 Select TLS only (recommended).
 Under "TLS Protocol support", select the protocols you want to allow.
 Under "Certificate", click Choose File to choose a TLS certificate or certificate chain (in PEM format) to install. This file will usually have a .pem, .crt, or .cer extension.
-
 Under "Unencrypted key", click Choose File to choose a TLS key (in PEM format) to install. This file will usually have a .key extension.
Warning: Your TLS key must not have a passphrase. For more information, see "Removing the passphrase from your key file".
 Under the left sidebar, click Save settings.