If enabled, GitHub Enterprise can show both avatars and unique identicons to visually identify users.
When you enable avatars, GitHub Enterprise uses the Gravatar API to fetch avatar images from a default secure.gravatar.com avatar host server. There are many alternatives, including:
You can also write and/or host your own avatar service that implements the Gravatar API.
If the avatar host doesn't find an image associated with a user account's email address, it will use an identicon, served by either your GitHub Enterprise appliance or GitHub.com, as the default image.
Warnings:
- The Gravatar API requires the default image URL to be publicly accessible via HTTP or HTTPS* (ports 80 and 443, respectively). Identicons will appear as broken images if your avatar host (e.g. Gravatar) is unable to access your identicon host (e.g. your appliance). For these reasons:
- Don't use your GitHub Enterprise appliance as the fallback identicon host with an external avatar service (such as Gravatar) that can't access it.
- Don't use GitHub.com as the fallback identicon host with an internal avatar service (such as a server on your intranet) that can't access it.
- When you use any external avatar host or any external identicon host, you may inadvertently leak internal data (e.g. repository names) via referrer headers in the requests made to get the avatars and/or identicons.
Enabling avatars
At the top of the page, click the Settings tab.

- On the left side of the page, click Privacy.

- Select Enable avatars.

- Optionally, under "Service address", type the URL of an avatar host other than the default value of https://secure.gravatar.com. To use the default, leave the field blank.

- Under "Identicons host", choose either your local GitHub Enterprise appliance or GitHub.com. The identicons host must be accessible by the avatar service via HTTP or HTTPS.

- At the bottom of the page, click Save settings.

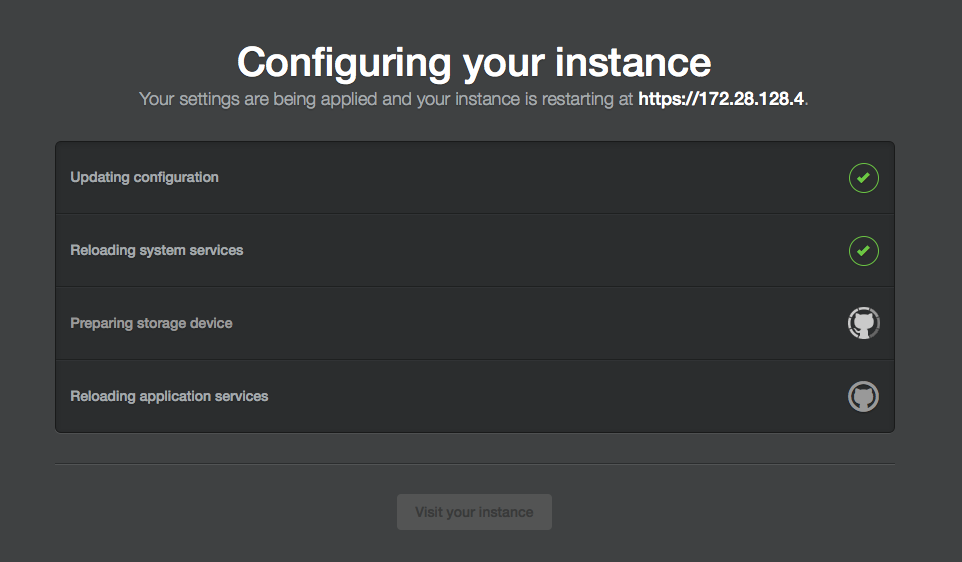
- Wait for the configuration run to complete.