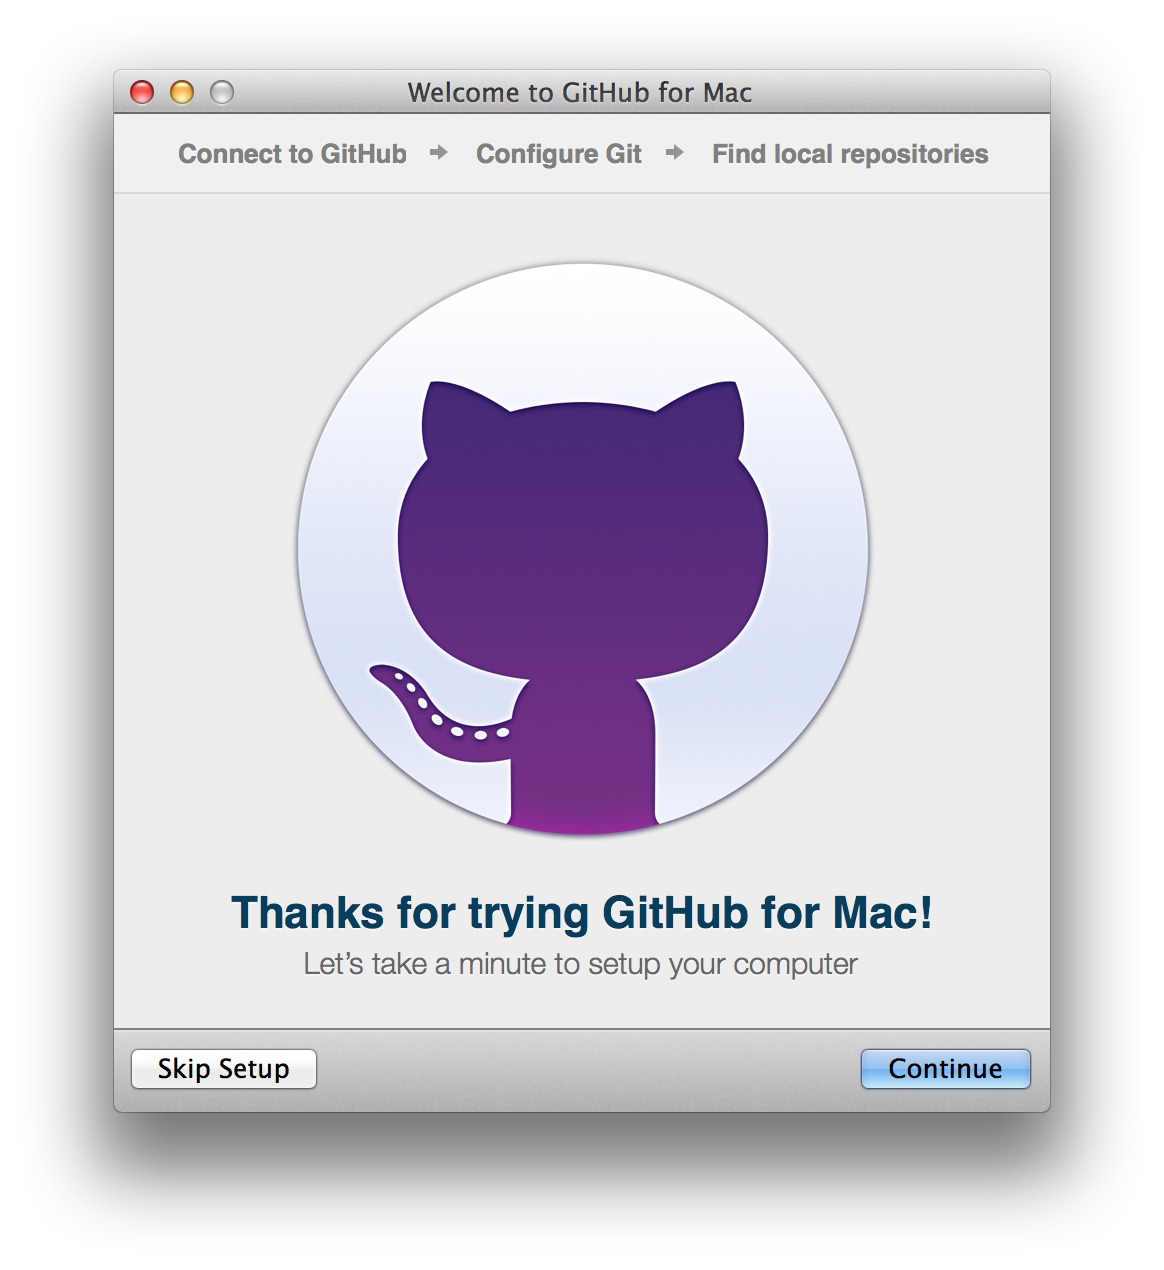
When you launch GitHub for Mac for the first time, you'll be greeted with a setup window.
Click "Continue" to connect to GitHub and enter your GitHub Enterprise credentials, and click "Sign in". If you have 2 factor authentication enabled on your account (and we'd suggest that you do!) – you'll be prompted to enter your authorisation code. Once you're signed in, click “Continue” to move onto the next step.
GitHub for Mac autofills your Git configuration from your GitHub Enterprise name and email address. Make sure that these are correct so that Git can correctly attribute all of your commits and then click "Continue".
-
Select any local repositories on your machine to add to the GitHub for Mac app. Don't worry if you don't already have any local repositories – you can clone or create them later!
Celebrate
Congratulations! Now that GitHub for Mac is setup you'll just need to grab some repositories.