Configuring the default visibility of new repositories in your enterprise
Each time someone creates a new repository on your enterprise, that person must choose a visibility for the repository. When you configure a default visibility setting for the enterprise, you choose which visibility is selected by default. For more information on repository visibility, see "About repository visibility."
If an enterprise owner disallows members from creating certain types of repositories, members will not be able to create that type of repository even if the visibility setting defaults to that type. For more information, see "Setting a policy for repository creation."
- Navigate to your enterprise account by visiting
https://HOSTNAME/enterprises/ENTERPRISE-NAME, replacingHOSTNAMEwith your instance's hostname andENTERPRISE-NAMEwith your enterprise account's name.
-
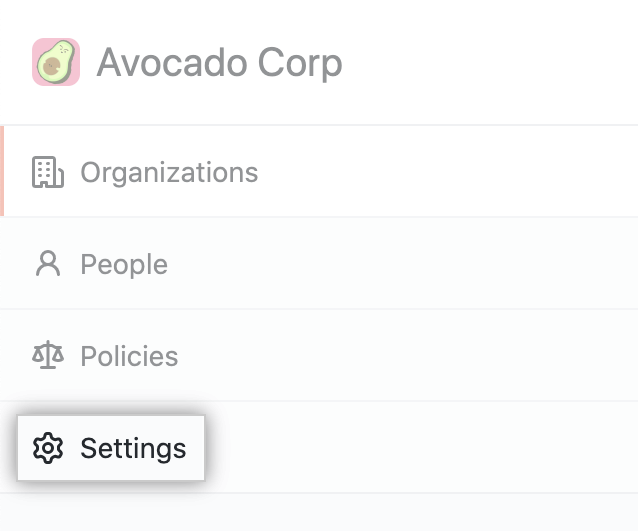
In the enterprise account sidebar, click Settings.
-
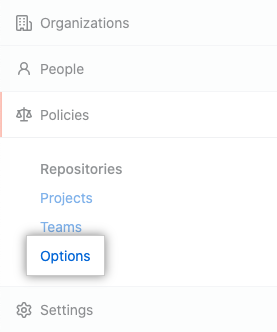
Under " Settings", click Options.
-
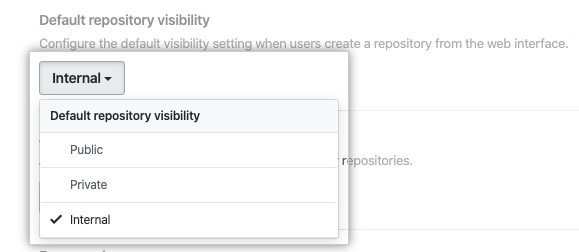
Under "Default repository visibility", use the drop-down menu and select a default visibility.
Warning: If you add an image attachment to a pull request or issue comment, anyone can view the anonymized image URL without authentication, even if the pull request is in a private repository, or if private mode is enabled. To prevent unauthorized access to the images, ensure that you restrict network access to the systems that serve the images, including your GitHub Enterprise Server instance.
Setting a policy for changing a repository's visibility
When you prevent members from changing repository visibility, only enterprise owners can change the visibility of a repository.
If an enterprise owner has restricted repository creation to organization owners only, then members will not be able to change repository visibility. If an enterprise owner has restricted member repository creation to private repositories only, then members will only be able to change the visibility of a repository to private. For more information, see "Setting a policy for repository creation."
-
Navigate to your enterprise account by visiting
https://HOSTNAME/enterprises/ENTERPRISE-NAME, replacingHOSTNAMEwith your instance's hostname andENTERPRISE-NAMEwith your enterprise account's name. -
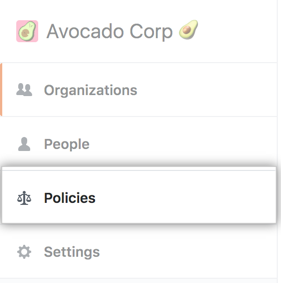
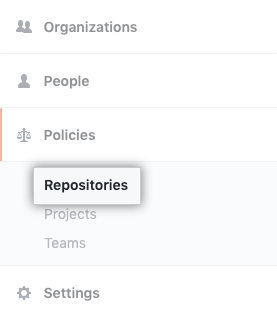
In the enterprise sidebar, click Policies.
-
Under " Policies", click Repositories.
-
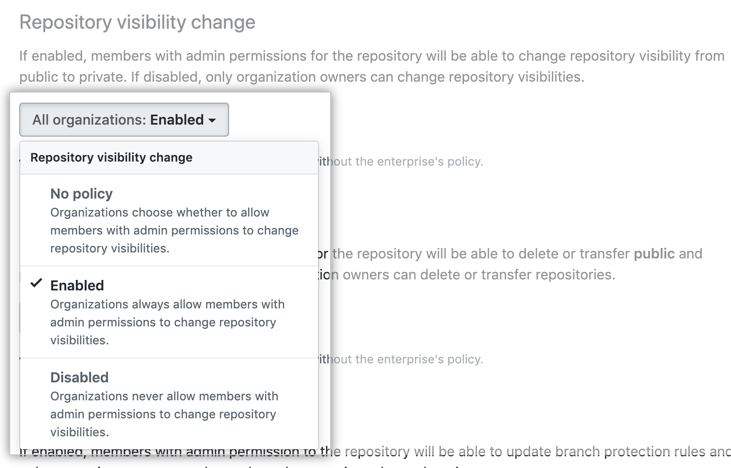
Under "Repository visibility change", review the information about changing the setting. Optionally, to view the current configuration for all organizations in the enterprise account before you change the setting, click View your organizations' current configurations.

-
Under "Repository visibility change", use the drop-down menu and choose a policy.
Setting a policy for repository creation
Organization owners can always create any type of repository, and outside collaborators can never create any type of repository. For more information, see "About repository visibility."
-
Navigate to your enterprise account by visiting
https://HOSTNAME/enterprises/ENTERPRISE-NAME, replacingHOSTNAMEwith your instance's hostname andENTERPRISE-NAMEwith your enterprise account's name. -
In the enterprise sidebar, click Policies.
-
Under " Policies", click Repositories.
-
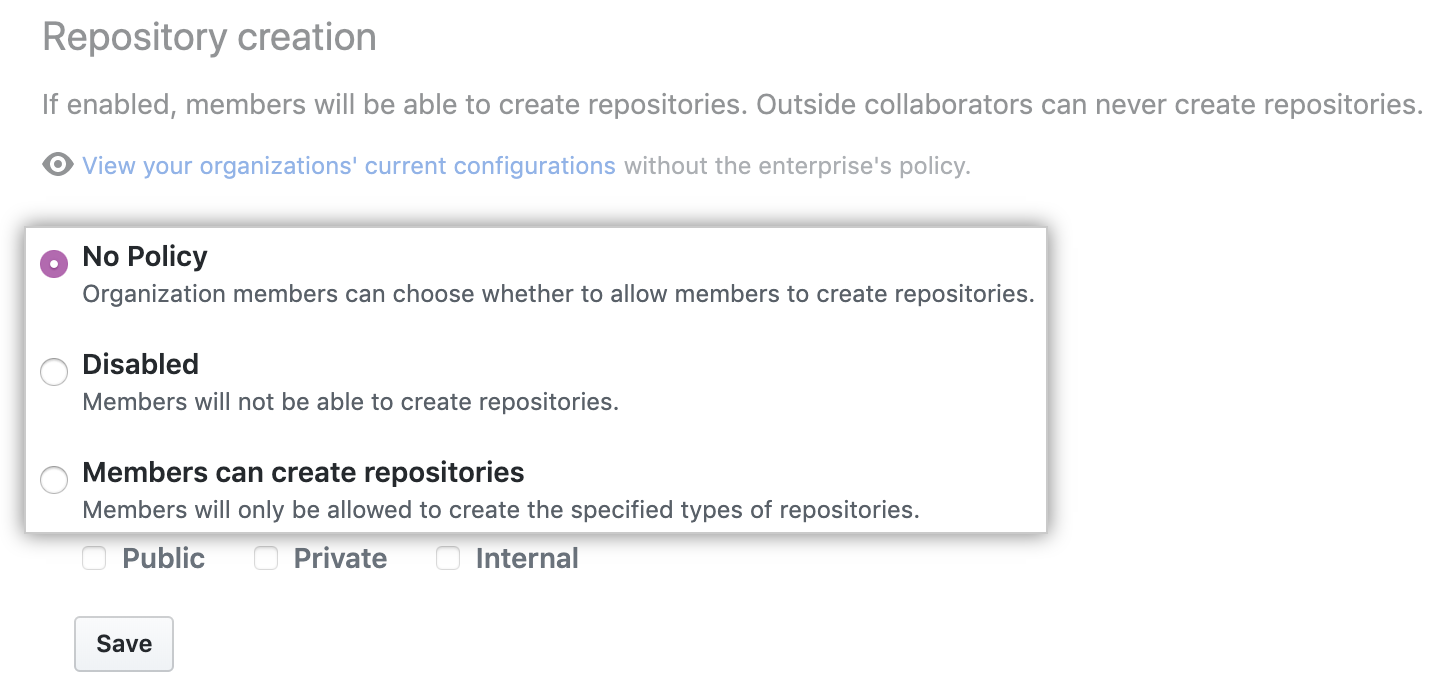
Under "Repository creation", review the information about changing the setting. Optionally, to view the current configuration for all organizations in the enterprise account before you change the setting, click View your organizations' current configurations.
-
Under "Repository creation", select a policy.
-
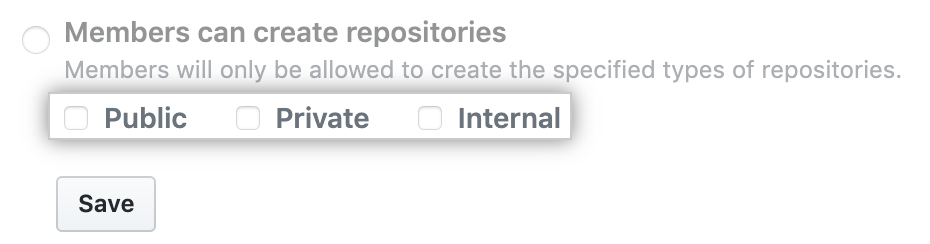
If you selected Members can create repositories, select one or more repository types.
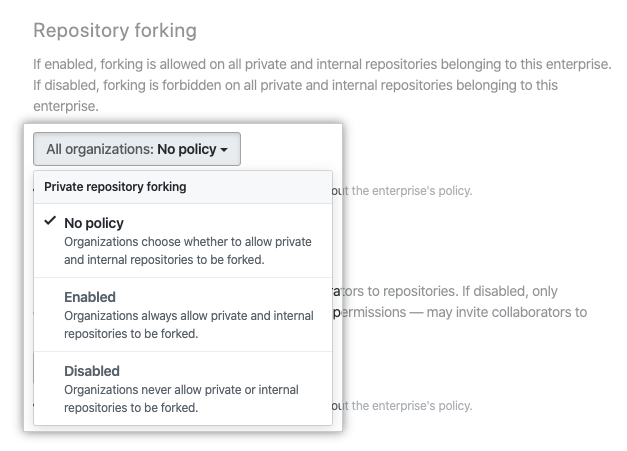
Enforcing a policy on forking private or internal repositories
Across all organizations owned by your enterprise, you can allow people with access to a private or internal repository to fork the repository, never allow forking of private or internal repositories, or allow owners to administer the setting on the organization level.
-
Navigate to your enterprise account by visiting
https://HOSTNAME/enterprises/ENTERPRISE-NAME, replacingHOSTNAMEwith your instance's hostname andENTERPRISE-NAMEwith your enterprise account's name. -
In the enterprise sidebar, click Policies.
-
On the Repository policies tab, under "Repository forking", review the information about changing the setting. Optionally, to view the current configuration for all organizations in the enterprise account before you change the setting, click View your organizations' current configurations.
-
Under "Repository forking", use the drop-down menu and choose a policy.
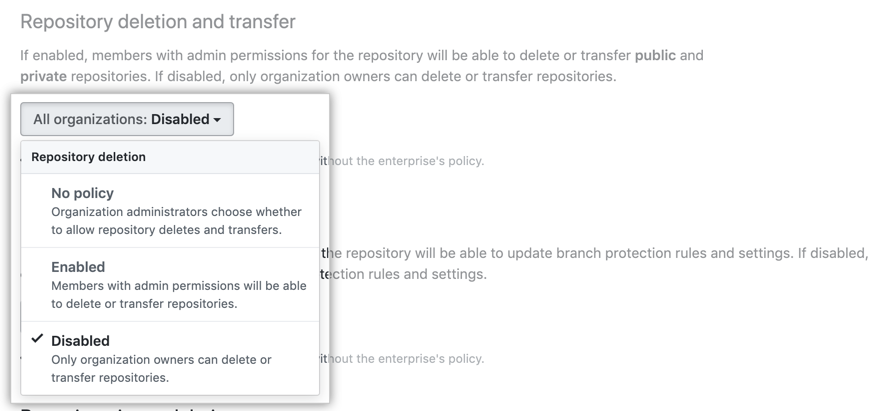
Setting a policy for repository deletion and transfer
-
Navigate to your enterprise account by visiting
https://HOSTNAME/enterprises/ENTERPRISE-NAME, replacingHOSTNAMEwith your instance's hostname andENTERPRISE-NAMEwith your enterprise account's name. -
In the enterprise sidebar, click Policies.
-
Under " Policies", click Repositories.
-
Under "Repository deletion and transfer", review the information about changing the setting. Optionally, to view the current configuration for all organizations in the enterprise account before you change the setting, click View your organizations' current configurations.
-
Under "Repository deletion and transfer", use the drop-down menu and choose a policy.
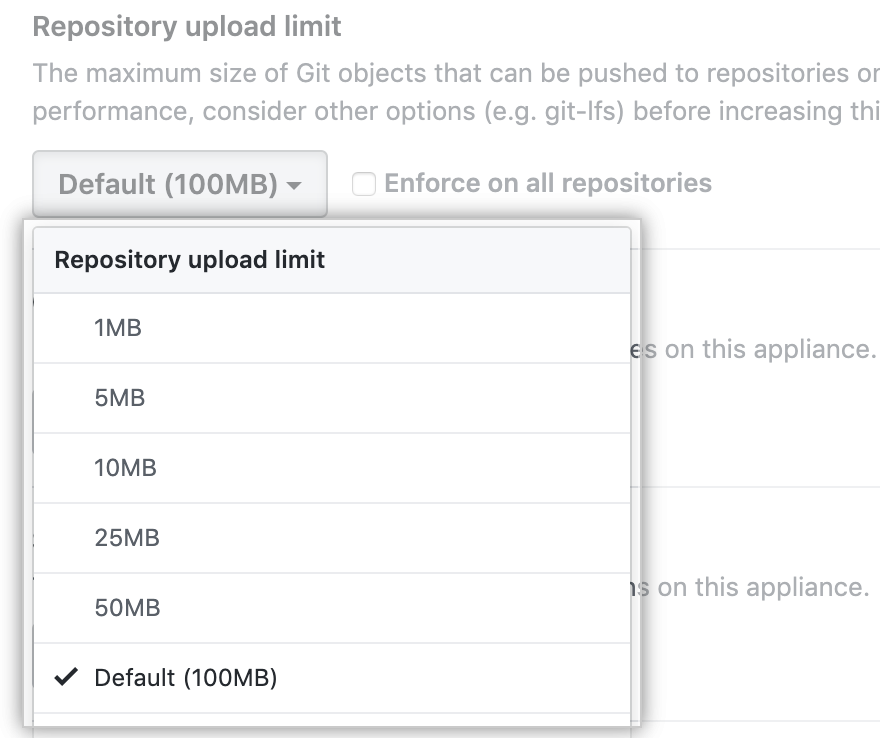
Setting a policy for Git push limits
To keep your repository size manageable and prevent performance issues, you can configure a file size limit for repositories in your enterprise.
By default, when you enforce repository upload limits, people cannot add or update files larger than 100 MB.
- Navigate to your enterprise account by visiting
https://HOSTNAME/enterprises/ENTERPRISE-NAME, replacingHOSTNAMEwith your instance's hostname andENTERPRISE-NAMEwith your enterprise account's name.
-
In the enterprise account sidebar, click Settings.
-
Under " Settings", click Options.
-
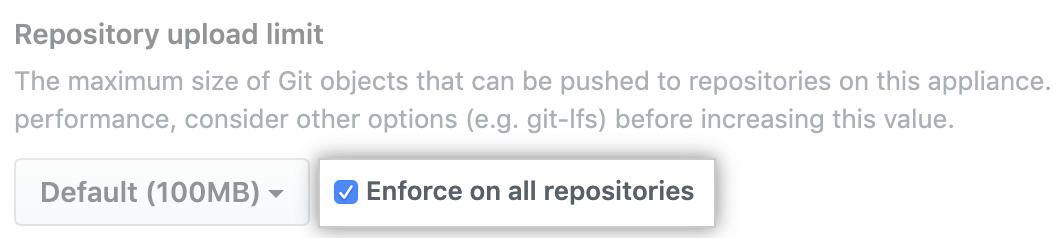
Under "Repository upload limit", use the drop-down menu and click a maximum object size.
-
Optionally, to enforce a maximum upload limit for all repositories in your enterprise, select Enforce on all repositories
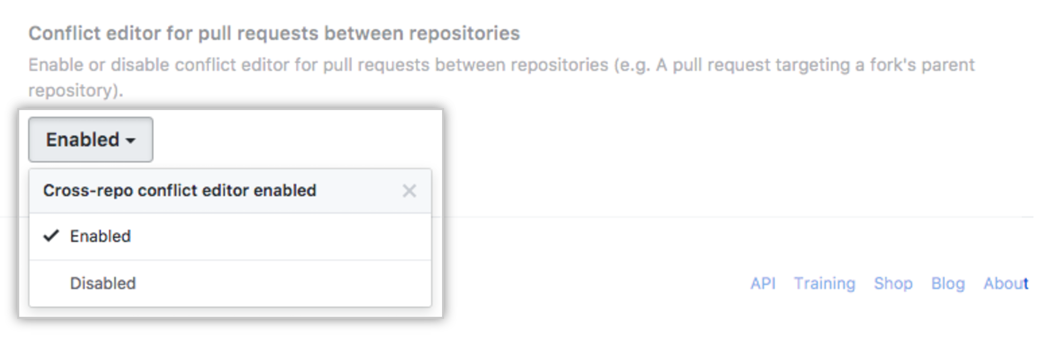
Configuring the merge conflict editor for pull requests between repositories
Requiring users to resolve merge conflicts locally on their computer can prevent people from inadvertently writing to an upstream repository from a fork.
- Navigate to your enterprise account by visiting
https://HOSTNAME/enterprises/ENTERPRISE-NAME, replacingHOSTNAMEwith your instance's hostname andENTERPRISE-NAMEwith your enterprise account's name.
-
In the enterprise account sidebar, click Settings.
-
Under " Settings", click Options.
-
Under "Conflict editor for pull requests between repositories", use the drop-down menu, and click Disabled.
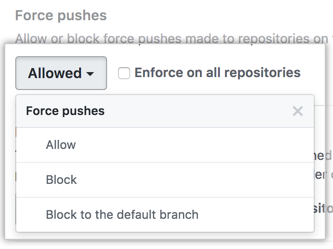
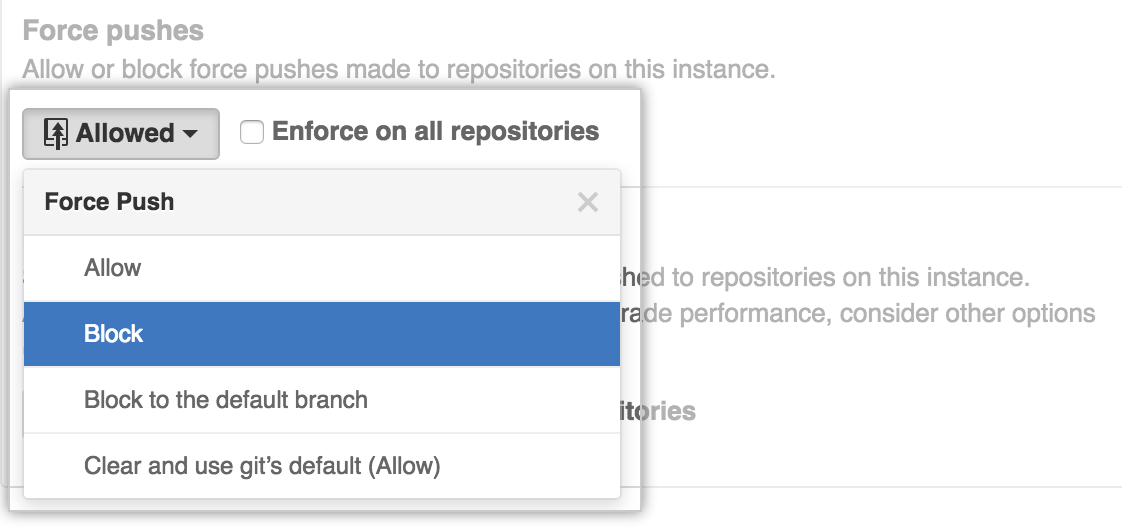
Configuring force pushes
Each repository inherits a default force push setting from the settings of the user account or organization to which it belongs. Likewise, each organization and user account inherits a default force push setting from the force push setting for the enterprise. If you change the force push setting for the enterprise, it will change for all repositories owned by any user or organization.
Blocking all force pushes on your appliance
- Navigate to your enterprise account by visiting
https://HOSTNAME/enterprises/ENTERPRISE-NAME, replacingHOSTNAMEwith your instance's hostname andENTERPRISE-NAMEwith your enterprise account's name.
-
In the enterprise account sidebar, click Settings.
-
Under " Settings", click Options.
-
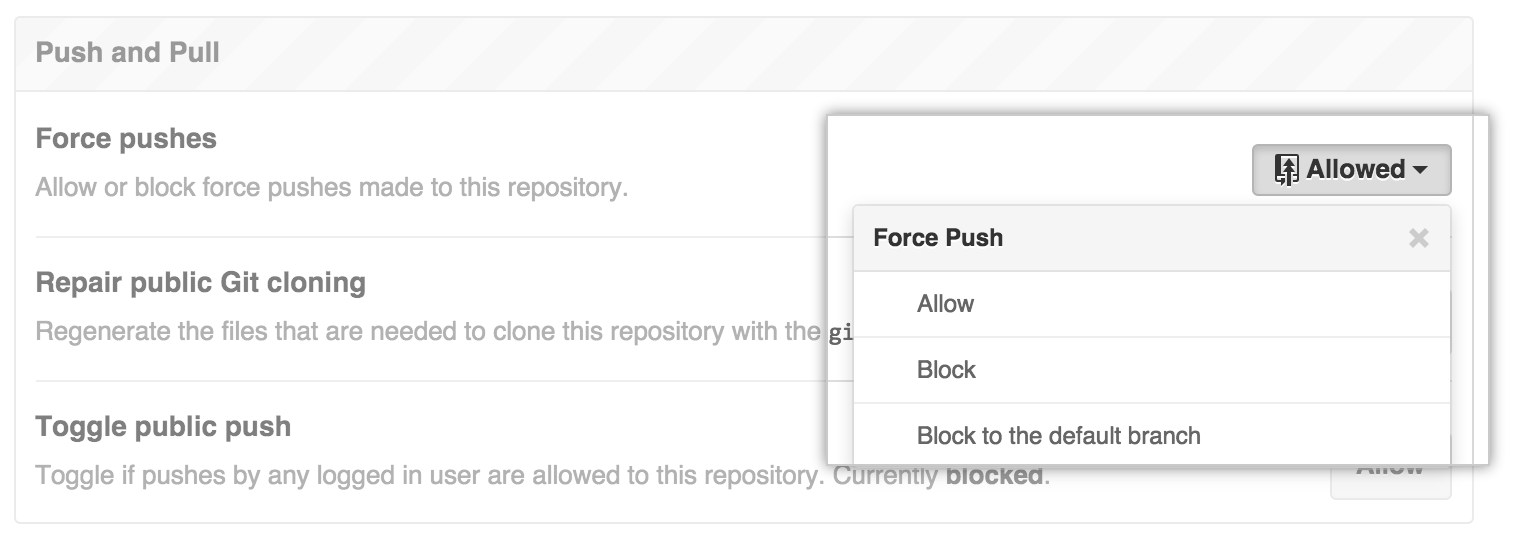
Under "Force pushes", use the drop-down menu, and click Allow, Block or Block to the default branch.
-
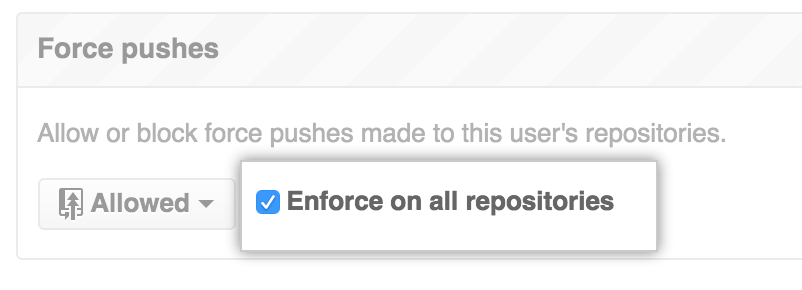
Optionally, select Enforce on all repositories, which will override organization and repository level settings for force pushes.
Blocking force pushes to a specific repository
Note: Each repository automatically inherits default settings from the organization or user that owns it. You cannot override the default setting if the repository's owner has enforced the setting on all of their repositories.
- Sign in to your GitHub Enterprise Server instance at
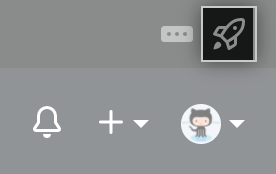
http(s)://HOSTNAME/login. - From an administrative account on GitHub Enterprise Server, click in the upper-right corner of any page.
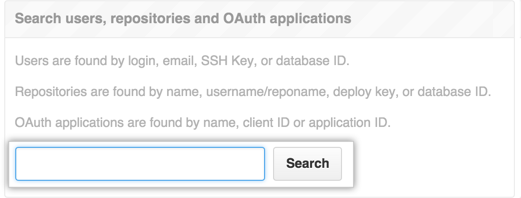
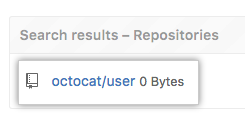
- In the search field, type the name of the repository and click Search.
- In the search results, click the name of the repository.
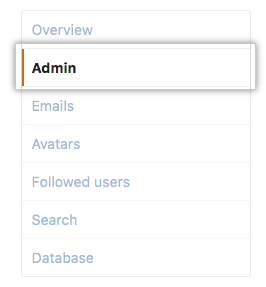
- In the upper-right corner of the page, click Admin.

- In the left sidebar, click Admin.
- Select Block or Block to the default branch under Push and Pull.
Blocking force pushes to repositories owned by a user account or organization
Repositories inherit force push settings from the user account or organization to which they belong. User accounts and organizations in turn inherit their force push settings from the force push settings for the enterprise.
You can override the default inherited settings by configuring the settings for a user account or organization.
- Sign in to your GitHub Enterprise Server instance at
http(s)://HOSTNAME/login. - From an administrative account on GitHub Enterprise Server, click in the upper-right corner of any page.
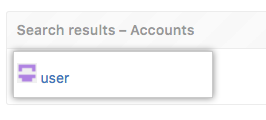
- In the search field, type the name of the user or organization and click Search.
- In the search results, click the name of the user or organization.
- In the upper-right corner of the page, click Admin.
- In the left sidebar, click Admin.
- Under "Repository default settings" in the "Force pushes" section, select
- Block to block force pushes to all branches.
- Block to the default branch to only block force pushes to the default branch.
- Optionally, select Enforce on all repositories to override repository-specific settings. Note that this will not override an enterprise-wide policy.
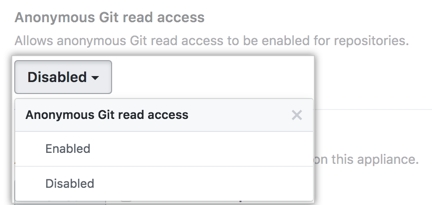
Configuring anonymous Git read access
Note: If you enable anonymous Git read access, you're responsible for all access and use of this feature. GitHub will not be responsible for any unintended access or misuse of the feature. Also, you may not use this feature to violate your license from GitHub, including the limit on the number of user licenses you've ordered from us.
If you have enabled private mode on your enterprise, you can allow repository administrators to enable anonymous Git read access to public repositories.
Enabling anonymous Git read access allows users to bypass authentication for custom tools on your enterprise. When you or a repository administrator enable this access setting for a repository, unauthenticated Git operations (and anyone with network access to GitHub Enterprise Server) will have read access to the repository without authentication.
If necessary, you can prevent repository administrators from changing anonymous Git access settings for repositories on your enterprise by locking the repository's access settings. After you lock a repository's Git read access setting, only a site administrator can change the setting.
To see the repositories with anonymous Git read access enabled, filter the repositories list in the site admin dashboard.
Notes:
- You cannot change the Git read access settings for forked repositories since they inherit their access settings from the root repository by default.
- If a public repository becomes private, then anonymous Git read access will automatically be disabled for that repository and it forks.
- If a repository with anonymous authentication contains Git LFS assets, it will fail to download the Git LFS assets since they still require authentication. We strongly recommend not enabling anonymous Git read access for a repository with Git LFS assets.
Setting anonymous Git read access for all repositories
- Navigate to your enterprise account by visiting
https://HOSTNAME/enterprises/ENTERPRISE-NAME, replacingHOSTNAMEwith your instance's hostname andENTERPRISE-NAMEwith your enterprise account's name.
-
In the enterprise account sidebar, click Settings.
-
Under " Settings", click Options.
-
Under "Anonymous Git read access", use the drop-down menu, and click Enabled.
-
Optionally, to prevent repository admins from changing anonymous Git read access settings in all repositories on your enterprise, select Prevent repository admins from changing anonymous Git read access.

Setting anonymous Git read access for a specific repository
- From an administrative account on GitHub Enterprise Server, click in the upper-right corner of any page.
- In the search field, type the name of the repository and click Search.
- In the search results, click the name of the repository.
- In the upper-right corner of the page, click Admin.
- In the left sidebar, click Admin.
- Under "Danger Zone", next to "Enable Anonymous Git read access", click Enable.
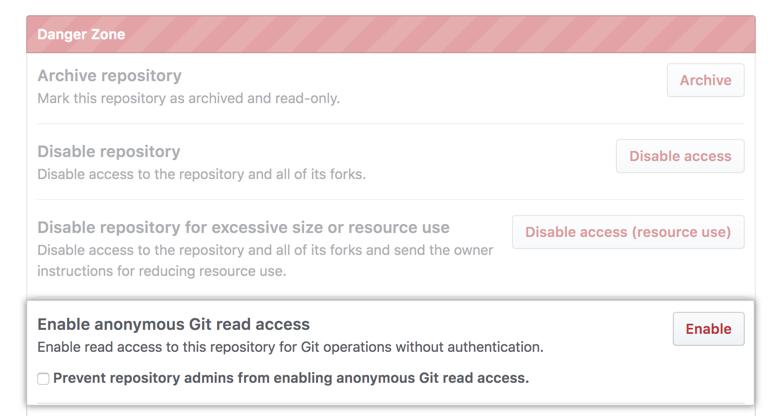
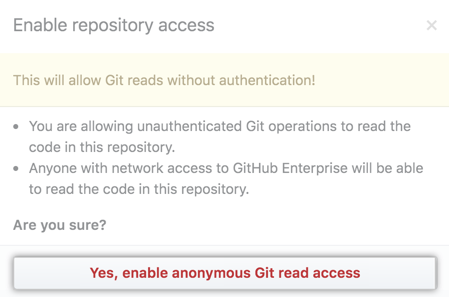
- Review the changes. To confirm, click Yes, enable anonymous Git read access.
- Optionally, to prevent repository admins from changing this setting for this repository, select Prevent repository admins from changing anonymous Git read access.
