About 秘密扫描
If someone checks a secret with a known pattern into a repository, 秘密扫描 catches the secret as it's checked in, and helps you mitigate the impact of the leak. Repository administrators are notified about any commit that contains a secret, and they can quickly view all detected secrets in the Security tab for the repository. For more information, see "About 秘密扫描."
Checking whether your license includes GitHub Advanced Security
您可以通过查看企业设置来确定您的企业是否具有 GitHub Advanced Security 许可证。 更多信息请参阅“为企业启用 GitHub Advanced Security”。
Prerequisites for 秘密扫描
-
The SSSE3 (Supplemental Streaming SIMD Extensions 3) CPU flag needs to be enabled on the VM/KVM that runs 您的 GitHub Enterprise Server 实例.
-
A license for GitHub Advanced Security (see "About billing for GitHub Advanced Security")
-
秘密扫描 enabled in the management console (see "Enabling GitHub Advanced Security for your enterprise")
Checking support for the SSSE3 flag on your vCPUs
The SSSE3 set of instructions is required because 秘密扫描 leverages hardware accelerated pattern matching to find potential credentials committed to your GitHub repositories. SSSE3 is enabled for most modern CPUs. You can check whether SSSE3 is enabled for the vCPUs available to your GitHub Enterprise Server instance.
-
Connect to the administrative shell for your GitHub Enterprise Server instance. For more information, see "Accessing the administrative shell (SSH)."
-
Enter the following command:
grep -iE '^flags.*ssse3' /proc/cpuinfo >/dev/null | echo $?If this returns the value
0, it means that the SSSE3 flag is available and enabled. You can now enable 秘密扫描 for 您的 GitHub Enterprise Server 实例. For more information, see "Enabling 秘密扫描" below.If this doesn't return
0, SSSE3 is not enabled on your VM/KVM. You need to refer to the documentation of the hardware/hypervisor on how to enable the flag, or make it available to guest VMs.
Enabling 秘密扫描
警告:更改此设置将导致 GitHub Enterprise Server 上面向用户的服务重新启动。 您应谨慎安排更改时间,以尽量减少用户的停机时间。
-
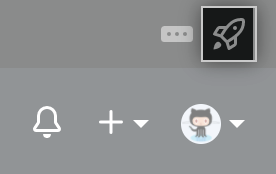
从 GitHub Enterprise Server 上的管理帐户中,在任何页面的右上角,单击 。
-
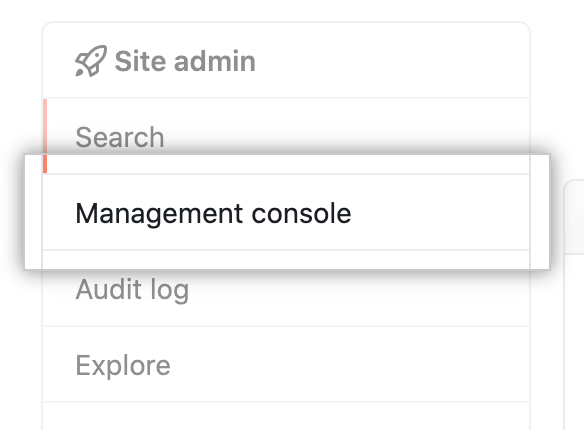
如果您尚未进入“站点管理员”页面,请在左上角单击 Site admin(站点管理员)。

-
在左侧边� �中,单击 管理控制台。
-
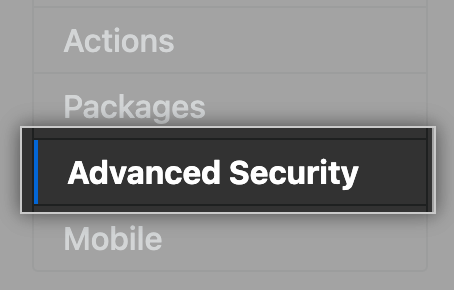
在左侧边� �中,单击 Advanced Security。
-
Under "Advanced Security," click 秘密扫描.

-
在左侧边� �下,单击 Save settings(保存设置)。
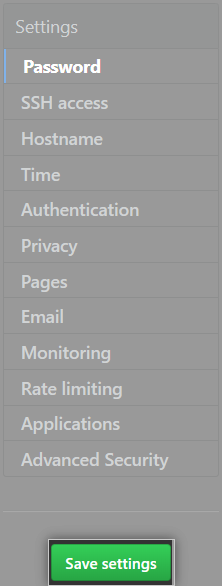
注意: 管理控制台 中的保存设置将重新启动系统服务,这可能会导致用户可见的停机时间。
-
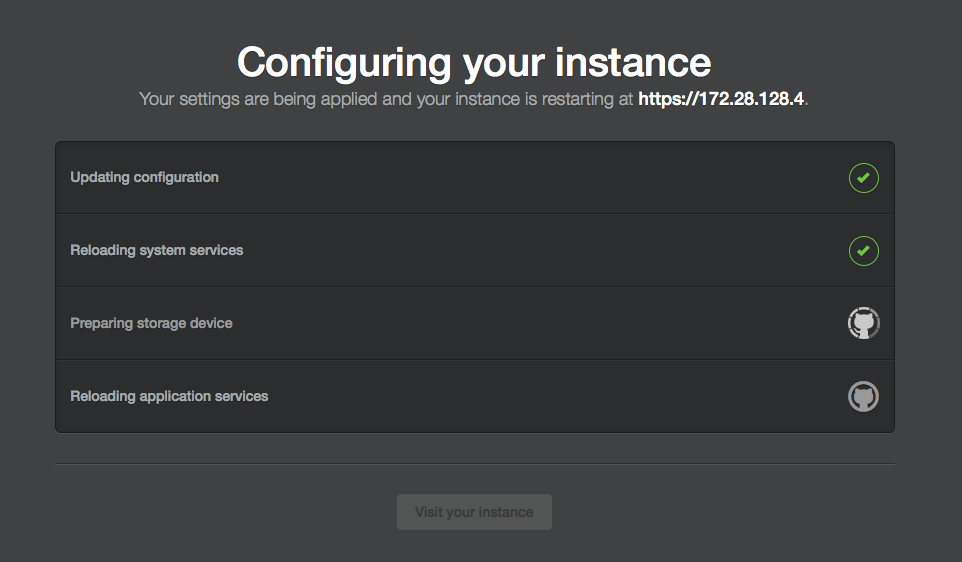
等待配置运行完毕。
Disabling 秘密扫描
警告:更改此设置将导致 GitHub Enterprise Server 上面向用户的服务重新启动。 您应谨慎安排更改时间,以尽量减少用户的停机时间。
-
从 GitHub Enterprise Server 上的管理帐户中,在任何页面的右上角,单击 。
-
如果您尚未进入“站点管理员”页面,请在左上角单击 Site admin(站点管理员)。
-
在左侧边� �中,单击 管理控制台。
-
在左侧边� �中,单击 Advanced Security。
-
Under "Advanced Security," unselect 秘密扫描.

-
在左侧边� �下,单击 Save settings(保存设置)。
注意: 管理控制台 中的保存设置将重新启动系统服务,这可能会导致用户可见的停机时间。
-
等待配置运行完毕。