To get started with GitHub Enterprise, we recommend running through the installation process with default settings on your local machine once to familiarize yourself with the set-up process before rolling it out to developers in your company. This will give you a chance to test the waters out before provisioning virtual machines on your production network. The easiest way to do a trial run is to use VirtualBox on a local machine. Keep in mind that you'll only want to do this to perform initial testing. You can find instructions for VMware installations here.
We recommend using VMware ESXi for production installations and VirtualBox for testing purposes.
To get started, you just need to follow a few steps:
1. Install VirtualBox
Browse to the VirtualBox download page and download the installer for your platform. Once you have the installer, follow its instructions to kick off the installation process:

Continue through the installation process as directed.
2. Download the software
Tip: To download the software for GitHub Enterprise, you need a trial or paid license first. You can request a trial here. Make sure you use your business email address!
After you have VirtualBox installed, you'll need the virtual machine image (OVA). To get that, browse to https://enterprise.github.com/download and download the virtual appliance:

After you have the appliance image, you need to download the software package. You'll want the 64-bit GHP further down the same page:
And finally, you'll want to download your trial license file:

3. Import the appliance
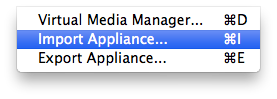
Now it's time to import the OVA into VirtualBox so you can fire it up. To do that, start the VirtualBox application and then choose the Import Appliance... option from the File menu:
In the next window, click the Open appliance... button, browse to the OVA you downloaded previously, and choose that file. Use the default memory setting of 8GB for the appliance (the minimum for a production install, as explained in the FAQ):
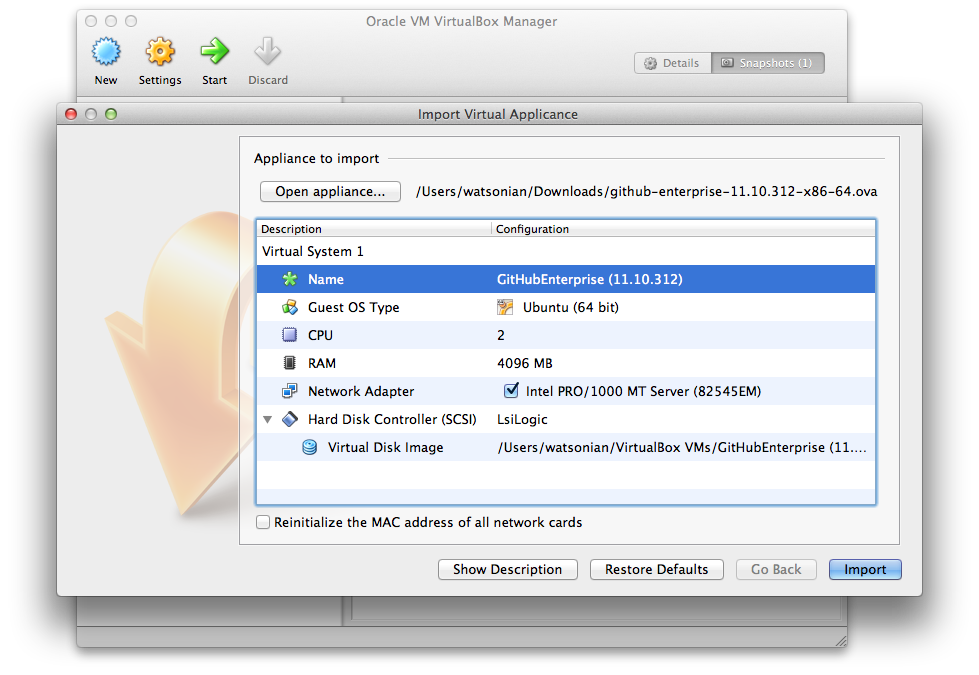
Tip: You'll probably want to use a laptop or desktop machine with 8GB of memory or more.
After you've adjusted the memory and name settings for the VM, click the Import button. At this point you'll get a progress bar indicating how far along the import process is:
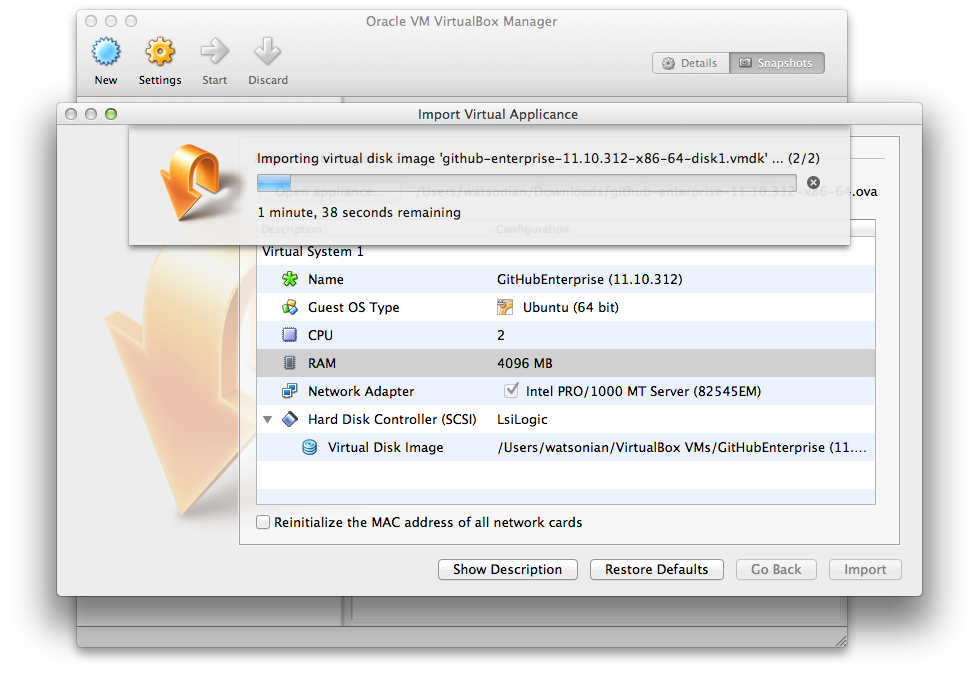
Depending upon how fast your hard drive is, this process may take between 2 to 10 minutes.
4. Start the appliance
When the import has completed, you're ready to go! Just choose the GitHub Enterprise appliance from the VirtualBox Manager VM list and then click on the Start button in the toolbar:
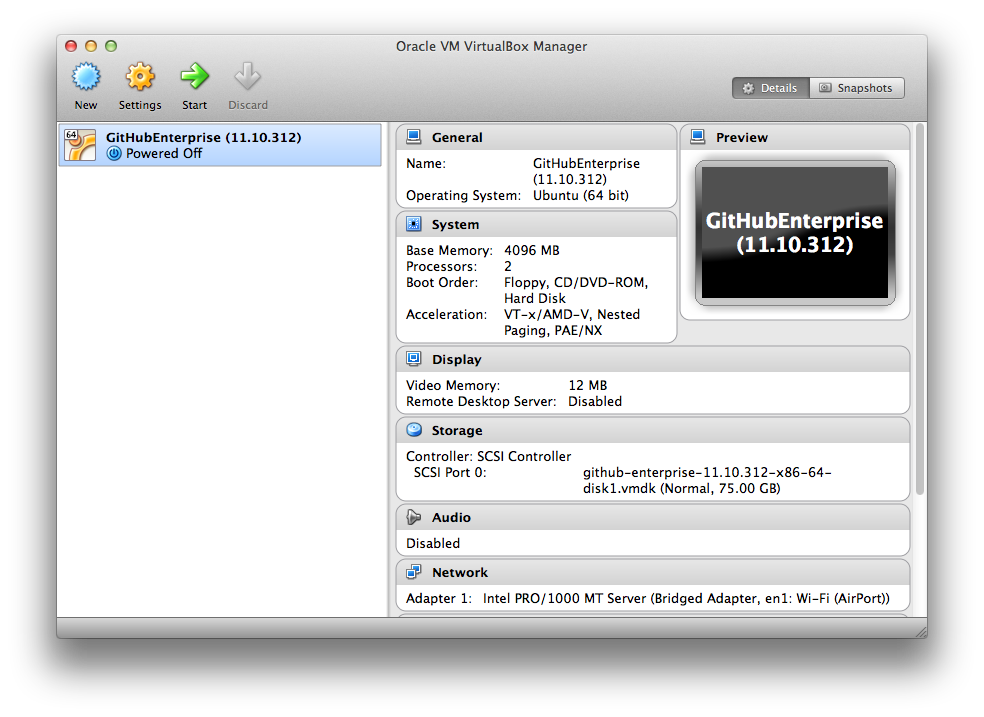
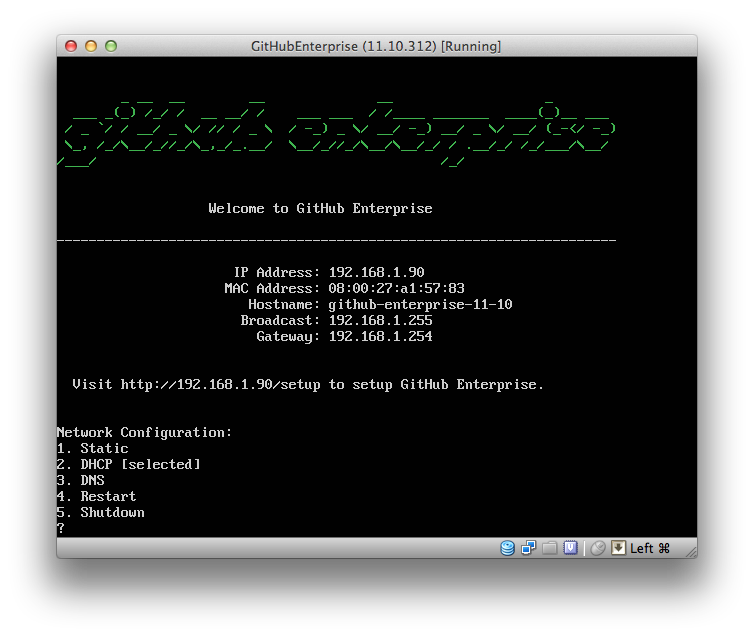
Once the VM has booted, you'll be presented with the console window that will display the URL to access your new GitHub Enterprise installation and let you configure a static IP address if needed:
5. Upload your GHP and License files
Browse to the URL displayed in the VM console window that showed up when you started the appliance. You'll be taken to a page where you can upload the GHP and license files you downloaded previously. Click on the Upload license file link, browse to the .ghl license file you have, and choose that file. Next, click on the Upload GitHub software package link, browse to the .ghp file you have, and choose that. At this point, you should see something like this:
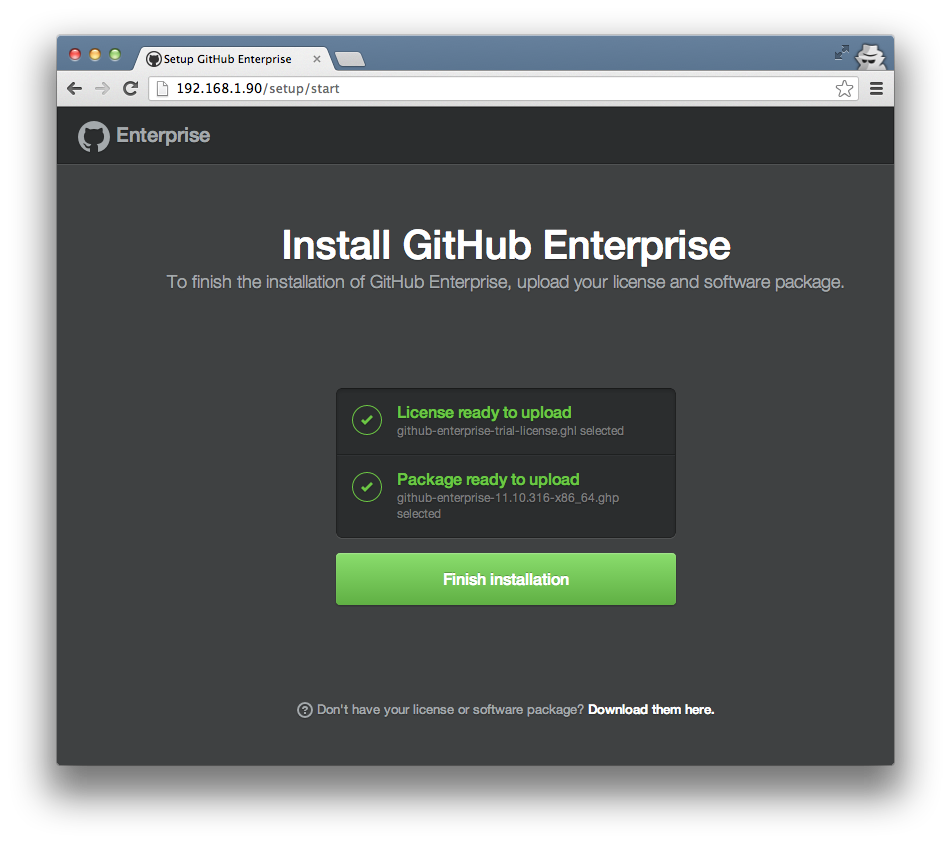
Click on the Finish installation button. You'll see an octospinner while the GHP is uploaded to the appliance (since the VM is running locally, this should only take a couple of minutes). Once the upload is complete, the GHP will be extracted and then you'll be taken to the Settings page.
Just use the default options here (you'll want to do all your configuration testing on a VMware virtual machine that's on your production network). Note that doing this will mean that email notifications won't work, but that's fine just to test things out. Once you're ready, click on the Save settings button at the bottom of the page. This will kick off the configuration process and take you to the configuration page where you can monitor its progress:
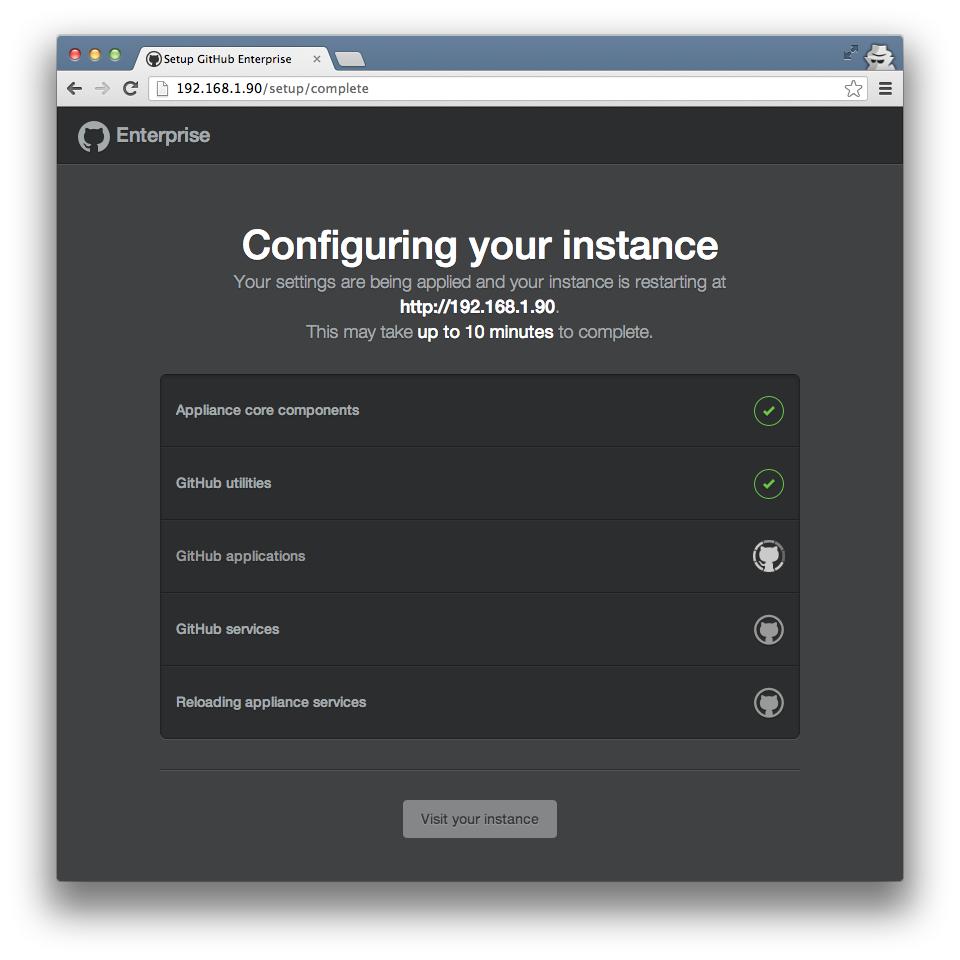
The configuration process may take anywhere from 8 to 20 minutes. Once it completes, you'll be greeted with this completion page:
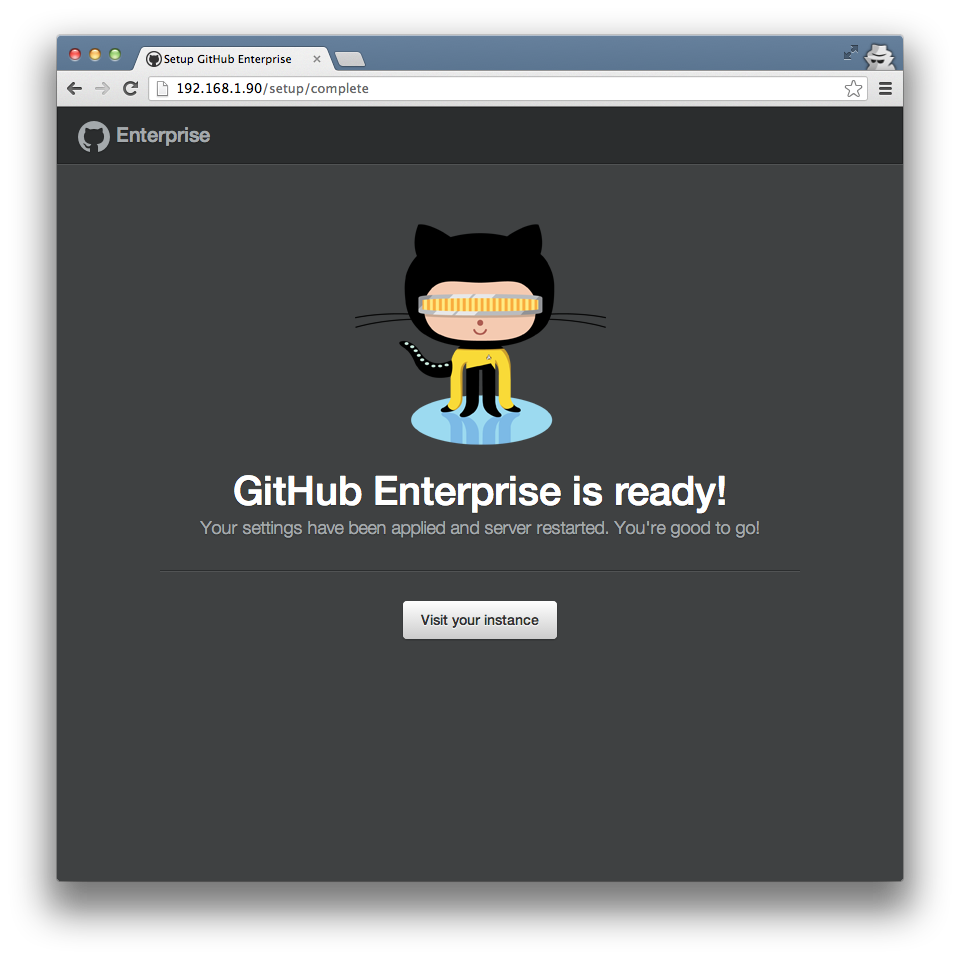
Click the Visit your instance button to setup your site admin user account and start using your GitHub Enterprise installation.