About your profile README
You can share information about yourself with the community on GitHub by creating a profile README. GitHub shows your profile README at the top of your profile page.
You decide what information to include in your profile README, so you have full control over how you present yourself on GitHub. Here are some examples of information that visitors may find interesting, fun, or useful in your profile README.
- An "About me" section that describes your work and interests
- Contributions you're proud of, and context about those contributions
- Guidance for getting help in communities where you're involved

You can format text and include emoji, images, and GIFs in your profile README by using GitHub Flavored Markdown. For more information, see "Getting started with writing and formatting on GitHub." For a hands-on guide to customizing your profile README, see "Quickstart for writing on GitHub."
Prerequisites
GitHub will display your profile README on your profile page if all of the following are true.
- You've created a repository with a name that matches your GitHub username.
- The repository is public.
- The repository contains a file named README.md in its root.
- The README.md file contains any content.
Note: If you created a public repository with the same name as your username before July 2020, GitHub won't automatically show the repository's README on your profile. You can manually share the repository's README to your profile by going to the repository on GitHub.com and clicking Share to profile.
Adding a profile README
-
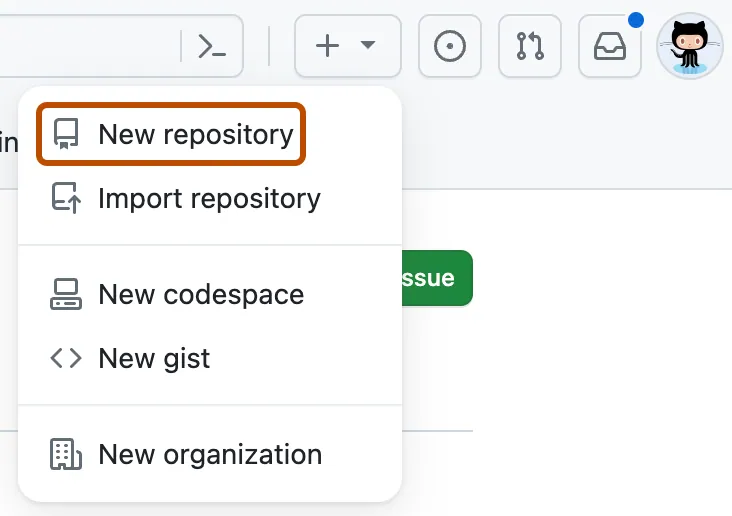
In the upper-right corner of any page, select , then click New repository.

-
Under "Repository name", type a repository name that matches your GitHub username. For example, if your username is "octocat", the repository name must be "octocat".
-
Optionally, in the "Description" field, type a description of your repository. For example, "My personal repository."
-
Select Public.
-
Select Initialize this repository with a README.
-
Click Create repository.
-
Above the right sidebar, click Edit README.
The generated README file is pre-populated with a template to give you some inspiration for your profile README.
For a summary of all the available emojis and their codes, see "Emoji cheat sheet."
Removing a profile README
The profile README will be removed from your GitHub profile if any of the following apply:
- The README file is removed or made empty.
- The repository is made private.
- The repository name no longer matches your username due to a change in either or both names.
The method you choose depends upon your needs, but if you're unsure, we recommend making your repository private. For steps on how to make your repository private, see "Setting repository visibility."