The nameservers you specify must resolve your GitHub Enterprise Server instance's hostname.
警告:初始设置后不要更改 GitHub Enterprise Server 的主机名。 更改主机名将会导致意外的行为,甚至包括实例中断。
Configuring nameservers using the virtual machine console
- 使用虚拟平台工具,打开虚拟机器控制台。
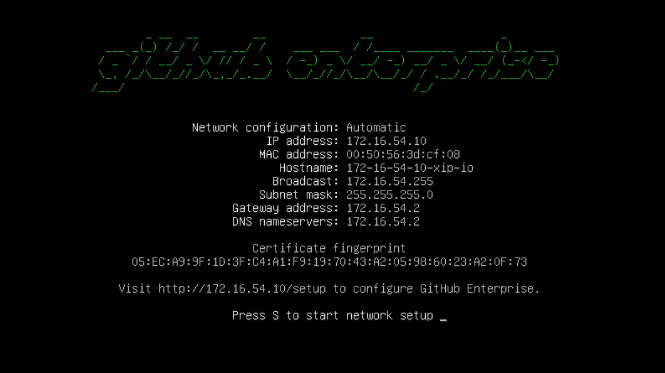
- 若要启动网络设置,请按 S。
- Configure nameservers for your instance.
- 要完成设置的配置,请按“D”。
Configuring nameservers using the administrative shell
-
SSH into your GitHub Enterprise Server instance. If your instance comprises multiple nodes, for example if high availability or geo-replication are configured, SSH into the primary node. If you use a cluster, you can SSH into any node. For more information about SSH access, see "Accessing the administrative shell (SSH)."
$ ssh -p 122 admin@HOSTNAME -
To edit your nameservers, use the
ghe-setup-networkcommand in visual mode. For more information, see "Command-line utilities."ghe-setup-network -v -
To add your new nameserver entries to your GitHub Enterprise Server instance, run the following:
sudo service resolvconf restart
sudo service dnsmasq restart